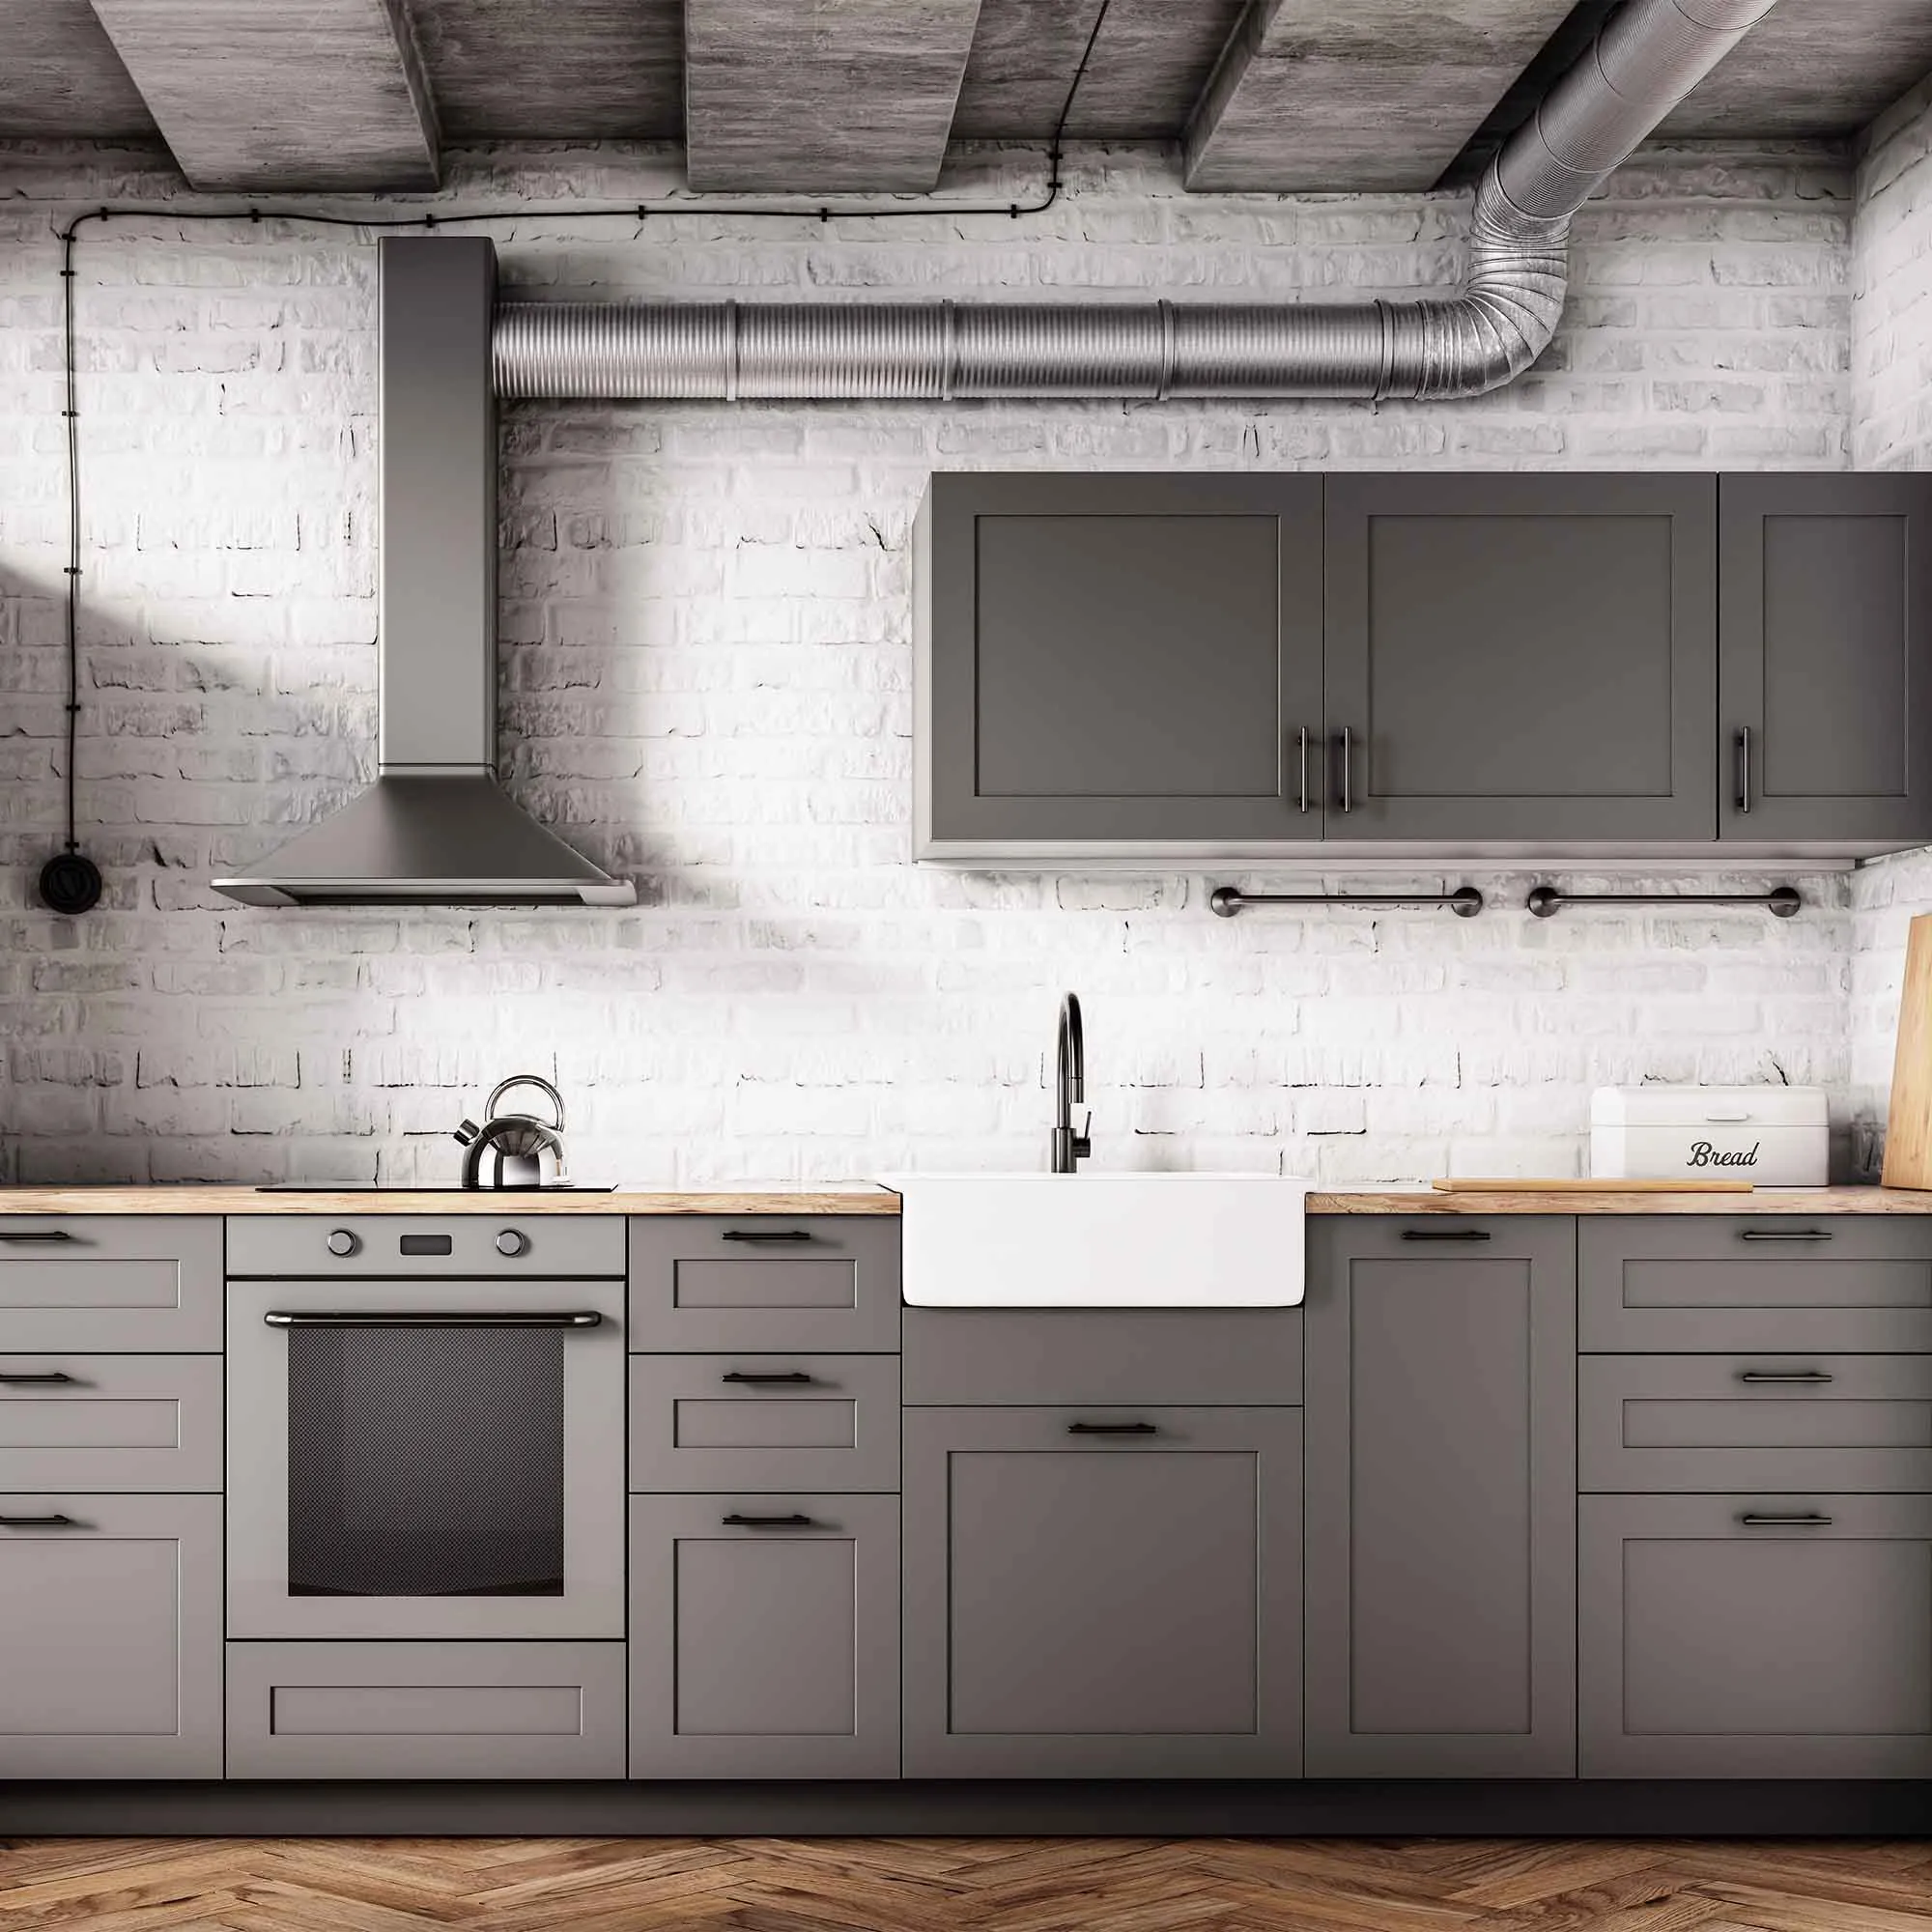
Freshly painted cabinet doors can feel dry while the finish remains vulnerable where surfaces press together. Before forcing a stuck door or adding another coat, identify the product, elapsed curing conditions, and points of contact. Misalignment and excessive coating buildup may also contribute, so the problem should be assessed rather than reduced to one universal drying time.
During planning, create a temporary kitchen arrangement that allows parts to remain separate for the required period. Keep hardware, stops, and any bumpers compatible with the selected system. Reassemble carefully and check that doors do not rub at corners or against neighboring pieces.
If damage has already occurred, ask for the appropriate repair sequence and allow it to develop before repeating the same contact. Record handling, closure, loading, and cleaning guidance as separate milestones. This makes the kitchen easier to return to use without sacrificing the preparation and finish work in the final stage.
Protect cabinet finishes during reassembly and early use
Cabinet parts experience contact immediately when doors close and drawers slide. That makes drying and curing arrangements especially important. Follow the exact coating system’s guidance before handling, installing hardware, closing parts against stops, or returning stored objects. A surface that feels dry can still be vulnerable to pressure and abrasion.
Plan the kitchen’s temporary use around those restrictions. Keep frequently needed items accessible elsewhere and avoid rushing reassembly because storage has become inconvenient. When parts are ready, handle them with clean hands and use protected surfaces that will not imprint or scratch the finish. Check alignment so doors and drawers do not rub.
Ask when routine cleaning and normal loading can resume. Avoid adhesive accessories, shelf liners, bumpers, or pads until their compatibility and timing are clear. Record any care limitations alongside the product details. During the first period of use, correct mechanical rubbing promptly rather than trying to cover the resulting damage with more paint. Good reassembly preserves the work that went into preparation and application.
Plan door painting around edges and operation
Before removing hardware or painting, check how the door operates. Note existing rubbing, sticking, or misalignment so those issues can be addressed rather than hidden by a new finish. Decide which faces and edges belong in the scope, and identify any manufacturer restrictions, labels, or components that must remain unpainted.
Protect hinges, latches, seals, and surrounding surfaces as appropriate. If components are removed, label and store them together. Painted surfaces that touch each other need adequate drying and curing time before normal closure. A door that feels dry may still mark or stick where the finish presses against a stop or seal.
Follow the coating and door manufacturer’s instructions for preparation and application. Work with the panel or slab geometry so material does not collect in recessed corners or along the bottom edge. Plan an alternative route or security arrangement while the opening is unavailable. At handover, confirm that the door opens, closes, and latches correctly, and clarify when it can remain closed without risking the new finish.
Distinguish drying, recoating, and return to use
A coating can feel dry before it is ready for another coat or ordinary use. The product label and technical data distinguish these stages because they serve different purposes. Recoating too soon can disturb the first layer, while loading shelves or closing painted parts too early can mark a surface that looks complete.
Use the instructions for the exact product and conditions. Temperature, humidity, airflow, film thickness, and the underlying surface can affect progress. A timetable taken from another paint or another room is only a rough comparison. Build the schedule around the manufacturer’s requirements rather than a universal promise that everything will be ready the next morning.
Plan reassembly and cleaning separately from application. Ask when furniture can return, when doors may remain closed, and when the finish can receive its first routine wash. Avoid aggressive testing with a fingernail or abrasive pad. For more background, Benjamin Moore explains factors affecting paint drying; the selected product’s own directions remain the practical reference for the job.
Prepare an existing glossy finish for a new coating
A glossy surface may look clean while still carrying residue from hands, polish, grease, or household products. Identify the material and existing finish as far as possible, then clean with a compatible method before considering mechanical preparation. Working directly over contamination can spread it and compromise later adhesion.
Follow the new coating system’s preparation requirements. Some surfaces need controlled abrasion, a particular bonding primer, or both; others are unsuitable for the proposed finish. Do not guess from the shine alone. Assess older coatings before producing dust, and use appropriate containment and protection for the actual material and task.
Make a representative test area that includes the complete cleaning, preparation, priming, and finish sequence. Allow the prescribed evaluation period. Watch for lifting, softening, or a finish that releases from the old coating. If the trial is unsuccessful, identify the cause before proceeding. The objective is a reliable bond to a sound base, not merely a temporarily dull-looking surface. Document the successful process so it can be repeated consistently on all matching components.
Use a small trial to answer the difficult questions
A trial area is most useful when it represents the real challenge. Choose a discreet but meaningful location with the same material, existing finish, and preparation needs as the rest of the job. A convenient piece of unrelated scrap may show color but tell you little about adhesion, absorption, or cleaning response on the actual surface.
Follow the complete proposed process on the sample. If the project includes cleaning, a primer, and two finish coats, a single swipe of topcoat is not an equivalent test. Respect the product’s drying and evaluation instructions. Check the result after it has had the specified time to develop, rather than judging only while it is wet.
Write down what you used and what you observed. Look for discoloration, softening, lifting, uneven absorption, and changes in texture. If the sample fails, stop and investigate before applying more material. A successful trial cannot guarantee every hidden condition, but it can prevent a small compatibility problem from becoming a room-wide or building-wide repair. Keep the approved sample available during the work as a visual reference.
Label cabinet parts before anything is removed
Cabinet doors and drawers often appear interchangeable until reassembly begins. Make a simple map of the kitchen and assign each opening an identifier. Label removed parts in a location that will remain readable without affecting the visible finish. Keep hinges, screws, and other hardware grouped according to the system used.
Photograph the arrangement before removal, including adjustable hinges and unusual clearances. Decide which interiors, shelf edges, and back faces belong in the finishing scope. Clarify whether hardware is being reused or replaced, because new hole positions may require repairs before preparation and coating begin.
Create protected storage and drying space for the components. Stacking freshly finished parts or placing them against abrasive surfaces can mark the coating. Plan handling so edges remain accessible without touching wet faces. During reassembly, use the map to return each part to its original location and check alignment and movement. A careful labeling system reduces avoidable adjustments and helps protect the finish at the stage when the kitchen is nearly ready to use again.
Check the places most likely to wear first
Create a short inspection route through the finished area. Include handles, corners, lower edges, surfaces beneath objects, and locations exposed to water or sunlight. These points often show change before the center of a broad surface. A quick, regular look can distinguish new wear from a longstanding characteristic of the material.
Use the recorded care instructions for cleaning and allow any initial curing restriction to pass. Remove soil with compatible tools and avoid repeated hard rubbing in one spot. If a mark remains, decide whether it is dirt, abrasion, staining, or a building condition before choosing another product.
Correct practical causes of damage where possible. Adjust a rubbing component through the appropriate person, relocate a moisture-trapping object, or change an abrasive cleaning habit. Keep dated photographs when a pattern recurs. Maintenance becomes more effective when it responds to why the surface is changing. Simply applying more cleaner or another coat can conceal useful evidence and repeat the same unsuccessful treatment without improving the underlying situation.
Keep a useful record for future maintenance
Save more than the color name. Record the manufacturer, product line, sheen, color formula or code, and the surface where each product was used. Note the primer and any special preparation that mattered. A photograph of the label can be useful, but keep a readable written copy as well so the information is not lost among unrelated pictures.
Create a simple room or surface map. Similar whites on a ceiling, wall, and baseboard can become difficult to distinguish months later. Label leftover containers clearly and store them according to their instructions, away from children and unsuitable temperatures. Do not combine unidentified leftovers in an effort to save space.
Add the completion date, agreed care instructions, and any areas that need monitoring. A recurring stain or peeling patch may point to a condition beyond the coating itself. Records help a future contractor understand what has already been tried. They also make small repairs more efficient, although stored paint and a matching formula cannot guarantee an invisible touch-up after the surrounding finish has aged.
Planning your next step
Use the inspection notes and sample decisions from this guide to describe the work you want completed. Bring photographs of uncertain areas and list the surfaces that should be included before comparing estimates. For broader background, read our How To Paint Kitchen Cabinets A 2022 Step By Step Guide, or review AK Painters Pro Corp.’s services.
When you are ready to discuss the scope, request a free estimate. Related reading: