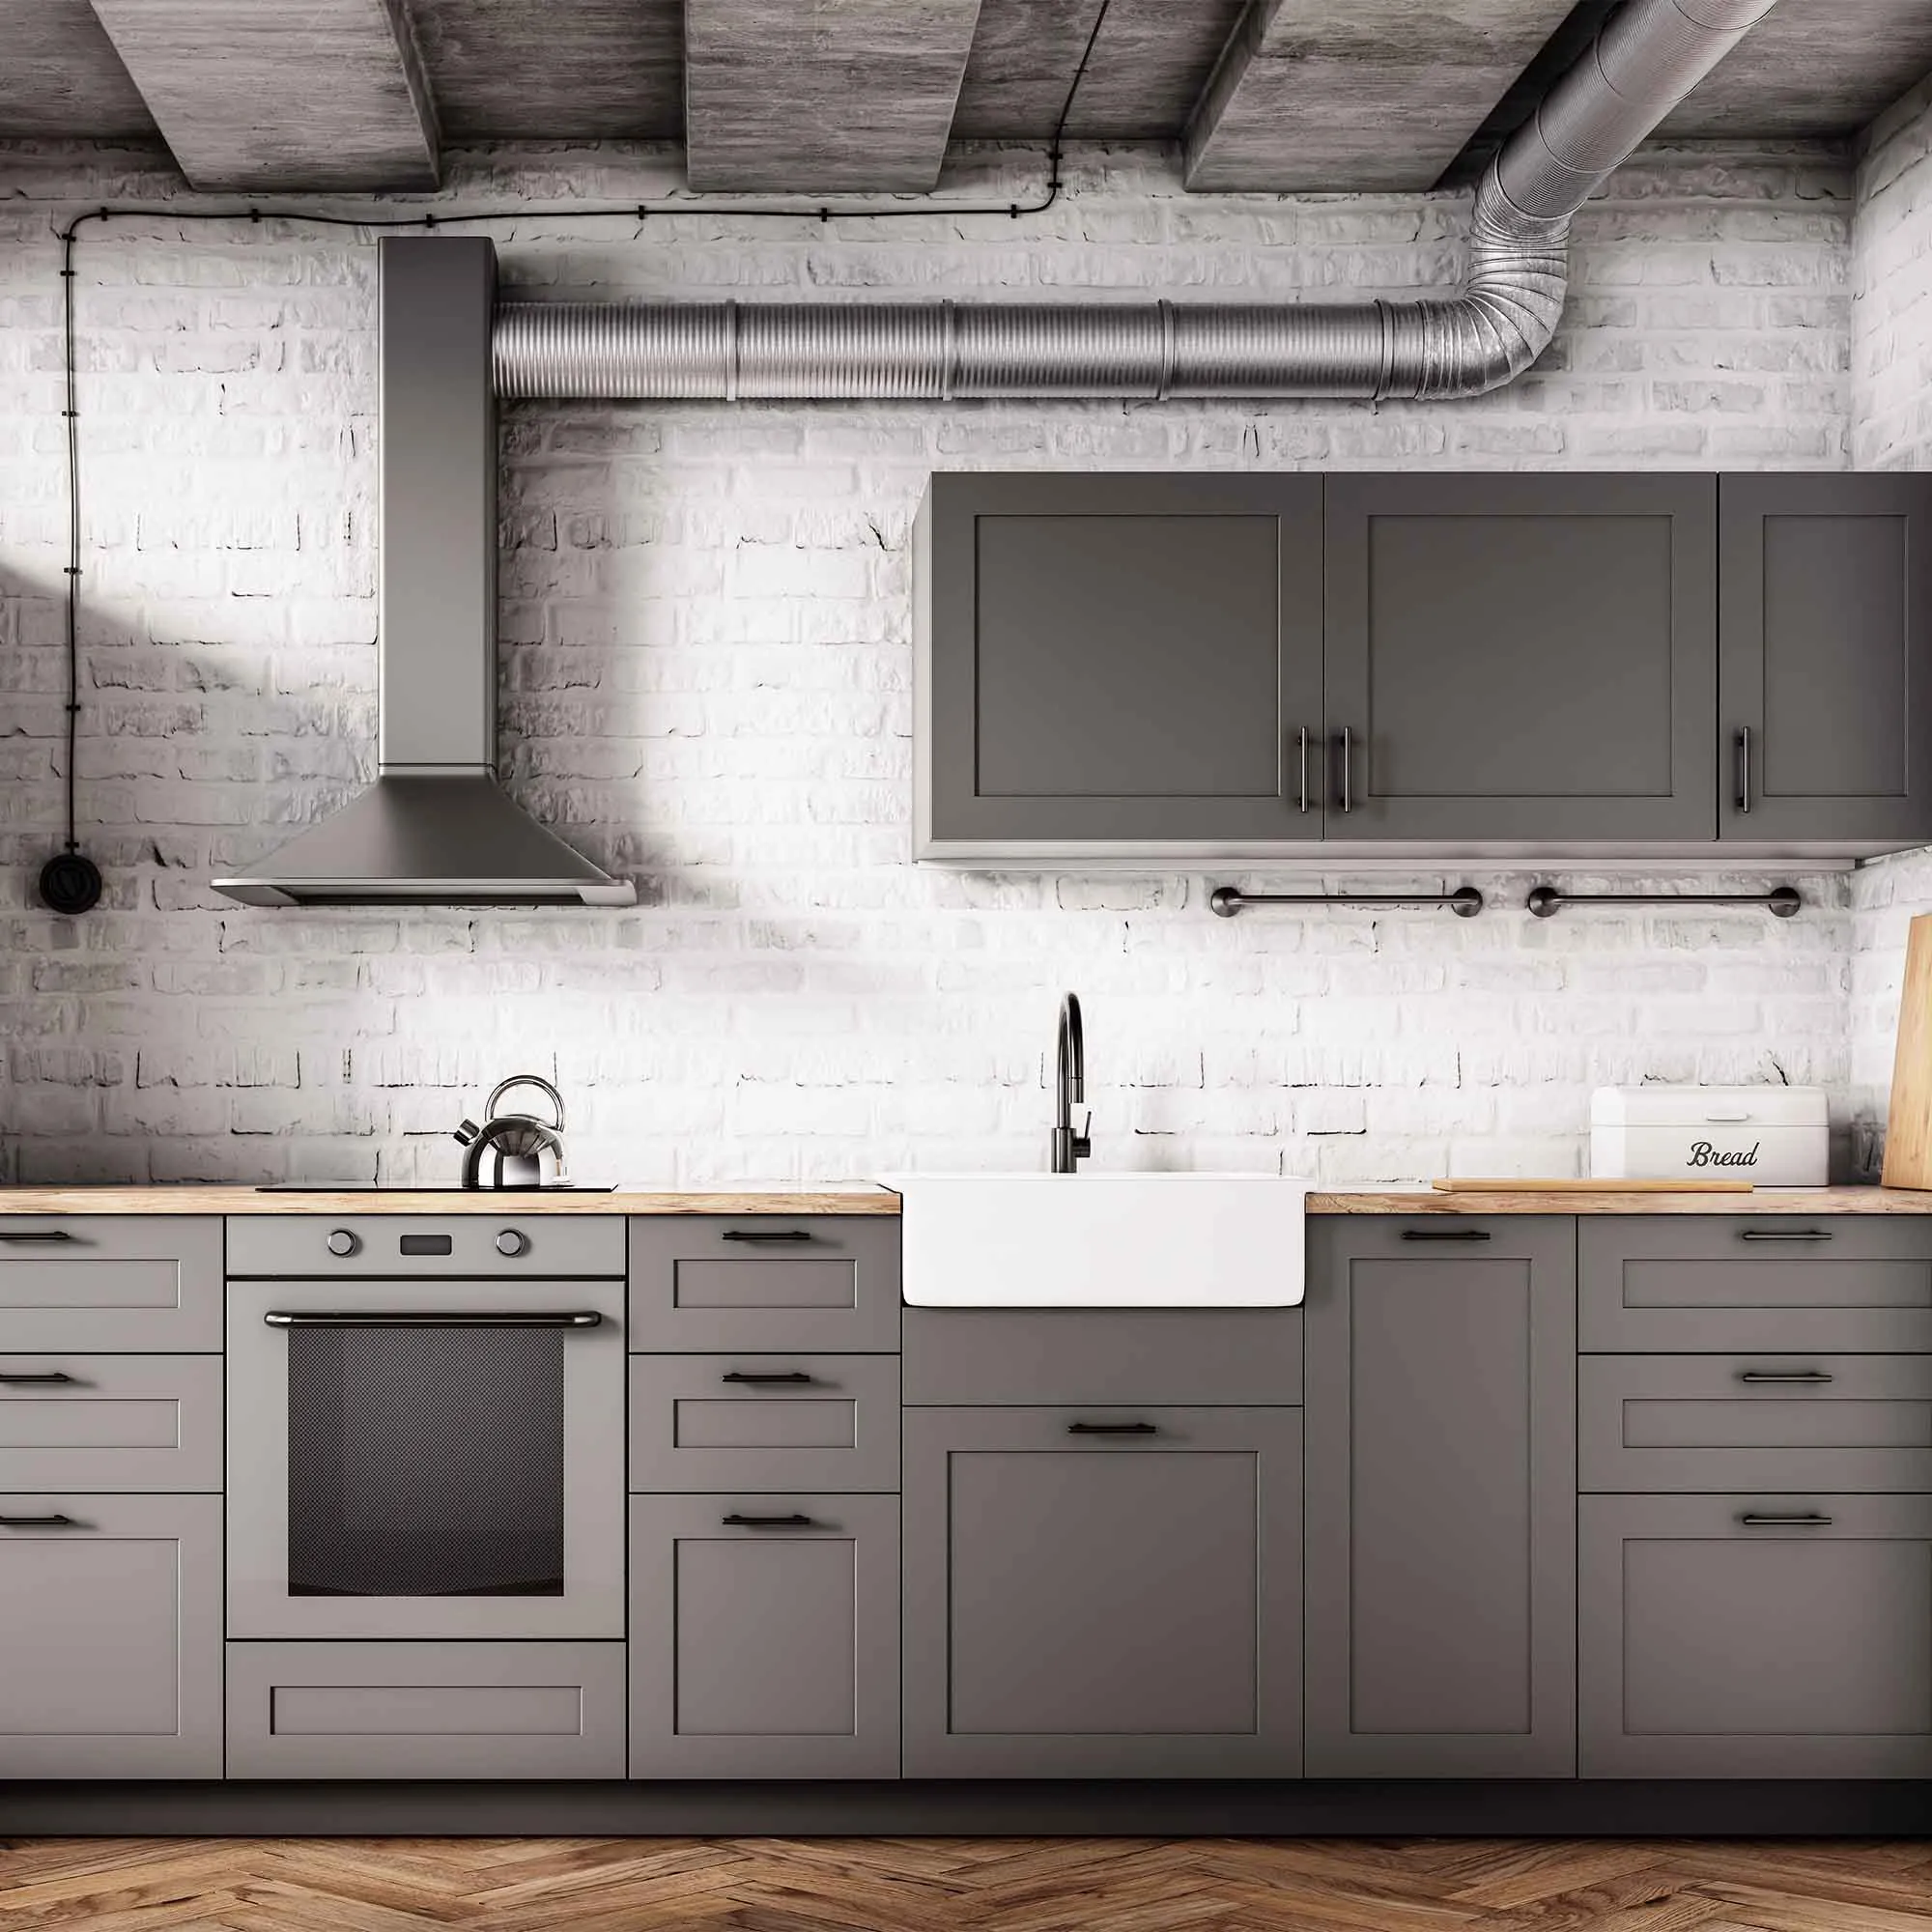
Cabinet sheen affects how door profiles, wood grain, and kitchen lighting appear together. A glossy sample may look crisp on a smooth panel while emphasizing texture on an older door. Compare finishes on representative material rather than choosing solely from a label such as satin or semi-gloss.
Review the sample under ceiling and under-cabinet lighting and from the adjoining room. Include the countertop and backsplash in the view because their reflections influence the overall effect. Check the actual coating’s suitability for cabinet use and cleaning; sheen terminology alone does not establish durability.
Decide whether doors, face frames, island panels, and open shelves will share the same finish. Record those choices clearly before application. After coating, allow the required cure before routine cleaning and close contact. During the final review, compare the result with the approved physical sample so the discussion focuses on an agreed appearance instead of a general expectation that all cabinet paint should look equally smooth or reflective.
Choose sheen around use and surface condition
Sheen affects more than whether a wall looks shiny. It changes how strongly surface irregularities and reflected light stand out. A very smooth sample may look attractive in a higher sheen, while the same finish can emphasize uneven patches on an older wall. Evaluate both the desired appearance and the condition you can realistically achieve through preparation.
Think about how the surface will be used. Areas touched regularly need a coating whose technical information supports the intended cleaning and wear. A finish name alone does not establish performance: products described as matte, eggshell, satin, or semi-gloss can differ between manufacturers. Compare the actual product information and ask for a sample when appearance is important.
Use an intentional relationship between neighboring surfaces. Trim does not have to match walls in sheen, but an accidental mix of finishes can make a repaired area look unfinished. Write down the sheen for each surface, including ceilings and doors. When touching up existing work, matching the color without matching the sheen may leave a visible patch even if the paint was applied carefully.
Evaluate the finish in the room’s actual light
A color chip gives you a starting point, but the room determines how that color appears. Daylight, lamps, nearby flooring, and large pieces of furniture all influence what you see. Look at samples in the morning and evening, and switch on the lighting you normally use. A sample that appears neutral at noon may look noticeably warmer after sunset.
Place samples on more than one wall when the room receives uneven light. A shaded corner and a wall facing a window may make the same paint look different. Keep the existing surroundings visible so you can judge relationships rather than viewing an isolated patch against plain white paper.
For the final decision, use a sample that represents the intended finish as closely as possible. Sheen changes reflection, and a small color card cannot show the appearance of a broad glossy surface. Record the selected color name, code, manufacturer, and finish. Photographs are useful reminders, but screen brightness and camera processing make them unreliable as the final color standard. Approve the physical sample in person whenever practical.
Use a small trial to answer the difficult questions
A trial area is most useful when it represents the real challenge. Choose a discreet but meaningful location with the same material, existing finish, and preparation needs as the rest of the job. A convenient piece of unrelated scrap may show color but tell you little about adhesion, absorption, or cleaning response on the actual surface.
Follow the complete proposed process on the sample. If the project includes cleaning, a primer, and two finish coats, a single swipe of topcoat is not an equivalent test. Respect the product’s drying and evaluation instructions. Check the result after it has had the specified time to develop, rather than judging only while it is wet.
Write down what you used and what you observed. Look for discoloration, softening, lifting, uneven absorption, and changes in texture. If the sample fails, stop and investigate before applying more material. A successful trial cannot guarantee every hidden condition, but it can prevent a small compatibility problem from becoming a room-wide or building-wide repair. Keep the approved sample available during the work as a visual reference.
Decide whether visible wood grain belongs in the result
Painting wood cabinets does not automatically create the appearance of a smooth manufactured panel. Open grain, joints, and existing texture may remain visible through the finish. Discuss that appearance before choosing products or comparing estimates. A color change and a grain-filling project can involve very different preparation scopes.
Examine a representative door in both direct and side light. If a smoother appearance is desired, ask for a sample that includes the complete proposed filling, priming, and coating sequence. Follow compatible-system guidance, and evaluate the dry sample rather than a photograph of unrelated cabinets. Some construction joints may remain visible even after careful preparation.
Consider whether the additional work is worthwhile for the cabinet’s condition and design. A smooth finish cannot correct loose joints, damaged panels, or failing veneer by itself. Record the accepted sample and the limits of the scope. During the final walkthrough, compare against that agreed result instead of expecting paint to erase every feature of the original wood. Clear expectations make the finish choice more practical and the completed kitchen easier to assess.
Remove kitchen residue before preparing cabinets
Cabinet surfaces near cooking and frequent hand contact may carry residue that is not obvious at first glance. Inspect around pulls, beside the range, above appliances, and along upper edges. Cleaning needs to address contamination before any preparation method spreads it across the surface. Identify the cabinet material and existing finish first.
Choose a cleaner compatible with that finish and the planned coating system. Test a discreet area, follow dilution and rinsing instructions, and avoid saturating joints, exposed panel edges, or hardware. More liquid or stronger cleaner can damage a vulnerable substrate without making it more paint-ready.
Let surfaces dry and inspect them again under angled light. Residue, polishing products, and worn areas may need further assessment. Do not proceed simply because the broad flat faces look clean; profiles and corners can retain contamination. Complete a representative adhesion and finish trial using the full proposed system. Cabinet repainting places substantial demands on preparation because the finished parts will be handled, cleaned, and brought into close contact with one another repeatedly.
Protect cabinet finishes during reassembly and early use
Cabinet parts experience contact immediately when doors close and drawers slide. That makes drying and curing arrangements especially important. Follow the exact coating system’s guidance before handling, installing hardware, closing parts against stops, or returning stored objects. A surface that feels dry can still be vulnerable to pressure and abrasion.
Plan the kitchen’s temporary use around those restrictions. Keep frequently needed items accessible elsewhere and avoid rushing reassembly because storage has become inconvenient. When parts are ready, handle them with clean hands and use protected surfaces that will not imprint or scratch the finish. Check alignment so doors and drawers do not rub.
Ask when routine cleaning and normal loading can resume. Avoid adhesive accessories, shelf liners, bumpers, or pads until their compatibility and timing are clear. Record any care limitations alongside the product details. During the first period of use, correct mechanical rubbing promptly rather than trying to cover the resulting damage with more paint. Good reassembly preserves the work that went into preparation and application.
Build care into the finishing plan
Ask how the surface should be cared for before it returns to regular use. Cleaning that is harmless to a mature finish may damage a newly applied coating. Follow the product’s curing and maintenance directions, and keep a record of any special restrictions. Waiting appropriately before the first wash is part of the project, not an optional extra.
Use the least aggressive method that is suitable for the material and soil. Remove loose grit before wiping, test a discreet spot, and use clean tools. Repeated hard rubbing can change sheen or wear through a finish even when the color itself remains. Pay special attention to edges, corners, and places where water could collect.
Inspect high-contact and weather-exposed areas periodically. Deal with small sources of abrasion or moisture, such as a rubbing door or a planter that traps water, before they create a larger repair. Keep maintenance expectations realistic: a finish does not eliminate the need to clean, adjust hardware, or correct building problems. Consistent care is easier when the original product and surface records are available.
Create a finish map that another person can understand
Use a simple plan or room list to connect every finish to its location. Write the product line, manufacturer, color, sheen, and any primer beside the relevant surface. Include special preparation only where it affects future work. Someone unfamiliar with the project should be able to identify the system without opening several containers and guessing.
Photograph readable labels and keep them with the written map. Record approved samples, completion dates, and care restrictions. Label retained materials and store them according to their instructions. An unidentified remainder is less useful than a clear product record, particularly after storage or aging changes its condition.
Update the map after repairs or later phases. Mark substitutions explicitly and keep the old information as history rather than allowing contradictory notes to circulate. When a problem returns, add its location and observed pattern before treatment removes the evidence. These records support maintenance and estimates, while keeping expectations realistic: a saved formula helps identify the finish but cannot guarantee that fresh material will disappear into an aged surrounding surface.
Planning your next step
Use the inspection notes and sample decisions from this guide to describe the work you want completed. Bring photographs of uncertain areas and list the surfaces that should be included before comparing estimates. For broader background, read our How To Paint Kitchen Cabinets A 2022 Step By Step Guide, or review AK Painters Pro Corp.’s services.
When you are ready to discuss the scope, request a free estimate. Related reading: