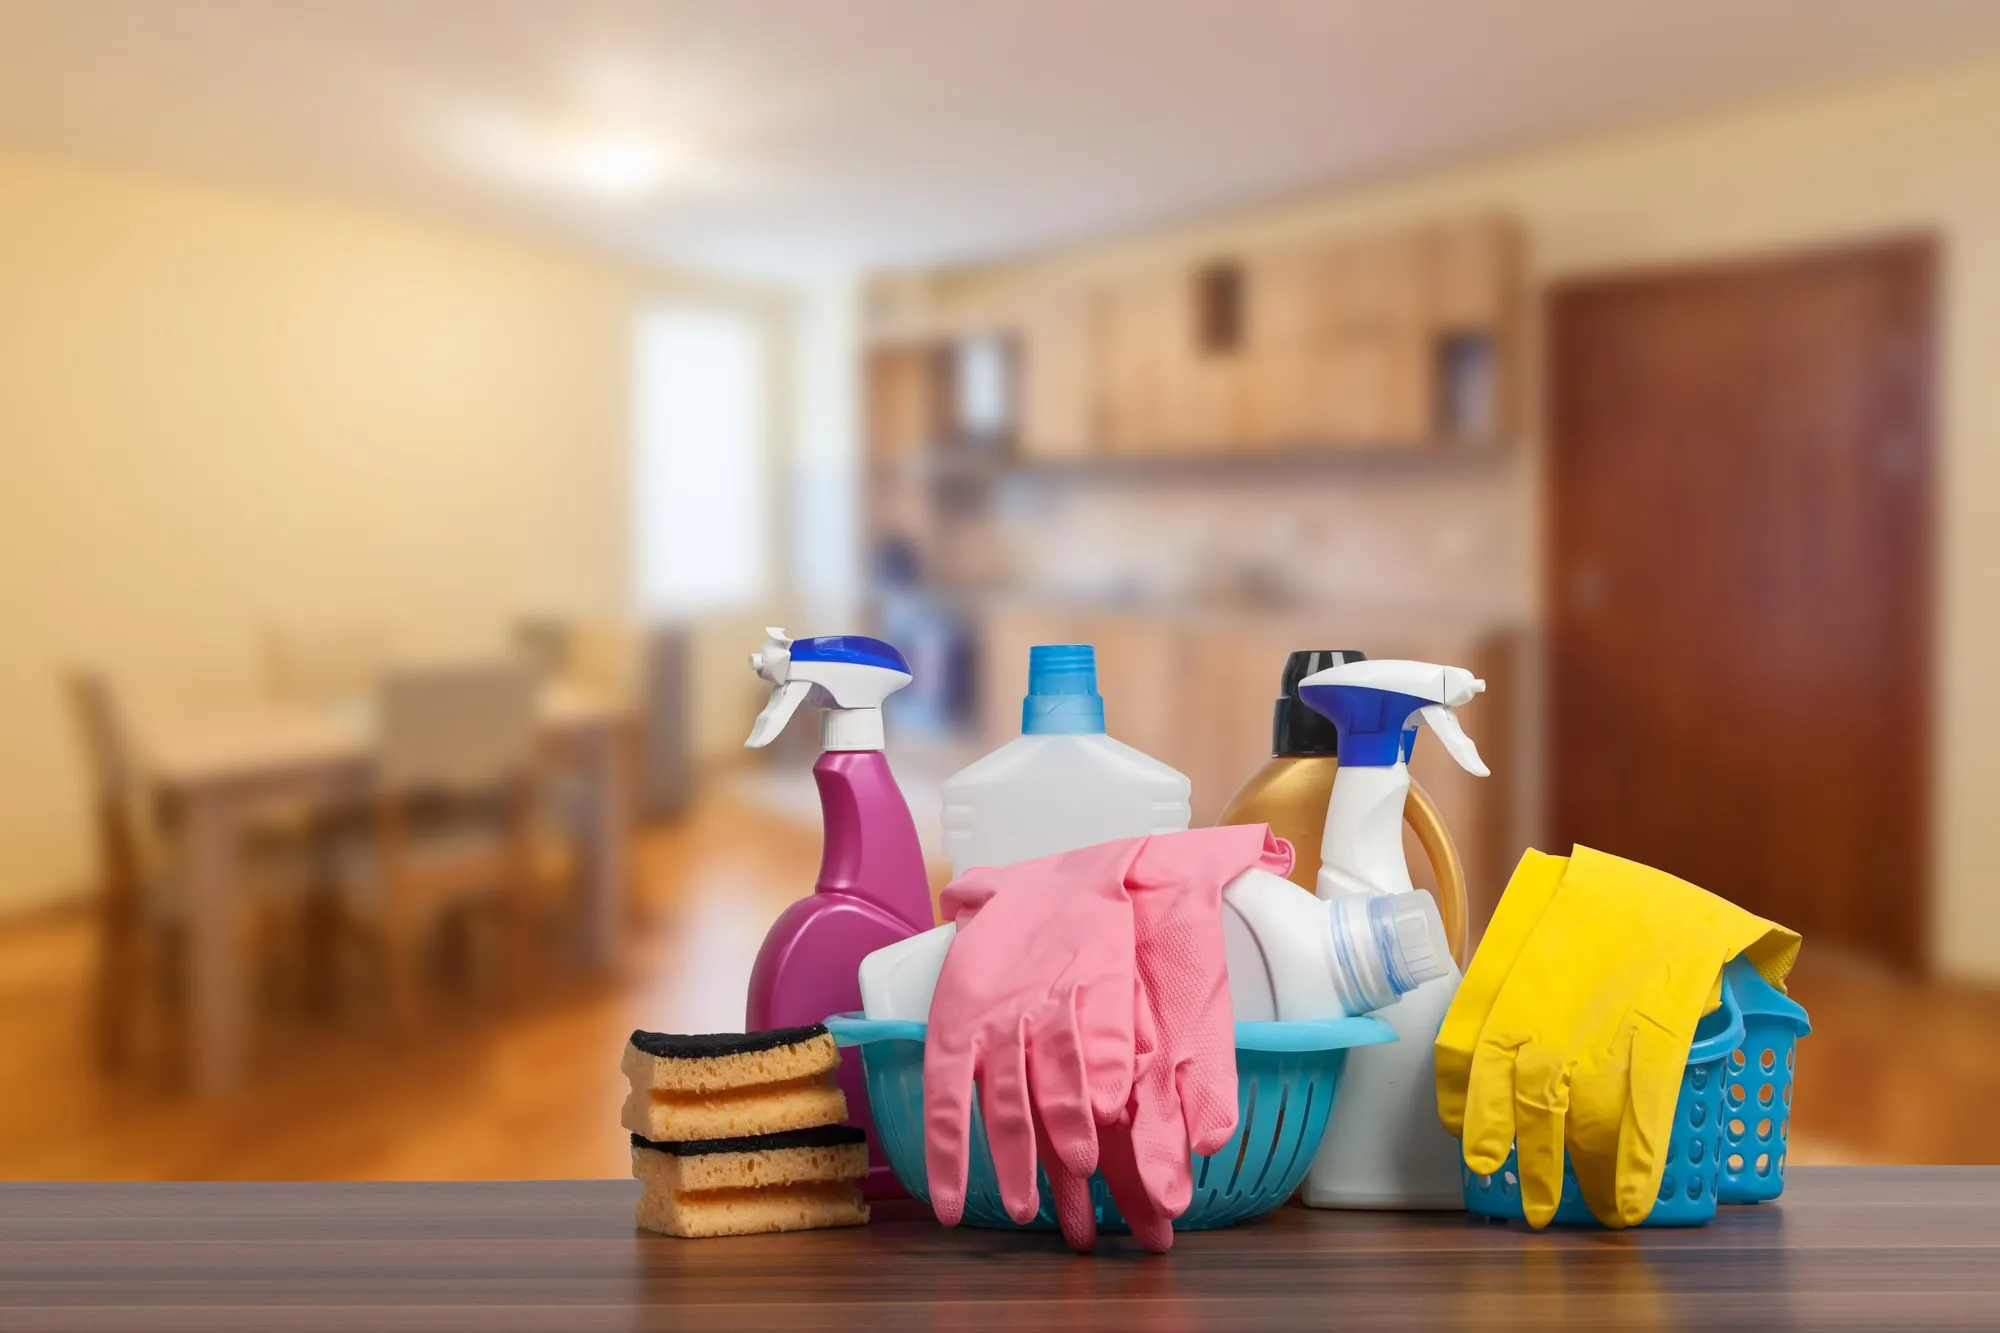
A home office cleaning visit should begin with the owner’s handling rules for documents and equipment. Secure sensitive materials and decide who will disconnect or move devices. Cleaning around a computer is different from cleaning its internal components, and those tasks should not be confused.
Identify the desk, shelving, flooring, and painted finishes before selecting products. Keep liquids away from electrical equipment and use methods supported by the device manufacturer for any exterior device cleaning included. Collect dust with appropriate tools instead of pushing it into vents or cable connections.
Work through accessible surfaces in an orderly sequence and inspect behind movable items only through the agreed plan. Let surfaces dry before equipment and documents return. Record damaged furniture or recurring cable-related abrasion separately from cleaning. A clear scope protects the working setup while leaving the room easier to maintain during ordinary daily use.
Assign responsibility for clearing and restoring the workspace
Before office work begins, list the contents that block access and decide who will move each group. Staff should secure documents and personal belongings, while appropriate personnel handle electronics, connected equipment, and specialized devices. Do not leave those responsibilities to a last-minute assumption that anyone carrying a paintbrush can disconnect the room.
Photograph layouts and label removable parts where accurate restoration matters. Provide a protected temporary storage area that does not obstruct required routes or building systems. Equipment that remains operating must retain the clearance and ventilation it needs, even when furniture is covered or consolidated.
Coordinate restoration only after inspection, cleaning, and the finish’s required drying conditions. Check the wall areas that will become hidden behind desks and cabinets before access disappears. Use protected movement routes so furniture corners and tools do not mark new paint. Let the responsible staff reconnect and check equipment. This clear division of tasks helps the workspace return to use with its belongings accounted for and its new finish intact.
Map overlooked dust locations before the final floor pass
Walk around the room and list accessible ledges, profiles, shelf backs, door tops, and window details. These locations are easy to miss when cleaning is organized only around large furniture and floors. Identify any equipment or high area that needs a separate access arrangement rather than reaching from an unstable position.
Use tools that collect the dust and suit the finish. A soft attachment may be appropriate for one surface while another needs a manufacturer-approved wiping method. If the material comes from building work or has an uncertain source, have it assessed before treating it as ordinary dust.
Work down the list from higher accessible areas toward lower ones. Keep cleaned belongings separate from dirty tools and inspect low-angle light for remaining residue. Complete the floor after the upper work so it does not immediately need repeating. Record inaccessible areas honestly in the scope. A detailed dusting result comes from systematic coverage of appropriate surfaces, not a claim that every concealed void, duct, or piece of equipment has been cleaned.
Write a surface list before selecting cleaning products
Make one row in your cleaning notes for each material: floor, painted wall, counter, cabinet, fixture, appliance, and glass where relevant. Add the finish or manufacturer if known. The purpose is to prevent a room label such as “bathroom” from implying that all its surfaces can receive the same treatment.
Next, record the visible condition. Note open seams, worn coatings, cracks, and fresh finishes with curing restrictions. Photograph damage that needs to remain distinguishable from the cleaning result. Identify uncertain surfaces for a discreet compatibility test before the main work starts.
Match products to that list using their labels and the material’s care guidance. Include whether residue must be rinsed away and where liquid must be kept out. Keep original labels available and never combine products. If a task needs specialized contamination handling, move it outside the ordinary cleaning scope until it has been assessed. This small planning step reduces trial-and-error treatment on prominent surfaces and makes it easier to explain why one area may need a different approach from another nearby.
Organize cleaning tools by the job they will do
Lay out the tools before cleaning and assign them to separate tasks. Keep a cloth for delicate finished surfaces apart from one used for gritty lower edges or heavily soiled fixtures. A simple grouping system prevents cross-use when the work becomes busy. Check each tool for trapped particles and dried product before it touches a visible finish.
Use these checkpoints as the work progresses:
- Change to a clean cloth face when the current one is visibly soiled.
- Replace dirty water or pads instead of extending them across another room.
- Set aside a tool immediately if it collects sharp debris or an unknown substance.
- Follow the tool manufacturer’s washing and drying instructions before reuse.
Choose attachments and brushes for the actual material rather than using pressure to overcome a poor fit. A narrow soft tool may reach a profile more effectively than a large pad that rubs only its high points. When a mark remains, reassess it before escalating abrasion. Tool cleanliness and suitability protect the surface throughout the job, not just during the first pass.
Use a room checklist that prevents repeated cleaning
Clear the work area and identify the surfaces that need attention before starting. Put tasks in an order that keeps later work from dirtying completed areas: accessible high details first, then vertical and horizontal surfaces, with the final floor pass after the rest. Adjust the sequence for the materials and tools actually involved.
Keep dirty and clean tools separate as you move through the list. Replace water and cloth faces when they stop collecting soil effectively. Use appropriate boundaries between heavily soiled fixtures and general household surfaces rather than carrying the same tool through every task.
Mark completed areas and leave enough drying time before returning belongings. Inspect edges and corners under normal lighting; a clean center can distract from residue along a profile or behind an accessible object. If another trade or moving task remains, postpone the relevant final pass instead of repeating it several times. An orderly checklist makes progress visible and leaves a clearer distinction between cleaning that is finished, cleaning still blocked by access, and damage that needs a separate repair.
Inspect floor condition before deciding how wet to clean
Identify the floor material and its finish, then look at seams, edges, worn paths, and areas beneath mats. Those details can change what cleaning is appropriate. Use the manufacturer’s care instructions and any recent refinishing guidance rather than assuming that a durable-looking surface tolerates standing water or steam.
Remove grit with suitable tools before wet treatment. Apply the compatible cleaner in a controlled amount and change pads or water when they become dirty. Protect access routes while the surface is wet, and avoid moving abrasive furniture feet across areas that have just been cleaned.
Review the dry floor for residue and damage. A sticky film, a worn finish, and a scratch are different conditions; adding more cleaner may help none of them. If restoration is needed, define it separately from ordinary cleaning. Return mats and furniture only when appropriate and record a simple ongoing method. This keeps maintenance tied to the actual floor instead of cycling through stronger products whenever the appearance changes.
Set up protection around the way work will move
Trace the route from the entrance to the work area before laying coverings. Identify where tools turn corners, where parts will be stored, and where people need to pass. Protection should remain stable under those movements instead of becoming a loose obstacle that shifts each time something is carried through.
Match coverings to the risk. Dust containment, spill protection, and support for removed components are different needs. Test any adhesive product on a discreet compatible area and follow its removal timing. Delicate flooring, fresh coatings, wallpaper, and aged finishes may need another approach.
Check protection at each change of stage. Preparation debris should not remain where it can be dragged across finished surfaces during reassembly. Keep fittings, controls, labels, and moving parts free from coating as appropriate, and label hardware that is removed. Before normal use resumes, inspect the protected surfaces and remove coverings carefully. A good setup does more than catch the first drip; it remains useful through repairs, application, drying, cleanup, and the movement of belongings back into place.
Define exactly what will be finished
A useful project description names the surfaces instead of relying on the name of the room. Walls, ceilings, baseboards, window casings, doors, and built-in shelves may need different preparation and different coatings. Walk through the space and list each item that belongs in the job. Identify both faces of doors, closet interiors, and the edges that are visible only when something is opened.
Separate appearance changes from repairs. A color change on sound paint is different from work on peeling layers, damaged drywall, or water-stained trim. Mark uncertain areas for inspection before deciding how much finishing work is reasonable. Photographs taken in normal daylight can help you remember the condition and discuss it consistently.
Keep a second list of exclusions. Furniture refinishing, electrical work, leak repairs, and moving large appliances should never become assumed tasks simply because they are near a painted surface. With clear boundaries, you can compare estimates and evaluate the finished result against the same expectations. It also becomes easier to divide a larger improvement into manageable stages.
Planning your next step
Use the inspection notes and sample decisions from this guide to describe the work you want completed. Bring photographs of uncertain areas and list the surfaces that should be included before comparing estimates. For broader background, read our The Best House Cleaning Tips and Tricks 2022, or review AK Painters Pro Corp.’s services.
When you are ready to discuss the scope, request a free estimate. Related reading: