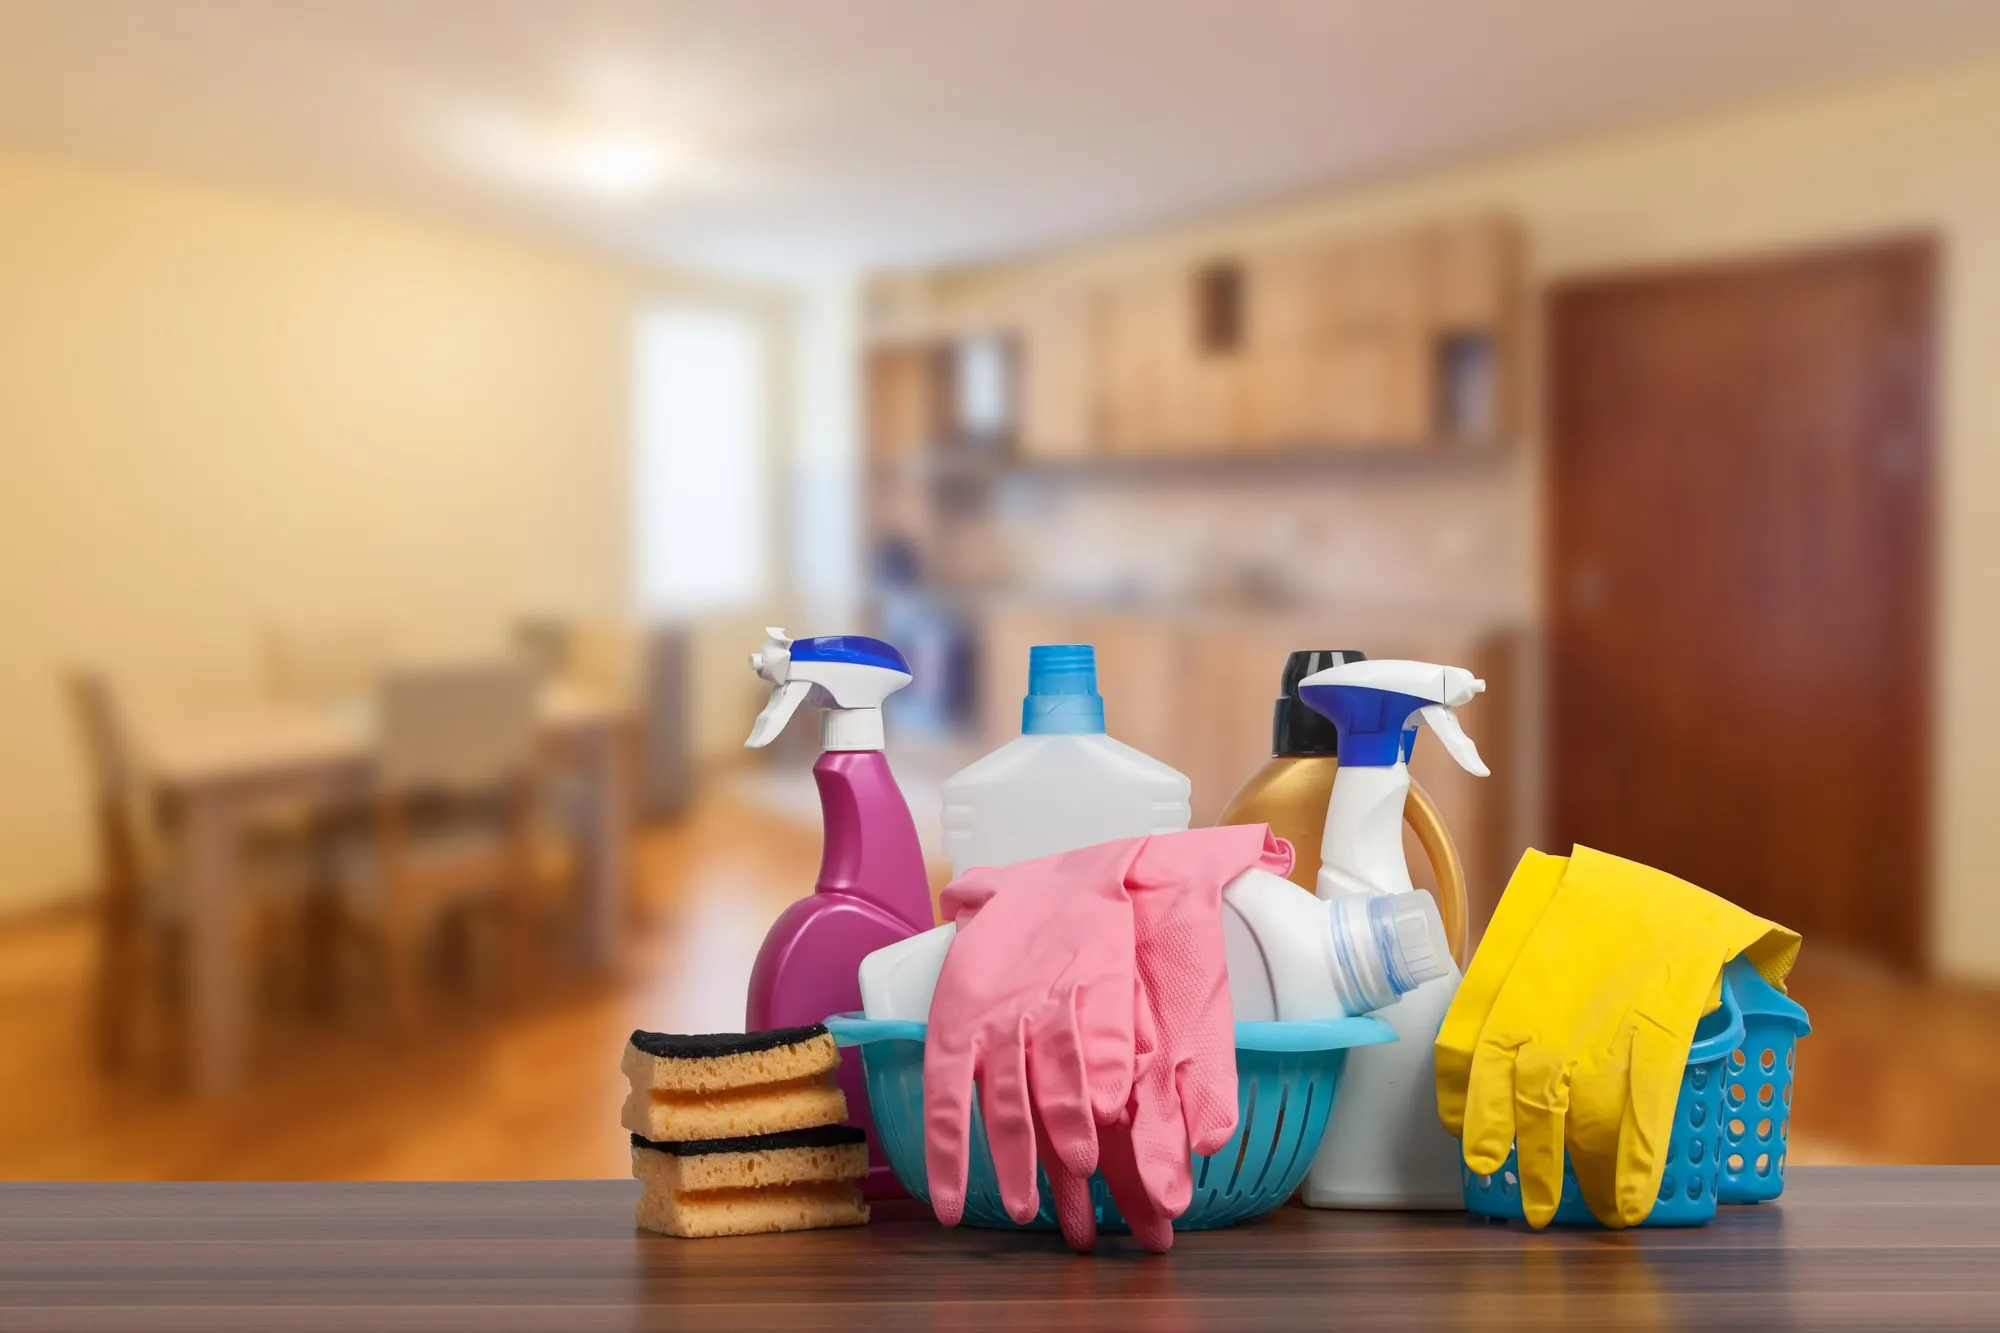
Microwave cleaning should follow the appliance manual, including which parts are removable and which surfaces need special care. Start by clearing loose food debris and identifying the turntable, supports, interior lining, door seals, and control area. Damage to the lining or seals belongs in a maintenance assessment, not an aggressive cleaning attempt.
Use compatible methods and avoid flooding openings or controls. Follow any manufacturer instructions for loosening residue, rinsing, and drying. Do not improvise chemical mixtures or abrasive tools to speed up removal of a stubborn mark.
Reassemble removable parts correctly and inspect the dry interior before returning the appliance to use. Include the handle and accessible exterior in the agreed scope, using products suitable for that finish. A simple routine for spills can reduce the need for stronger treatment later, while keeping unusual odors, damage, or operating concerns separate from an ordinary household cleaning task.
Use the appliance manual to define cleaning boundaries
Find the model’s cleaning instructions before deciding what to remove or which product to use. Identify accessible interior surfaces, exterior finishes, removable parts, controls, seals, and openings that must be protected. A familiar appearance does not establish that two appliances share the same coating or care requirements.
Arrange contents and any required cooling or shutdown in advance. Movement involving gas, water, or fixed electrical connections needs the appropriate person and should not become an assumed cleaning step. Keep the scope specific enough that an exterior wipe is not confused with internal maintenance or repair.
Follow the approved sequence for residue removal, rinsing, drying, and reassembly. Do not force parts into place or apply stronger chemicals to damaged finishes. Record cracked components, failed seals, and unusual conditions for the owner to address through a qualified technician. Before returning the appliance to use, check that the cleaning steps and reassembly requirements have been completed. The aim is a clean appliance within its manufacturer’s limits, with maintenance issues clearly distinguished from soil.
Match the cleaning method to each material
Before opening a cleaner, identify what you are cleaning. Natural stone, sealed wood, painted surfaces, stainless steel, glass, and laminate can respond differently to the same product. Manufacturer care instructions are the best starting point when available. If the material or finish is uncertain, choose a discreet test area and avoid aggressive treatment.
Make a short inventory of surfaces and their visible condition. Scratches, worn coatings, cracked seals, and exposed edges can affect what cleaning is appropriate. A mark may be damage rather than removable soil. Record pre-existing problems so they are not confused with the result of the cleaning work.
Use the product according to its label, including dilution, contact time where relevant, ventilation, rinsing, and protective equipment. Do not mix cleaning products. Keep containers labeled and separate clean tools from dirty ones. A material-based plan is more reliable than assuming one strong product should be used everywhere. It also helps identify work that needs specialist treatment rather than repeated scrubbing of a vulnerable surface.
Clean a kitchen without overlooking contact points
A kitchen cleaning plan should distinguish food-contact surfaces, appliance exteriors, cabinets, and floors. Identify each material and use compatible products. Clear counters before beginning, store food appropriately, and avoid spraying cleaners toward exposed food, utensils, outlets, or appliance controls. Follow label instructions for surfaces that contact food.
Pay attention to handles, cabinet edges, backsplash joints, and accessible areas beside appliances. These locations can retain residue even when the broad counter looks clean. Use separate tools where appropriate and avoid flooding seams or unfinished panel edges. Wipe cleaner away as directed so the result is not left sticky or streaked.
Coordinate appliance movement and interior cleaning explicitly. Heavy appliances, gas connections, water lines, and electrical equipment should not be moved casually as part of an assumed cleaning task. After cleaning, inspect under ordinary lighting and let surfaces dry before returning items. A useful kitchen scope names the details included, so a tidy counter does not become a substitute for the more time-consuming work the household actually expected.
Let the product instructions determine contact and rinsing
Cleaning products need to be used as directed to work as intended. Read the label for the surface type, dilution, contact time where applicable, and rinsing requirements. Do not assume that spraying and immediately wiping is suitable for every task, or that leaving a product longer always improves the result.
Work in an area small enough to control. Prevent a product from drying where the instructions do not allow it, and keep it away from incompatible neighboring materials. Never combine products to create a stronger mixture. If a cleaner does not remove the soil under the approved conditions, reassess the material and the nature of the mark before escalating.
After the required treatment, rinse or remove residue as directed and let the surface dry before inspection. Streaks or dullness may come from remaining product rather than remaining dirt. Use clean water and tools where the method calls for them. A correct sequence produces a more useful result than repeated applications that leave an increasingly heavy film behind.
Use clean tools without grinding soil into finishes
Cleaning tools collect the material they remove, so their condition matters throughout the job. A cloth that worked well at the start can become abrasive after picking up grit. Inspect and change cloth faces regularly, and separate tools by task. Do not carry residue from a bathroom fixture onto a kitchen counter or painted wall.
Match brushes, pads, and vacuum attachments to the material. A stiff brush or abrasive pad can alter sheen, scratch a soft surface, or wear through a finish. Begin with the least aggressive suitable method, test discreetly, and increase effort only when the material and product instructions support it. More pressure is not a universal solution.
Clean and store reusable tools according to their instructions after the work. Allow them to dry appropriately rather than leaving damp items bundled together. Keep product residues from contaminating tools intended for another purpose. Good tool habits support a consistent result and reduce the risk that cleaning one area creates visible scratches or streaks in the next.
Use a room checklist that prevents repeated cleaning
Clear the work area and identify the surfaces that need attention before starting. Put tasks in an order that keeps later work from dirtying completed areas: accessible high details first, then vertical and horizontal surfaces, with the final floor pass after the rest. Adjust the sequence for the materials and tools actually involved.
Keep dirty and clean tools separate as you move through the list. Replace water and cloth faces when they stop collecting soil effectively. Use appropriate boundaries between heavily soiled fixtures and general household surfaces rather than carrying the same tool through every task.
Mark completed areas and leave enough drying time before returning belongings. Inspect edges and corners under normal lighting; a clean center can distract from residue along a profile or behind an accessible object. If another trade or moving task remains, postpone the relevant final pass instead of repeating it several times. An orderly checklist makes progress visible and leaves a clearer distinction between cleaning that is finished, cleaning still blocked by access, and damage that needs a separate repair.
Build care into the finishing plan
Ask how the surface should be cared for before it returns to regular use. Cleaning that is harmless to a mature finish may damage a newly applied coating. Follow the product’s curing and maintenance directions, and keep a record of any special restrictions. Waiting appropriately before the first wash is part of the project, not an optional extra.
Use the least aggressive method that is suitable for the material and soil. Remove loose grit before wiping, test a discreet spot, and use clean tools. Repeated hard rubbing can change sheen or wear through a finish even when the color itself remains. Pay special attention to edges, corners, and places where water could collect.
Inspect high-contact and weather-exposed areas periodically. Deal with small sources of abrasion or moisture, such as a rubbing door or a planter that traps water, before they create a larger repair. Keep maintenance expectations realistic: a finish does not eliminate the need to clean, adjust hardware, or correct building problems. Consistent care is easier when the original product and surface records are available.
Turn a broad project request into a surface checklist
Stand in the space with a notebook and name each surface you expect to change. Include the details that are easy to overlook: inside returns, exposed ends, shelf backs, door edges, and accessible undersides. Mark items that stay as they are. This checklist becomes the common reference for the estimate, preparation, and final inspection.
For each included item, record the current condition and the intended result. “Change color on sound paint” is a different task from “repair damaged substrate and restore a uniform finish.” Identify uncertain areas for assessment rather than hiding them inside a general allowance.
Assign responsibilities for moving contents, disconnecting equipment, repairs by other trades, and disposal where relevant. Agree on how newly discovered work will be approved before it proceeds. Keep the list concise enough to use on site, with photographs for complicated locations. A clear scope gives routine decisions a reliable boundary and makes it easier to explain any change in time or cost without relying on assumptions about what the original room or service name included.
Planning your next step
Use the inspection notes and sample decisions from this guide to describe the work you want completed. Bring photographs of uncertain areas and list the surfaces that should be included before comparing estimates. For broader background, read our The Best House Cleaning Tips and Tricks 2022, or review AK Painters Pro Corp.’s services.
When you are ready to discuss the scope, request a free estimate. Related reading: