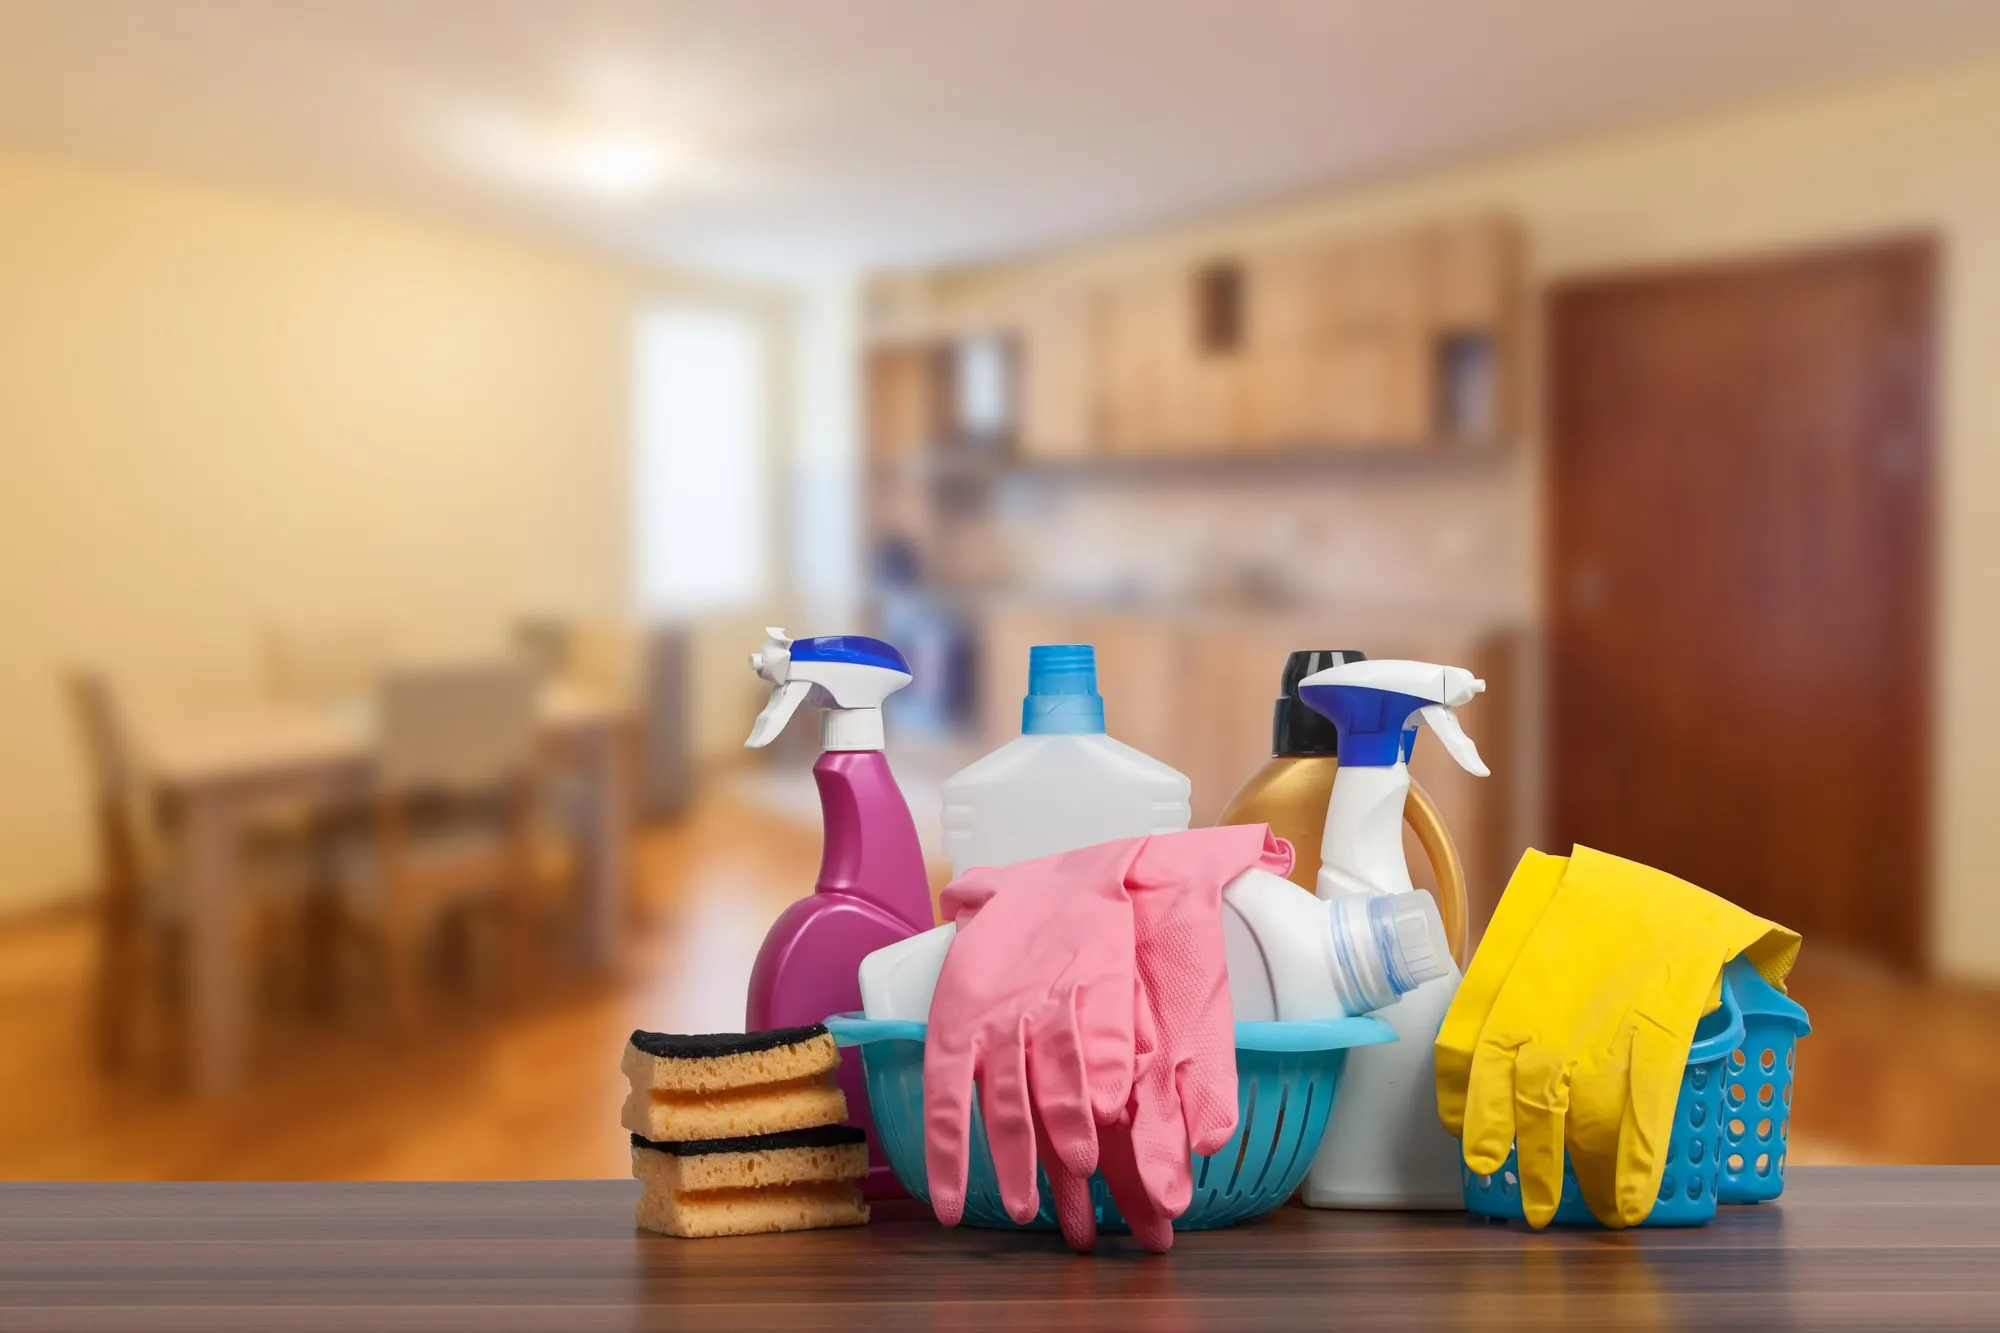
Painted kitchen walls may carry grease, splashes, and hand marks that behave differently from ordinary dust. Identify the coating if records are available and confirm that it has completed the required cure. Test a compatible method discreetly before working beside the range or sink.
Remove loose soil gently and avoid saturating joints, damaged paint, or electrical fittings. Follow cleaner instructions for dilution and residue removal. Work across a manageable area instead of scrubbing one stubborn mark until the sheen changes.
Inspect when dry. A remaining patch may be staining, abrasion, or worn finish rather than removable residue. Stop before enlarging the damage and discuss repainting if appropriate. Keep recurring moisture or splash patterns on the maintenance list. A useful cleaning routine preserves the coating and identifies where daily use or an unresolved condition is creating repeated problems.
Test cleaning on a painted surface before treating the mark
Check the coating record and its curing requirements first. If that information is missing, treat the surface cautiously and choose a discreet area for testing. A painted finish may tolerate ordinary wiping while remaining vulnerable to strong chemicals, abrasives, or concentrated pressure.
Collect loose dust and grit with a suitable tool before introducing a compatible cleaner. Use controlled moisture and keep liquid away from damaged areas and electrical fittings. Follow the cleaner and coating guidance for residue removal, then wait until the test area dries before judging the appearance.
Compare sheen as well as color. A mark can disappear while leaving a polished-looking patch caused by rubbing. If the remaining defect appears to be wear, embedded staining, or missing paint, stop cleaning and consider the appropriate repair. Record what products were used so a painter can account for them later. This deliberate trial protects a broad visible surface from becoming a larger problem through repeated treatment of a small area that was never ordinary dirt.
Clean walls before deciding how much to repaint
Begin by identifying the finish and the kind of soil on it. Loose dust, kitchen residue, hand marks, and a water stain are different problems. Remove dry dust gently before introducing moisture, and test the proposed cleaning method where a small change will not be conspicuous. Some flat or aged coatings do not tolerate repeated rubbing.
Use a cleaner and dilution compatible with the existing surface. More concentrated cleaner is not automatically more effective, and residue can interfere with the next coating. Follow the cleaning product’s instructions for rinsing and allow the wall to dry before evaluating it. Keep liquid away from electrical fittings and do not saturate seams or damaged areas.
Look at the dry surface in ordinary light. A mark that remains may be staining, burnishing, or wear rather than removable dirt. Stop before cleaning creates a larger shiny patch. If repainting is necessary, explain what was used to clean the area so the preparation plan can account for it. This simple assessment can distinguish a maintenance task from a coating repair.
Clean a kitchen without overlooking contact points
A kitchen cleaning plan should distinguish food-contact surfaces, appliance exteriors, cabinets, and floors. Identify each material and use compatible products. Clear counters before beginning, store food appropriately, and avoid spraying cleaners toward exposed food, utensils, outlets, or appliance controls. Follow label instructions for surfaces that contact food.
Pay attention to handles, cabinet edges, backsplash joints, and accessible areas beside appliances. These locations can retain residue even when the broad counter looks clean. Use separate tools where appropriate and avoid flooding seams or unfinished panel edges. Wipe cleaner away as directed so the result is not left sticky or streaked.
Coordinate appliance movement and interior cleaning explicitly. Heavy appliances, gas connections, water lines, and electrical equipment should not be moved casually as part of an assumed cleaning task. After cleaning, inspect under ordinary lighting and let surfaces dry before returning items. A useful kitchen scope names the details included, so a tidy counter does not become a substitute for the more time-consuming work the household actually expected.
Match the cleaning method to each material
Before opening a cleaner, identify what you are cleaning. Natural stone, sealed wood, painted surfaces, stainless steel, glass, and laminate can respond differently to the same product. Manufacturer care instructions are the best starting point when available. If the material or finish is uncertain, choose a discreet test area and avoid aggressive treatment.
Make a short inventory of surfaces and their visible condition. Scratches, worn coatings, cracked seals, and exposed edges can affect what cleaning is appropriate. A mark may be damage rather than removable soil. Record pre-existing problems so they are not confused with the result of the cleaning work.
Use the product according to its label, including dilution, contact time where relevant, ventilation, rinsing, and protective equipment. Do not mix cleaning products. Keep containers labeled and separate clean tools from dirty ones. A material-based plan is more reliable than assuming one strong product should be used everywhere. It also helps identify work that needs specialist treatment rather than repeated scrubbing of a vulnerable surface.
Let the product instructions determine contact and rinsing
Cleaning products need to be used as directed to work as intended. Read the label for the surface type, dilution, contact time where applicable, and rinsing requirements. Do not assume that spraying and immediately wiping is suitable for every task, or that leaving a product longer always improves the result.
Work in an area small enough to control. Prevent a product from drying where the instructions do not allow it, and keep it away from incompatible neighboring materials. Never combine products to create a stronger mixture. If a cleaner does not remove the soil under the approved conditions, reassess the material and the nature of the mark before escalating.
After the required treatment, rinse or remove residue as directed and let the surface dry before inspection. Streaks or dullness may come from remaining product rather than remaining dirt. Use clean water and tools where the method calls for them. A correct sequence produces a more useful result than repeated applications that leave an increasingly heavy film behind.
Organize cleaning tools by the job they will do
Lay out the tools before cleaning and assign them to separate tasks. Keep a cloth for delicate finished surfaces apart from one used for gritty lower edges or heavily soiled fixtures. A simple grouping system prevents cross-use when the work becomes busy. Check each tool for trapped particles and dried product before it touches a visible finish.
Use these checkpoints as the work progresses:
- Change to a clean cloth face when the current one is visibly soiled.
- Replace dirty water or pads instead of extending them across another room.
- Set aside a tool immediately if it collects sharp debris or an unknown substance.
- Follow the tool manufacturer’s washing and drying instructions before reuse.
Choose attachments and brushes for the actual material rather than using pressure to overcome a poor fit. A narrow soft tool may reach a profile more effectively than a large pad that rubs only its high points. When a mark remains, reassess it before escalating abrasion. Tool cleanliness and suitability protect the surface throughout the job, not just during the first pass.
Keep the moisture investigation separate from cosmetic repair
Map the damaged area before cleaning or coating removes the evidence. Note its position relative to windows, plumbing, roof edges, ground level, and regularly wet objects. Compare whether the pattern changes after weather or normal use. These observations help the appropriate professional investigate the source.
Resolve the cause and establish that the material is suitable for repair before choosing paint or stain. Surface dryness alone may not describe the condition inside an assembly. Softened, swollen, crumbling, or persistently contaminated material needs assessment beyond a cosmetic finish.
Once the repair and drying requirements are met, select a compatible preparation and coating system for the sound substrate. A residual stain may need a specialized primer, but that step should follow the investigation rather than replace it. Retain photographs and the repair history, then check the location later. If the same pattern returns, use that evidence to reassess the cause instead of automatically adding another layer that temporarily hides the warning sign.
Check the places most likely to wear first
Create a short inspection route through the finished area. Include handles, corners, lower edges, surfaces beneath objects, and locations exposed to water or sunlight. These points often show change before the center of a broad surface. A quick, regular look can distinguish new wear from a longstanding characteristic of the material.
Use the recorded care instructions for cleaning and allow any initial curing restriction to pass. Remove soil with compatible tools and avoid repeated hard rubbing in one spot. If a mark remains, decide whether it is dirt, abrasion, staining, or a building condition before choosing another product.
Correct practical causes of damage where possible. Adjust a rubbing component through the appropriate person, relocate a moisture-trapping object, or change an abrasive cleaning habit. Keep dated photographs when a pattern recurs. Maintenance becomes more effective when it responds to why the surface is changing. Simply applying more cleaner or another coat can conceal useful evidence and repeat the same unsuccessful treatment without improving the underlying situation.
Planning your next step
Use the inspection notes and sample decisions from this guide to describe the work you want completed. Bring photographs of uncertain areas and list the surfaces that should be included before comparing estimates. For broader background, read our The Best House Cleaning Tips and Tricks 2022, or review AK Painters Pro Corp.’s services.
When you are ready to discuss the scope, request a free estimate. Related reading: