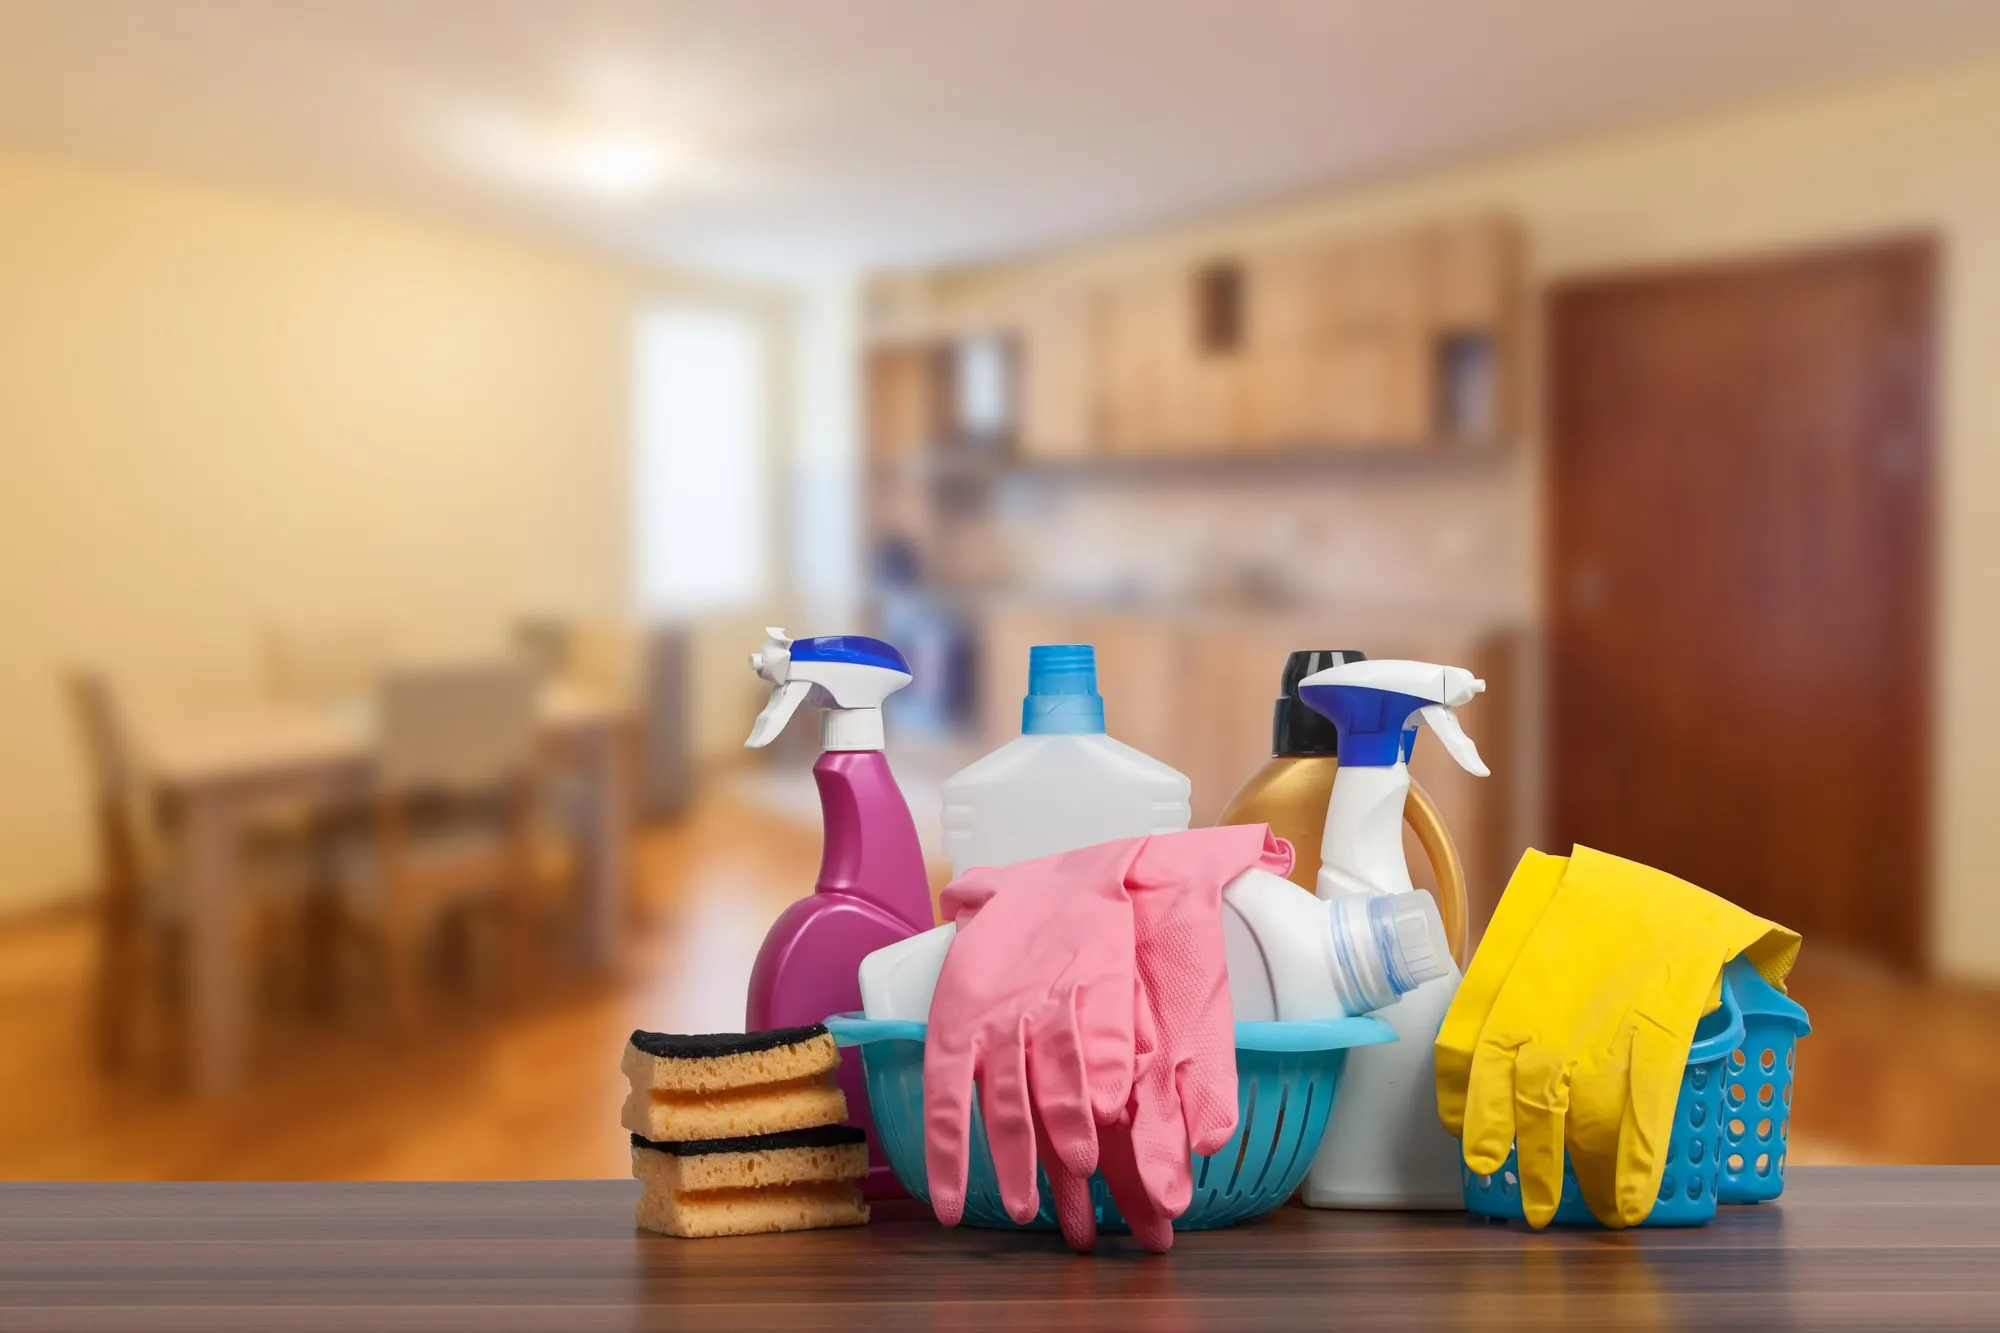
A sealed wood floor still needs a cleaning method appropriate to its exact finish and condition. Use the flooring or coating manufacturer’s care guidance where available. Check for worn areas, open seams, and damage before introducing moisture, especially near entrances and frequently moved furniture.
Remove loose grit with suitable tools, then use the approved cleaner without leaving standing liquid. Keep cleaning pads and water clean enough that soil is collected rather than spread. Do not assume steam, strong chemicals, or a polish is appropriate simply because the floor looks like wood.
Inspect the dry result and distinguish residue from finish wear. If the floor was recently refinished, follow its separate return-to-cleaning requirements. Protect it when furniture is restored and avoid dragging heavy pieces across the surface. Keep the finish record available so later care follows the actual coating rather than a general household recipe.
Choose floor cleaning by finish, not appearance alone
Two floors that look similar may need different care. Identify whether the surface is wood, laminate, resilient flooring, tile, stone, or another material, and check its maintenance instructions. The finish and condition matter as much as the underlying material. Worn seams or damaged coatings can make excess moisture particularly problematic.
Remove loose grit with suitable tools before wet cleaning. Use the approved cleaner and avoid leaving standing liquid where the material does not tolerate it. Change dirty water or cleaning pads as needed rather than moving soil from one part of the room to another. Keep the route clear until the surface is ready for walking.
Inspect once dry. A dull or sticky appearance may be residue, wear, or an incompatible earlier product. Repeatedly adding cleaner can make residue worse. If the finish is damaged, discuss restoration separately from ordinary cleaning. Use appropriate furniture protection when items return, and avoid dragging them across the completed floor. A clean surface still needs care during the final rearrangement of the room.
Identify the wood and its previous finish
A stain result depends on the material underneath it. Solid wood, veneer, engineered panels, and factory-finished components may need different treatment. Look for manufacturer information and examine concealed edges where appropriate. Do not assume that every surface with a wood pattern can be sanded or stained like solid lumber.
Find out what finish is already present. A penetrating stain, a clear film, paint, wax, and an unknown furniture polish can affect the next system differently. If records are unavailable, use a cautious assessment and a representative test rather than choosing a remover by guesswork. Thin veneers and delicate profiles can be damaged by aggressive preparation.
Note repairs and mixed materials. A replacement board or filled area may accept color differently from its neighbors even after careful preparation. Decide whether visible variation is acceptable before choosing the finish. Record the findings and the approved sample. Identifying the actual wood and previous coating helps turn stain selection from a color-card exercise into a realistic plan for the piece or structure you have.
Write a surface list before selecting cleaning products
Make one row in your cleaning notes for each material: floor, painted wall, counter, cabinet, fixture, appliance, and glass where relevant. Add the finish or manufacturer if known. The purpose is to prevent a room label such as “bathroom” from implying that all its surfaces can receive the same treatment.
Next, record the visible condition. Note open seams, worn coatings, cracks, and fresh finishes with curing restrictions. Photograph damage that needs to remain distinguishable from the cleaning result. Identify uncertain surfaces for a discreet compatibility test before the main work starts.
Match products to that list using their labels and the material’s care guidance. Include whether residue must be rinsed away and where liquid must be kept out. Keep original labels available and never combine products. If a task needs specialized contamination handling, move it outside the ordinary cleaning scope until it has been assessed. This small planning step reduces trial-and-error treatment on prominent surfaces and makes it easier to explain why one area may need a different approach from another nearby.
Use clean tools without grinding soil into finishes
Cleaning tools collect the material they remove, so their condition matters throughout the job. A cloth that worked well at the start can become abrasive after picking up grit. Inspect and change cloth faces regularly, and separate tools by task. Do not carry residue from a bathroom fixture onto a kitchen counter or painted wall.
Match brushes, pads, and vacuum attachments to the material. A stiff brush or abrasive pad can alter sheen, scratch a soft surface, or wear through a finish. Begin with the least aggressive suitable method, test discreetly, and increase effort only when the material and product instructions support it. More pressure is not a universal solution.
Clean and store reusable tools according to their instructions after the work. Allow them to dry appropriately rather than leaving damp items bundled together. Keep product residues from contaminating tools intended for another purpose. Good tool habits support a consistent result and reduce the risk that cleaning one area creates visible scratches or streaks in the next.
Use the label as a working sequence
Before applying a cleaning product, read its complete directions for the intended surface. Note dilution, application, contact time if specified, removal, and any rinse or drying step. Arrange the tools so those stages can be completed without leaving the product on a vulnerable surface longer than directed.
Treat a small area first and observe both the soil and the finish. If the cleaner begins to dry unexpectedly or reaches a material it is not approved for, stop and follow appropriate product guidance. Do not add another chemical to the same area in an attempt to accelerate the result.
Once the instructed sequence is complete, inspect the dry surface. A remaining film can be product residue rather than dirt, while a lasting mark may be wear or staining. Use that distinction to choose the next step. Repeated treatment is only useful when the material and label support it. Keeping the process controlled produces a more dependable result than leaving a stronger mixture in place and hoping extra time will overcome an unidentified problem.
Plan refinishing as a handling and reassembly project
Before refinishing furniture, make a record of its parts and construction. Photograph drawer positions, door gaps, and removable hardware, then label matching components. Check stability and existing damage so structural repairs are resolved separately from the decorative finish. Veneer and composite sections should be identified before any aggressive preparation is considered.
Choose a work and drying arrangement that supports the piece without marking visible surfaces. Think about how each face and edge will be reached and where wet parts can remain undisturbed. A finish applied neatly can still be damaged by stacking or hurried movement afterward.
Approve a representative sample that includes the complete compatible system. Follow its handling and loading requirements during reassembly, and check operation without forcing parts that rub. Keep objects, liners, and protective pads off the surface until their use is appropriate. At handover, record care guidance and construction limitations. The goal is a usable piece with an understood finish system, not only an attractive photograph taken before the drawers close or the tabletop carries everyday objects.
Build care into the finishing plan
Ask how the surface should be cared for before it returns to regular use. Cleaning that is harmless to a mature finish may damage a newly applied coating. Follow the product’s curing and maintenance directions, and keep a record of any special restrictions. Waiting appropriately before the first wash is part of the project, not an optional extra.
Use the least aggressive method that is suitable for the material and soil. Remove loose grit before wiping, test a discreet spot, and use clean tools. Repeated hard rubbing can change sheen or wear through a finish even when the color itself remains. Pay special attention to edges, corners, and places where water could collect.
Inspect high-contact and weather-exposed areas periodically. Deal with small sources of abrasion or moisture, such as a rubbing door or a planter that traps water, before they create a larger repair. Keep maintenance expectations realistic: a finish does not eliminate the need to clean, adjust hardware, or correct building problems. Consistent care is easier when the original product and surface records are available.
Keep a useful record for future maintenance
Save more than the color name. Record the manufacturer, product line, sheen, color formula or code, and the surface where each product was used. Note the primer and any special preparation that mattered. A photograph of the label can be useful, but keep a readable written copy as well so the information is not lost among unrelated pictures.
Create a simple room or surface map. Similar whites on a ceiling, wall, and baseboard can become difficult to distinguish months later. Label leftover containers clearly and store them according to their instructions, away from children and unsuitable temperatures. Do not combine unidentified leftovers in an effort to save space.
Add the completion date, agreed care instructions, and any areas that need monitoring. A recurring stain or peeling patch may point to a condition beyond the coating itself. Records help a future contractor understand what has already been tried. They also make small repairs more efficient, although stored paint and a matching formula cannot guarantee an invisible touch-up after the surrounding finish has aged.
Planning your next step
Use the inspection notes and sample decisions from this guide to describe the work you want completed. Bring photographs of uncertain areas and list the surfaces that should be included before comparing estimates. For broader background, read our The Best House Cleaning Tips and Tricks 2022, or review AK Painters Pro Corp.’s services.
When you are ready to discuss the scope, request a free estimate. Related reading: