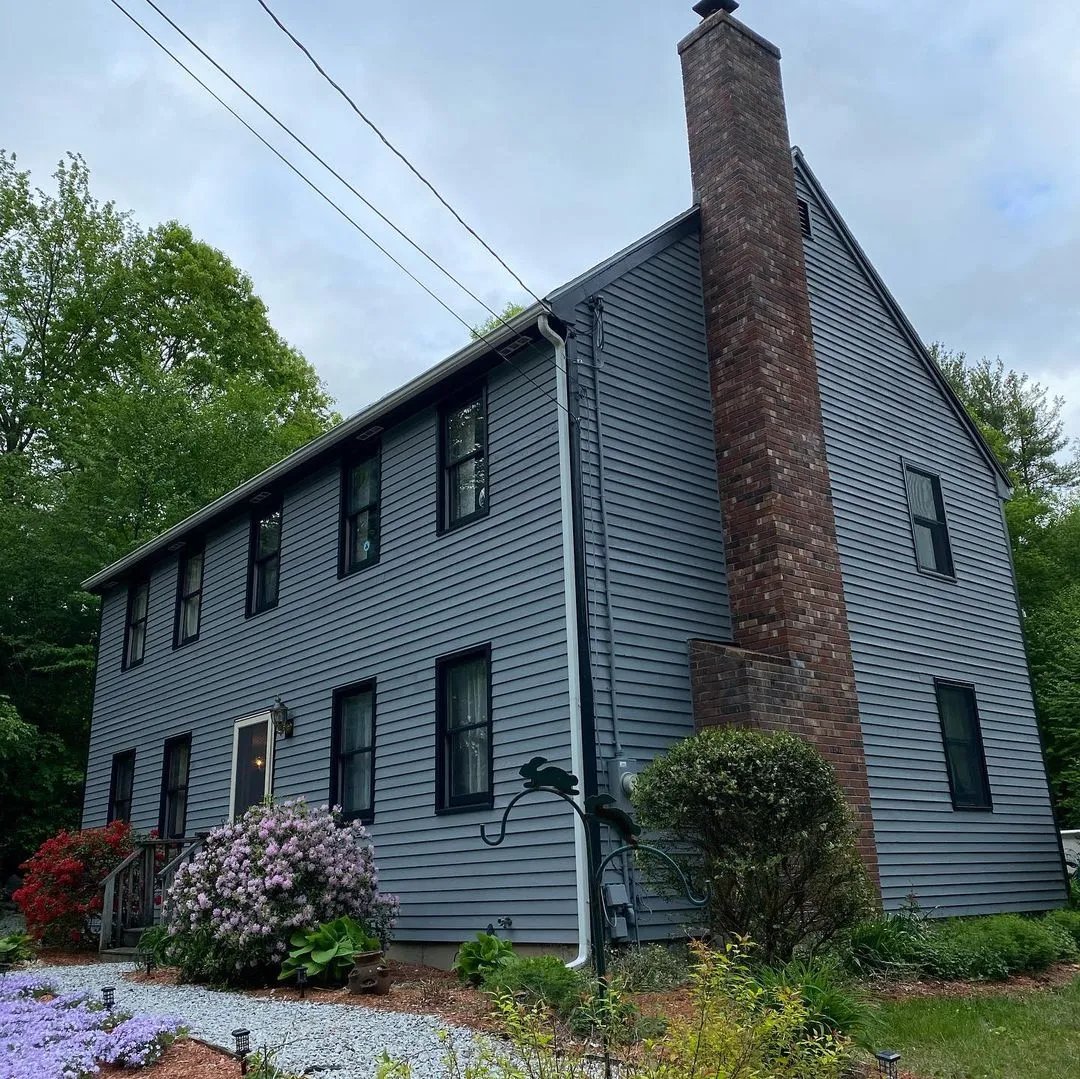
A powdery residue on an exterior finish should be assessed before new paint is applied. Identify the substrate, previous coating, and distribution of the condition. Compare exposed and sheltered areas, and determine whether loose paint or moisture problems are also present. The surface needs a suitable base, not simply a new color.
Discuss a cleaning and preparation method compatible with the actual material and coating history. Older paint may require special precautions before any method that releases residue or chips. Follow the proposed coating manufacturer’s requirements for the condition of the surface before priming or finishing.
Use a representative trial to evaluate the completed preparation system. If the base remains unsuitable, stop and revise the plan instead of relying on additional topcoat. Record the method and products used so future maintenance has a clear starting point. During the final review, inspect uniformity and difficult edges, while keeping the original failure locations on the maintenance list for later observation.
Inspect both the failed paint and the material beneath it
Before loose coating is removed, photograph the pattern and note which edges or areas failed first. Look for links to water, sun exposure, handling, or an earlier repair. The visible flake is evidence of a weak layer, but its appearance alone does not prove why that layer failed.
Identify the remaining coating and substrate as far as possible, and assess older finishes before disturbance. Correct active moisture, contamination, or unsound material through an appropriate repair plan. Preparation should establish a suitable base rather than leave loose edges buried beneath a fresh coat.
Test uncertain product combinations through the complete proposed system and inspect after the required interval. Record the successful preparation and monitor the original failure locations after completion. If peeling returns in the same pattern, revisit the cause instead of assuming that a higher-priced paint or thicker application will solve it. A useful repair combines the right surface condition with compatible coatings and a realistic plan for the exposure the area continues to receive.
Use exterior washing as preparation, not demolition
Exterior cleaning should remove the soil that interferes with the planned finish without damaging the substrate. Identify siding, trim, joints, windows, and nearby materials before choosing equipment or cleaner. High pressure is not a universal preparation method, and increasing force can turn a dirty surface into a damaged one.
Test the proposed method in a discreet area. Protect electrical equipment, openings, plants, and neighboring property as appropriate. Keep water from being driven behind siding, into vents, or through vulnerable joints. Follow cleaner and equipment directions, including requirements for protective equipment and runoff handling. Assess older coatings before any process that could release paint chips or dust.
After cleaning, inspect the surface again. Dirt can conceal peeling coatings, cracks, or soft areas that need a separate repair plan. Allow the material to reach the moisture condition required by the coating manufacturer rather than assuming a fixed number of hours is sufficient. A clean-looking exterior is only ready for paint when the surface is sound, suitably prepared, and dry enough for the selected system.
Respect the material and layout of siding
Identify the siding rather than treating every wall as the same substrate. Wood, fiber cement, vinyl, metal, and manufactured panels have different preparation and coating requirements. Look for manufacturer information and previous product records. If the material is uncertain, verify it before selecting a finish or applying an aggressive cleaner.
Inspect the joints, lower edges, fasteners, and areas around penetrations. Damaged or loose components may need repair before painting. Preserve drainage details and movement gaps; a visually continuous coating is not a reason to seal every opening. Plan how each board or panel will be coated without leaving arbitrary stopping marks in the middle of a prominent surface.
Follow the manufacturer’s guidance for coating compatibility, color restrictions, and preparation. A finish that works on one siding material may be inappropriate for another. Use a test area when adhesion or appearance is uncertain. During the final inspection, look along the siding from both directions to check coverage on exposed edges and profiles, while confirming that functional joints and openings remain clear.
Use a small trial to answer the difficult questions
A trial area is most useful when it represents the real challenge. Choose a discreet but meaningful location with the same material, existing finish, and preparation needs as the rest of the job. A convenient piece of unrelated scrap may show color but tell you little about adhesion, absorption, or cleaning response on the actual surface.
Follow the complete proposed process on the sample. If the project includes cleaning, a primer, and two finish coats, a single swipe of topcoat is not an equivalent test. Respect the product’s drying and evaluation instructions. Check the result after it has had the specified time to develop, rather than judging only while it is wet.
Write down what you used and what you observed. Look for discoloration, softening, lifting, uneven absorption, and changes in texture. If the sample fails, stop and investigate before applying more material. A successful trial cannot guarantee every hidden condition, but it can prevent a small compatibility problem from becoming a room-wide or building-wide repair. Keep the approved sample available during the work as a visual reference.
Select primer for the problem it needs to solve
Primer is not one universal product. Bare porous material, glossy existing paint, residual staining, and exposed metal present different requirements. Start by identifying the substrate and the condition of the existing coating. Then choose a primer and finish that are explicitly compatible with that situation and with each other.
Avoid relying on a marketing phrase alone. A combined paint-and-primer product does not remove every need for separate preparation or a specialized primer. Read the technical information for the intended surface and discuss uncertain combinations with the manufacturer or supplier. A trial area is especially useful where the existing finish is unknown or where staining has returned through earlier paint.
Apply the primer at the recommended coverage and allow the stated interval before the next coat. A heavy layer is not a reliable substitute for choosing the correct system. Inspect for bleed-through, lifting, roughness, or uneven absorption before proceeding. The purpose of the primer stage is to establish a suitable base; if that stage fails, more topcoat usually makes the eventual correction larger.
Compare sheltered and exposed sides separately
The same finish can age differently around one building. A wall facing strong sun may show different wear from a shaded wall near vegetation. An overhang can protect one area while concentrating drips at its edge. Make a simple elevation-by-elevation inspection instead of assuming that every surface needs the same level of preparation.
Record the type of deterioration, not just whether the color looks faded. Look for chalking, peeling, dirt accumulation, moisture patterns, and damage around joints. These observations help determine whether the task is cleaning, localized repair, or a broader repaint. Avoid choosing a stronger cleaning method for a shaded area without first checking the material and condition.
Plan coating and drying around each surface’s actual conditions. Shade can delay drying, while direct sun can change working time. Follow the selected product’s limits and adjust the work sequence accordingly. During future maintenance, revisit the areas that showed the earliest problems. A targeted inspection plan is more useful than assuming a uniform repaint interval for every face of the property.
Check older finishes before disturbing them
The age and history of a surface matter before sanding, scraping, or demolition. An attractive top layer does not tell you what is underneath it. If the building or finish history is uncertain, pause before turning a cosmetic project into dust-producing work. Identification and assessment should come before the choice of tools.
For older painted surfaces, consult the EPA’s lead-safe renovation guidance and use an appropriately qualified professional where needed. Do not treat this general painting guide as a hazardous-material assessment. Similarly, do not disturb suspect ceiling or other materials simply to see how easily they come off.
Keep the distinction between ordinary preparation and specialized work clear in the estimate. Ask who will assess the material, what findings could change the scope, and when finishing can safely resume. The fact that a company offers painting or cleaning does not by itself establish qualifications for hazardous-material work. Taking time to resolve uncertainty protects the project from an inappropriate preparation method and helps everyone understand what is actually included.
Create a finish map that another person can understand
Use a simple plan or room list to connect every finish to its location. Write the product line, manufacturer, color, sheen, and any primer beside the relevant surface. Include special preparation only where it affects future work. Someone unfamiliar with the project should be able to identify the system without opening several containers and guessing.
Photograph readable labels and keep them with the written map. Record approved samples, completion dates, and care restrictions. Label retained materials and store them according to their instructions. An unidentified remainder is less useful than a clear product record, particularly after storage or aging changes its condition.
Update the map after repairs or later phases. Mark substitutions explicitly and keep the old information as history rather than allowing contradictory notes to circulate. When a problem returns, add its location and observed pattern before treatment removes the evidence. These records support maintenance and estimates, while keeping expectations realistic: a saved formula helps identify the finish but cannot guarantee that fresh material will disappear into an aged surrounding surface.
Planning your next step
Use the inspection notes and sample decisions from this guide to describe the work you want completed. Bring photographs of uncertain areas and list the surfaces that should be included before comparing estimates. For broader background, read our The Ultimate Guide to Exterior House Painting in 2022, or review AK Painters Pro Corp.’s services.
When you are ready to discuss the scope, request a free estimate. Related reading: