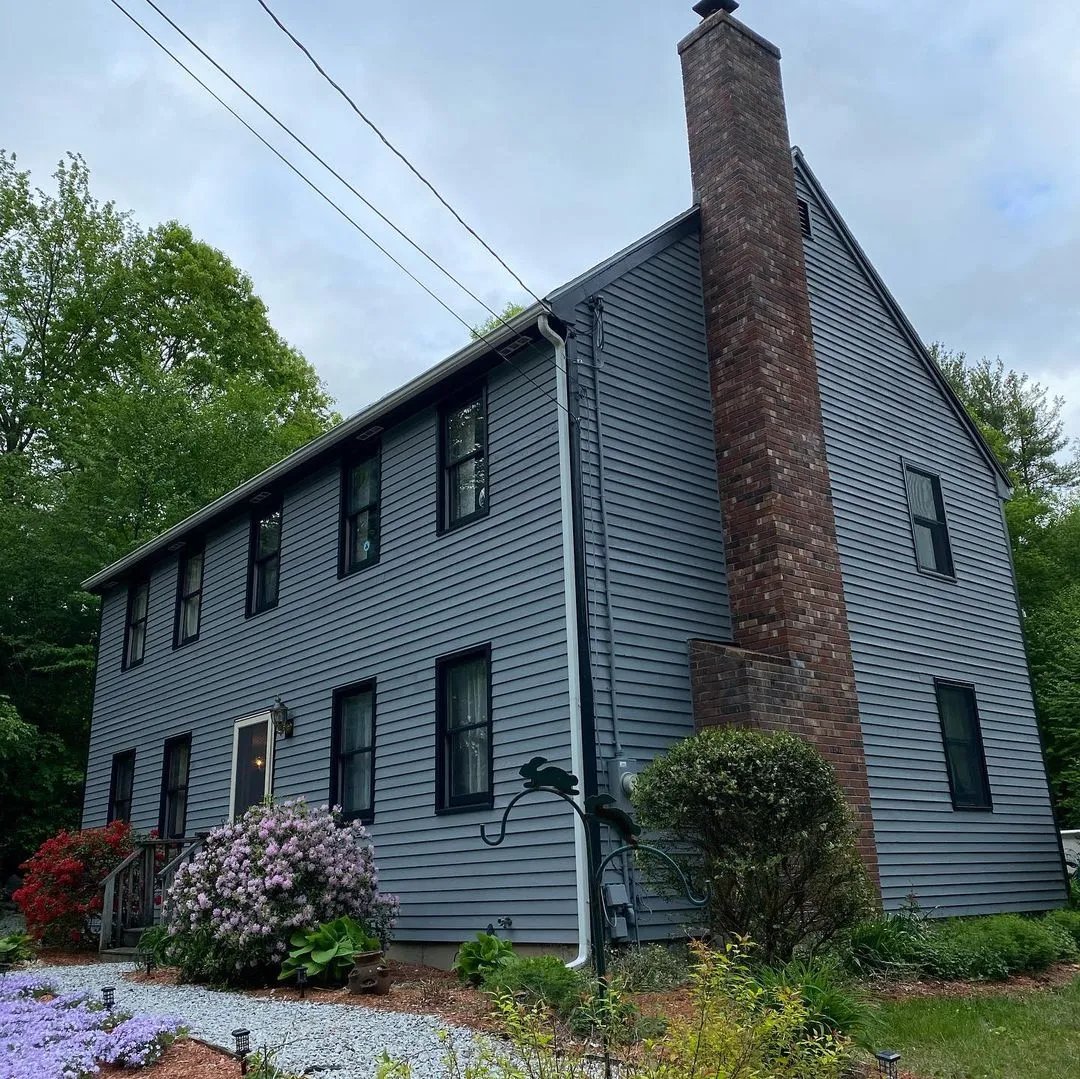
Exterior work may need to happen in stages because of budget, weather, or access. Before dividing the schedule, identify complete elevations, corners, and architectural transitions that can serve as natural stopping points. An arbitrary break across a broad wall can remain visible even when the same color is used later.
Inspect each phase separately so urgent repair needs are not postponed solely to preserve a decorative sequence. Keep product systems and preparation expectations consistent, and discuss the effect of aging if a long gap is expected between stages. The same formula does not guarantee an invisible match to weathered paint.
Plan how equipment will reach later areas without damaging completed surfaces or landscaping. Record products, colors, and approved samples for every phase. At the end, inspect the entire exterior from normal approach routes. The objective is a coherent completed property, with each stage planned as part of that result rather than a series of unrelated small repaint jobs.
Write a finish boundary for every project phase
Sketch the complete project and mark where each work stage ends. Use architectural divisions such as corners, doorways, rooms, or full elevations where practical. A boundary chosen only because the day ended can leave a visible interruption across an otherwise continuous surface.
Connect each phase to the same preparation standard and product record. If a long interval is expected, discuss material availability and the effect of aging on a later color match. Keep the approved sample and record substitutions before they become part of the work. Prioritize necessary repairs so phasing does not leave a deteriorating area unattended solely for decorative convenience.
Plan access to later sections through completed areas, including equipment movement and temporary storage. Inspect and release each phase deliberately, with care instructions that occupants can follow. At the final review, assess the whole property or room sequence rather than only the newest section. A useful phased plan preserves a coherent final result while giving each interim stage a clear, practical definition of completion.
Respect the material and layout of siding
Identify the siding rather than treating every wall as the same substrate. Wood, fiber cement, vinyl, metal, and manufactured panels have different preparation and coating requirements. Look for manufacturer information and previous product records. If the material is uncertain, verify it before selecting a finish or applying an aggressive cleaner.
Inspect the joints, lower edges, fasteners, and areas around penetrations. Damaged or loose components may need repair before painting. Preserve drainage details and movement gaps; a visually continuous coating is not a reason to seal every opening. Plan how each board or panel will be coated without leaving arbitrary stopping marks in the middle of a prominent surface.
Follow the manufacturer’s guidance for coating compatibility, color restrictions, and preparation. A finish that works on one siding material may be inappropriate for another. Use a test area when adhesion or appearance is uncertain. During the final inspection, look along the siding from both directions to check coverage on exposed edges and profiles, while confirming that functional joints and openings remain clear.
Turn a broad project request into a surface checklist
Stand in the space with a notebook and name each surface you expect to change. Include the details that are easy to overlook: inside returns, exposed ends, shelf backs, door edges, and accessible undersides. Mark items that stay as they are. This checklist becomes the common reference for the estimate, preparation, and final inspection.
For each included item, record the current condition and the intended result. “Change color on sound paint” is a different task from “repair damaged substrate and restore a uniform finish.” Identify uncertain areas for assessment rather than hiding them inside a general allowance.
Assign responsibilities for moving contents, disconnecting equipment, repairs by other trades, and disposal where relevant. Agree on how newly discovered work will be approved before it proceeds. Keep the list concise enough to use on site, with photographs for complicated locations. A clear scope gives routine decisions a reliable boundary and makes it easier to explain any change in time or cost without relying on assumptions about what the original room or service name included.
Compare sheltered and exposed sides separately
The same finish can age differently around one building. A wall facing strong sun may show different wear from a shaded wall near vegetation. An overhang can protect one area while concentrating drips at its edge. Make a simple elevation-by-elevation inspection instead of assuming that every surface needs the same level of preparation.
Record the type of deterioration, not just whether the color looks faded. Look for chalking, peeling, dirt accumulation, moisture patterns, and damage around joints. These observations help determine whether the task is cleaning, localized repair, or a broader repaint. Avoid choosing a stronger cleaning method for a shaded area without first checking the material and condition.
Plan coating and drying around each surface’s actual conditions. Shade can delay drying, while direct sun can change working time. Follow the selected product’s limits and adjust the work sequence accordingly. During future maintenance, revisit the areas that showed the earliest problems. A targeted inspection plan is more useful than assuming a uniform repaint interval for every face of the property.
Make a daily exterior go-or-wait decision
Before each exterior stage, compare the actual conditions with the selected product’s technical requirements. Check the substrate, the planned elevation, and the drying period ahead. Shade, sun, dew, and overnight changes can make today’s suitable working area different from yesterday’s even when the general forecast sounds similar.
Agree in advance on who decides to postpone or move to another section. A weather delay should not lead to shortened preparation or an application outside the product’s limits. Keep complete boards, panels, or elevations in mind when choosing stopping points, so an interruption does not create an awkward visual boundary.
Review recently washed or previously wet areas separately. Their readiness should be established through the relevant material and coating guidance, not inferred from a dry-looking face. Record unusual conditions if they may help explain later performance. The purpose of a daily check is to connect the schedule to the real surface and finish system. It avoids treating a seasonal label, a warm afternoon, or a promised completion date as proof that all conditions are acceptable.
Ask each proposal to describe the same finished result
Give every estimator the same surface list and condition notes. Include photographs of uncertain details and identify access restrictions that affect the work. Ask how preparation, repair, protection, application, and cleanup are represented so a lower price is not simply an estimate for fewer tasks.
Review the proposed products and the intended appearance together. A color change on a sound surface differs from a smoothness upgrade, extensive grain filling, or repair of a damaged substrate. A representative sample can make those differences easier to understand before the main work begins.
Clarify exclusions and the process for additional findings. Unexpected damage should lead to a documented scope decision with cost and timing implications, not an informal assumption. Include handover information and care instructions in the discussion. When comparing proposals, focus on the concrete work and its limits rather than unsupported lifespan or savings claims. This creates a fairer comparison and leaves an agreed reference for deciding whether the completed project matches what was actually purchased.
Keep a useful record for future maintenance
Save more than the color name. Record the manufacturer, product line, sheen, color formula or code, and the surface where each product was used. Note the primer and any special preparation that mattered. A photograph of the label can be useful, but keep a readable written copy as well so the information is not lost among unrelated pictures.
Create a simple room or surface map. Similar whites on a ceiling, wall, and baseboard can become difficult to distinguish months later. Label leftover containers clearly and store them according to their instructions, away from children and unsuitable temperatures. Do not combine unidentified leftovers in an effort to save space.
Add the completion date, agreed care instructions, and any areas that need monitoring. A recurring stain or peeling patch may point to a condition beyond the coating itself. Records help a future contractor understand what has already been tried. They also make small repairs more efficient, although stored paint and a matching formula cannot guarantee an invisible touch-up after the surrounding finish has aged.
Make exterior access and boundaries clear
Work near a property boundary can affect more than the surface being finished. Identify adjoining vehicles, outdoor furniture, paths, windows, and planting before setting up. Discuss access arrangements with the relevant owner or manager when another property’s space is needed. Do not assume that a narrow gap or shared driveway will remain available throughout the job.
Choose the application and cleaning methods with the surrounding area in mind. Overspray, dust, runoff, and equipment movement require suitable controls. Weather and wind can change the risk during the day, so protection should be reviewed as conditions change. A method that works on an isolated wall may not suit a boundary beside parked cars or open windows.
Record agreed working areas and storage locations in the project plan. Keep shared routes clear and provide notice when temporary restrictions are needed. Inspect surrounding surfaces before removing protection, then tidy the working area as each stage ends. Clear boundaries make it easier to complete the finishing work without avoidable damage or misunderstandings about who is responsible for adjacent property.
Planning your next step
Use the inspection notes and sample decisions from this guide to describe the work you want completed. Bring photographs of uncertain areas and list the surfaces that should be included before comparing estimates. For broader background, read our The Ultimate Guide to Exterior House Painting in 2022, or review AK Painters Pro Corp.’s services.
When you are ready to discuss the scope, request a free estimate. Related reading: