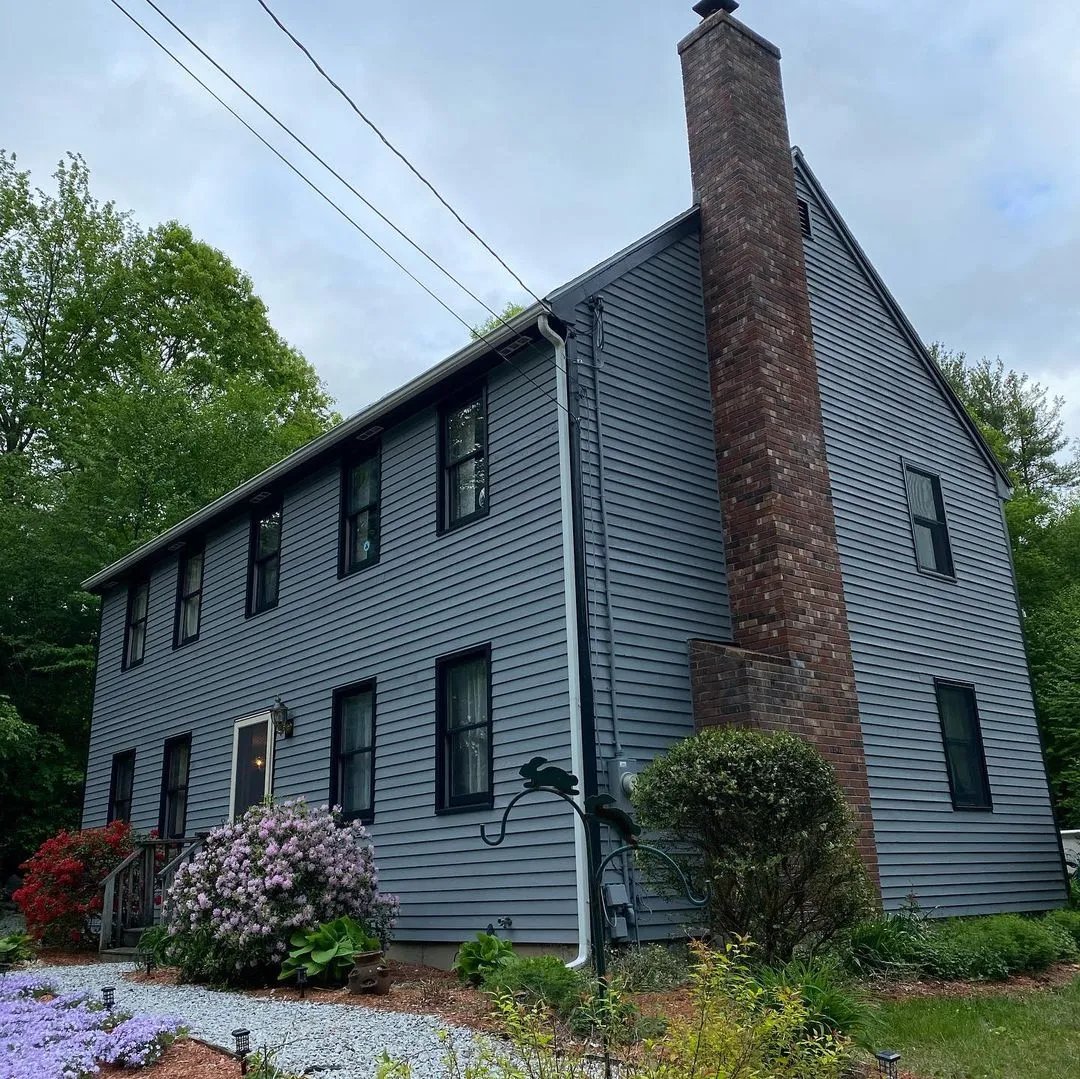
A detached garage can share the house’s color palette while needing a different preparation plan. Its lower walls, doors, and storage-side elevations may experience different moisture and wear. Walk around the entire structure after moving belongings away from the walls so hidden damage becomes visible.
Identify the siding, trim, and door materials separately. Decide whether the goal is an exact visual match to the house or a coordinated relationship that allows for existing weathering. Physical samples beside both buildings are more useful than relying on old color records alone.
Include access around driveways, vehicles, and neighboring boundaries in the work plan. Clarify which roof-edge details and hard-to-reach faces are included. At completion, inspect the garage from the street and from the route between buildings, then check lower edges and doors closely. Keep a separate product map for the garage so later maintenance does not assume every surface received the same system as the main house.
Check small outbuildings beyond their visible walls
A shed or detached structure can have concentrated wear around roof edges, door bottoms, and surfaces near the ground. Walk around the whole building before selecting paint. Look for water paths, loose trim, damaged panels, and items leaning against the exterior. Clearing storage away from the walls often reveals conditions that were hidden during a casual inspection.
Identify each material separately, including doors, metal hardware, and roof-related trim. Follow the appropriate manufacturer’s requirements rather than treating the structure as a smaller version of the main house. Do not paint ventilation openings shut or cover labels and moving parts. Necessary repairs should be included explicitly or assigned to the appropriate trade.
Plan access and drying around how the building is used. Tools, garden supplies, or bicycles may need temporary storage elsewhere. Keep newly finished doors from being pressed against damp seals or stored objects before the coating is ready. Review the lower edges during the final inspection, and maintain clear space around the structure afterward so moisture and abrasion do not quickly undo the work.
Respect the material and layout of siding
Identify the siding rather than treating every wall as the same substrate. Wood, fiber cement, vinyl, metal, and manufactured panels have different preparation and coating requirements. Look for manufacturer information and previous product records. If the material is uncertain, verify it before selecting a finish or applying an aggressive cleaner.
Inspect the joints, lower edges, fasteners, and areas around penetrations. Damaged or loose components may need repair before painting. Preserve drainage details and movement gaps; a visually continuous coating is not a reason to seal every opening. Plan how each board or panel will be coated without leaving arbitrary stopping marks in the middle of a prominent surface.
Follow the manufacturer’s guidance for coating compatibility, color restrictions, and preparation. A finish that works on one siding material may be inappropriate for another. Use a test area when adhesion or appearance is uncertain. During the final inspection, look along the siding from both directions to check coverage on exposed edges and profiles, while confirming that functional joints and openings remain clear.
Identify metal and existing coatings before refinishing
Bare steel, aluminum, galvanized surfaces, and factory-coated components can require different preparation and primers. Identify the material and existing finish wherever possible. Rust, oxidation, grease, and flaking paint are not interchangeable conditions. A product suitable for one combination may fail on another, so consult the exact system’s technical information.
Assess whether deterioration is cosmetic or affects the component’s strength or operation. Severely damaged railings, fasteners, or door parts need more than paint. Resolve those issues before finishing. Preparation should follow the selected product’s requirements and the safety needs of the existing coating, including assessment before disturbing older paint.
Protect neighboring materials and functional parts. Avoid coating hinges, tracks, seals, or electrical components unless the relevant manufacturer specifically allows it. Apply the correct primer and finish within their stated intervals and inspect difficult edges for coverage. Keep a record of the substrate and system used. That information is particularly valuable later, when the visible topcoat may conceal the type of metal and the preparation beneath it.
Evaluate the finish in the room’s actual light
A color chip gives you a starting point, but the room determines how that color appears. Daylight, lamps, nearby flooring, and large pieces of furniture all influence what you see. Look at samples in the morning and evening, and switch on the lighting you normally use. A sample that appears neutral at noon may look noticeably warmer after sunset.
Place samples on more than one wall when the room receives uneven light. A shaded corner and a wall facing a window may make the same paint look different. Keep the existing surroundings visible so you can judge relationships rather than viewing an isolated patch against plain white paper.
For the final decision, use a sample that represents the intended finish as closely as possible. Sheen changes reflection, and a small color card cannot show the appearance of a broad glossy surface. Record the selected color name, code, manufacturer, and finish. Photographs are useful reminders, but screen brightness and camera processing make them unreliable as the final color standard. Approve the physical sample in person whenever practical.
Define exactly what will be finished
A useful project description names the surfaces instead of relying on the name of the room. Walls, ceilings, baseboards, window casings, doors, and built-in shelves may need different preparation and different coatings. Walk through the space and list each item that belongs in the job. Identify both faces of doors, closet interiors, and the edges that are visible only when something is opened.
Separate appearance changes from repairs. A color change on sound paint is different from work on peeling layers, damaged drywall, or water-stained trim. Mark uncertain areas for inspection before deciding how much finishing work is reasonable. Photographs taken in normal daylight can help you remember the condition and discuss it consistently.
Keep a second list of exclusions. Furniture refinishing, electrical work, leak repairs, and moving large appliances should never become assumed tasks simply because they are near a painted surface. With clear boundaries, you can compare estimates and evaluate the finished result against the same expectations. It also becomes easier to divide a larger improvement into manageable stages.
Schedule exterior work around surface conditions
A clear forecast is only one part of an exterior painting decision. The surface itself must meet the coating’s requirements, and conditions need to remain suitable for the specified drying period. Morning dew, a shaded wall, direct sun, and an approaching temperature change can make different sides of the same building behave differently.
Use the technical data for the selected product to establish acceptable temperature, moisture, and weather limits. Do not apply a universal rule based on the season or the calendar. A warm afternoon does not cancel a cold night, and a surface can remain damp after the surrounding air feels comfortable.
Build flexibility into the schedule. Plan which elevation can be worked on safely and effectively at each stage, and identify where work can stop at a natural boundary. Keep a clear arrangement for postponements rather than treating a weather delay as a reason to rush preparation or recoating. Record unusual conditions if a problem develops later. The best schedule is one that supports the coating system and the actual building, not just a promised start date.
Make exterior access and boundaries clear
Work near a property boundary can affect more than the surface being finished. Identify adjoining vehicles, outdoor furniture, paths, windows, and planting before setting up. Discuss access arrangements with the relevant owner or manager when another property’s space is needed. Do not assume that a narrow gap or shared driveway will remain available throughout the job.
Choose the application and cleaning methods with the surrounding area in mind. Overspray, dust, runoff, and equipment movement require suitable controls. Weather and wind can change the risk during the day, so protection should be reviewed as conditions change. A method that works on an isolated wall may not suit a boundary beside parked cars or open windows.
Record agreed working areas and storage locations in the project plan. Keep shared routes clear and provide notice when temporary restrictions are needed. Inspect surrounding surfaces before removing protection, then tidy the working area as each stage ends. Clear boundaries make it easier to complete the finishing work without avoidable damage or misunderstandings about who is responsible for adjacent property.
Create a practical exterior maintenance inspection
Inspect from safe ground-level positions before planning any work at height. Walk the property with a notebook or camera and compare exposed edges, sheltered areas, and places where water collects. Look for new peeling, open joints, damaged boards, staining, and vegetation touching the finish. Mark locations clearly rather than relying on general descriptions such as “the back wall.”
Distinguish changes in appearance from active deterioration. Surface dirt may need cleaning, while recurring dampness or soft material needs assessment. Avoid scraping suspicious areas during a preliminary walk, particularly where coating age is unknown. The inspection should gather information without creating dust or damage.
Prioritize repairs that address causes of failure before optional appearance changes. A leaking gutter or rubbing gate can affect the next finish just as it affected the last one. Share the observations when requesting an estimate, and ask which areas require closer professional inspection. Repeat the walk after the work and during later maintenance so developing patterns can be compared with a useful baseline.
Planning your next step
Use the inspection notes and sample decisions from this guide to describe the work you want completed. Bring photographs of uncertain areas and list the surfaces that should be included before comparing estimates. For broader background, read our The Ultimate Guide to Exterior House Painting in 2022, or review AK Painters Pro Corp.’s services.
When you are ready to discuss the scope, request a free estimate. Related reading: