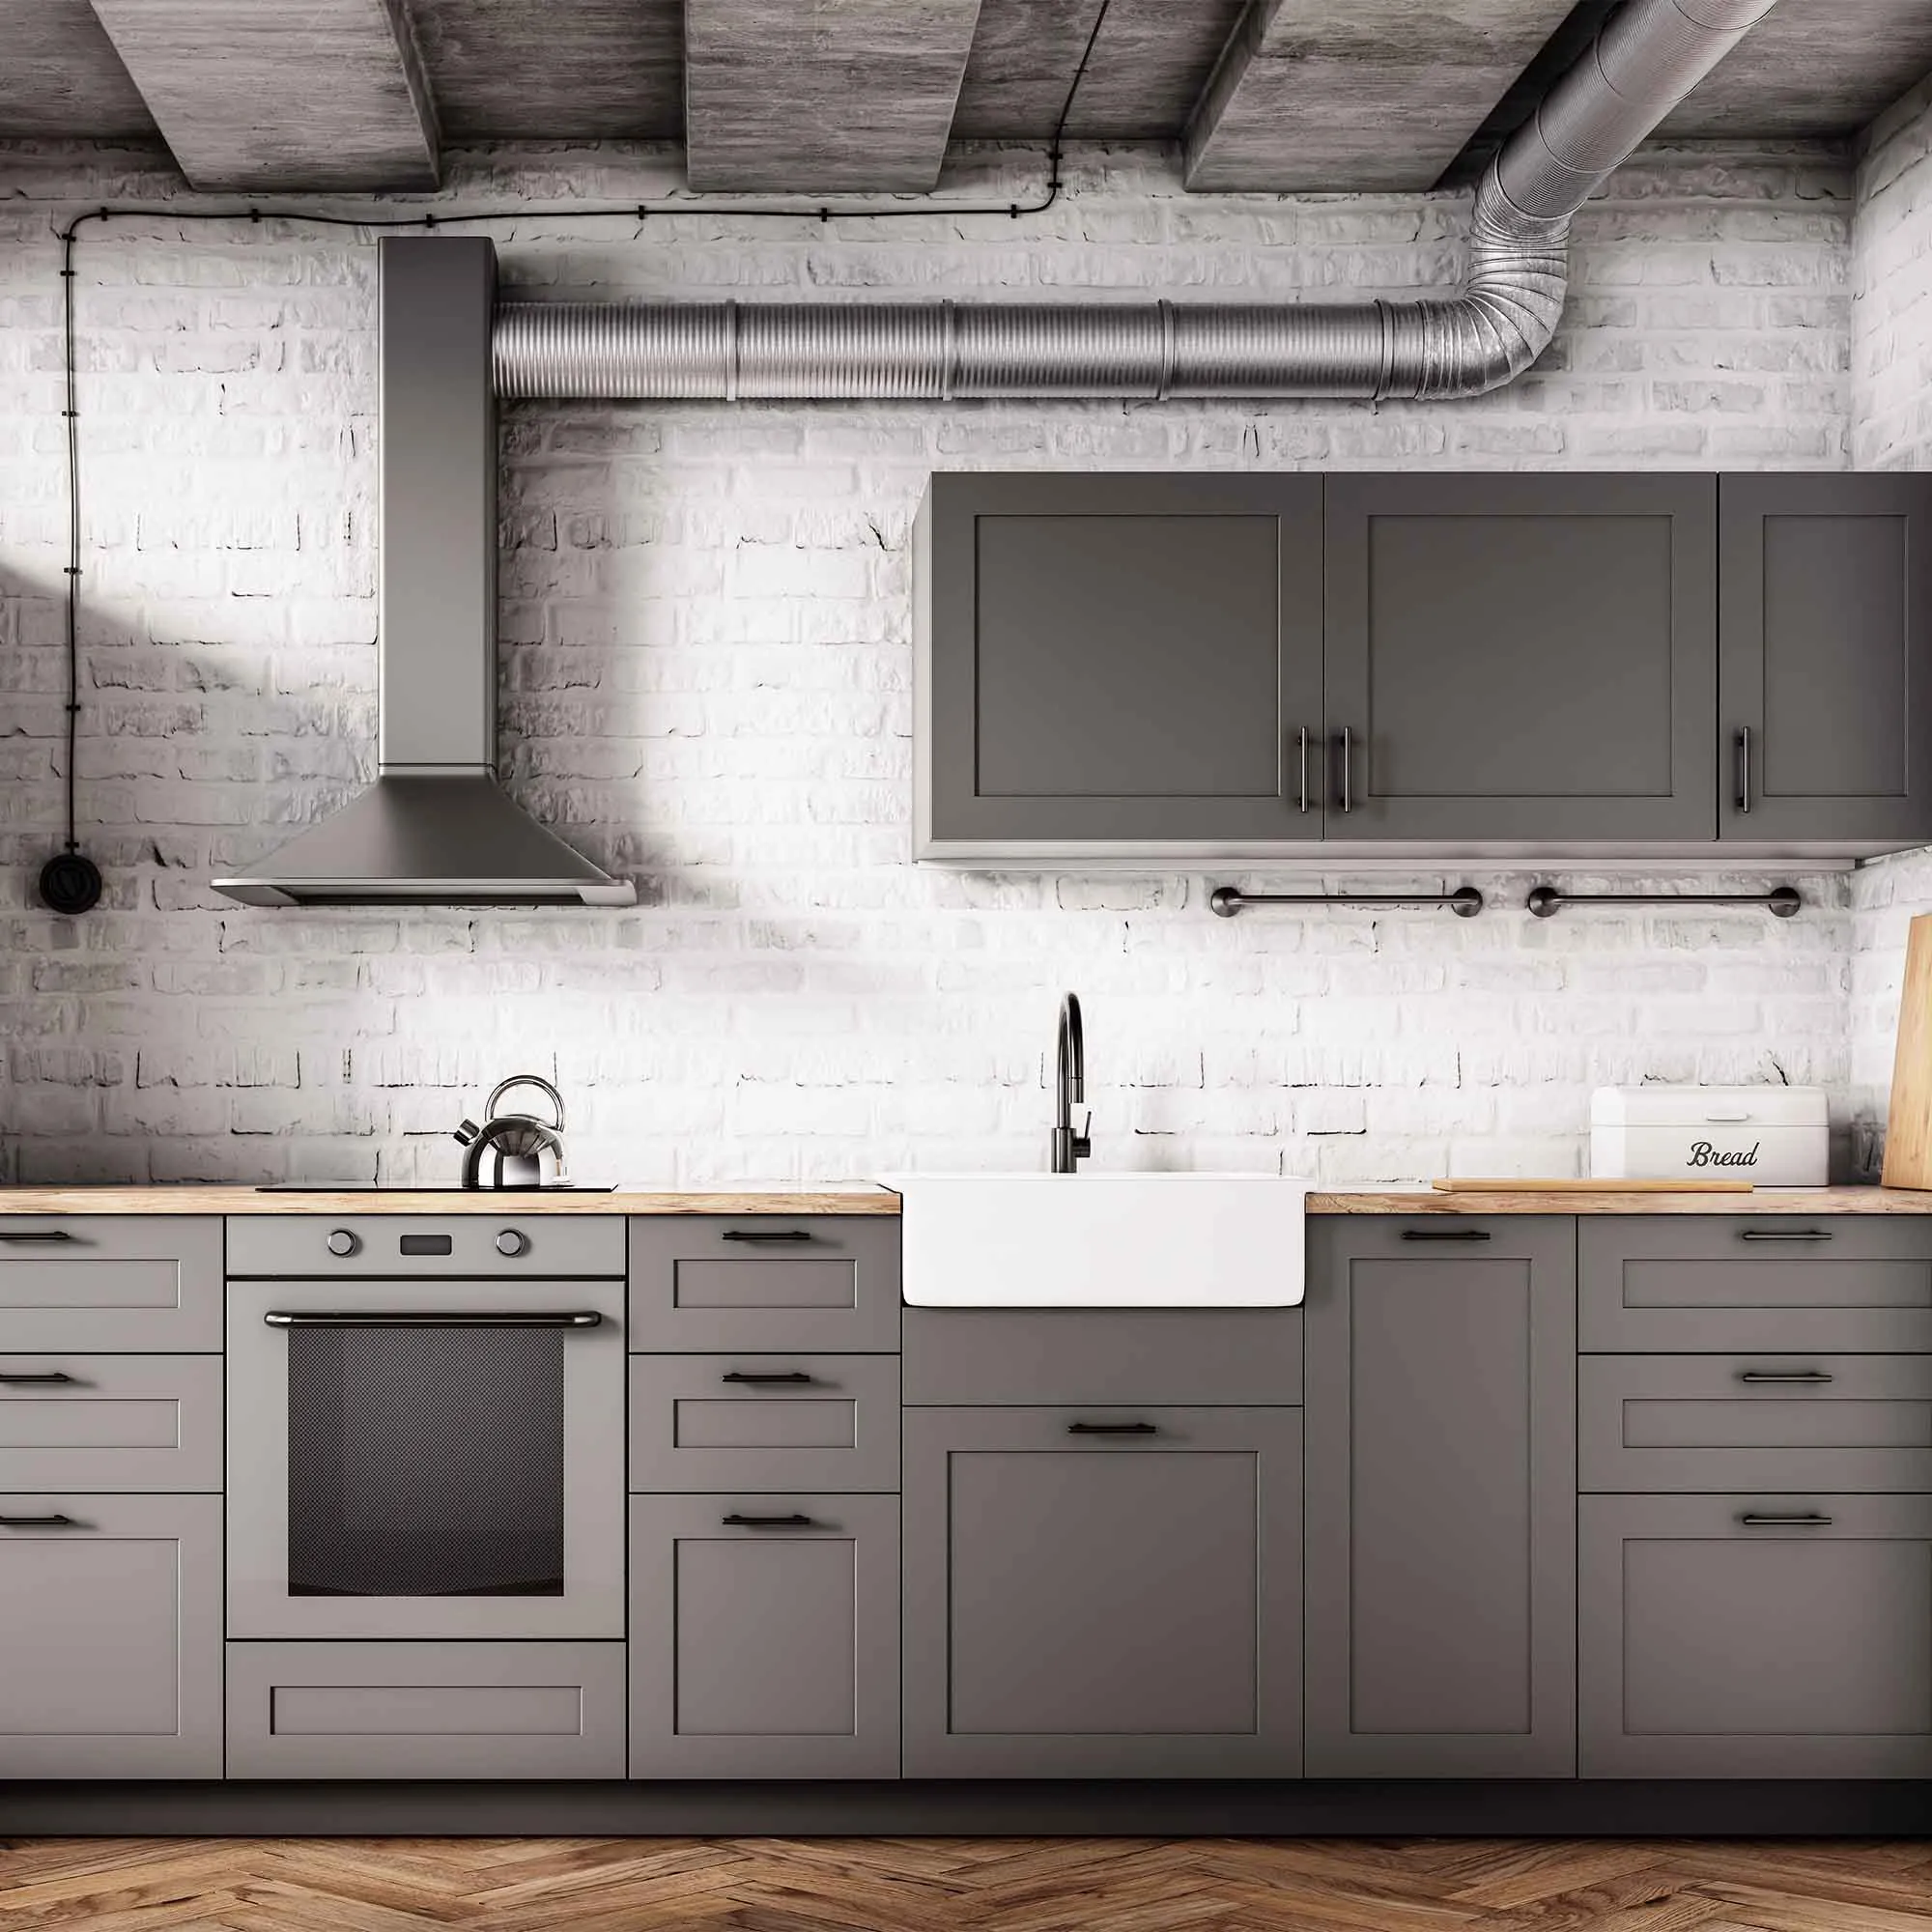
Kitchen walls can be a surprisingly detailed painting project even when most of the area is covered by cabinets. The exposed strips above counters, beside appliances, and around the backsplash collect different kinds of residue and are seen at close range. Inspect those boundaries before deciding that the job requires only a quick coat.
Identify the countertop, backsplash, cabinet finish, and appliance surfaces so they receive suitable protection. Clarify who will move anything that blocks access; fixed utility connections should not be treated as ordinary furniture moving. Decide whether the narrow wall behind accessible appliances belongs in the scope.
Sample the wall color beside the actual cabinets and backsplash, with under-cabinet lights switched on. Those lights may reveal a different undertone from the ceiling fixtures. Clean and test the proposed finish system carefully around cooking residue. Before the kitchen returns to use, check edges and explain when the new wall finish can be washed, especially in splash-prone areas.
Remove kitchen residue before preparing cabinets
Cabinet surfaces near cooking and frequent hand contact may carry residue that is not obvious at first glance. Inspect around pulls, beside the range, above appliances, and along upper edges. Cleaning needs to address contamination before any preparation method spreads it across the surface. Identify the cabinet material and existing finish first.
Choose a cleaner compatible with that finish and the planned coating system. Test a discreet area, follow dilution and rinsing instructions, and avoid saturating joints, exposed panel edges, or hardware. More liquid or stronger cleaner can damage a vulnerable substrate without making it more paint-ready.
Let surfaces dry and inspect them again under angled light. Residue, polishing products, and worn areas may need further assessment. Do not proceed simply because the broad flat faces look clean; profiles and corners can retain contamination. Complete a representative adhesion and finish trial using the full proposed system. Cabinet repainting places substantial demands on preparation because the finished parts will be handled, cleaned, and brought into close contact with one another repeatedly.
Define exactly what will be finished
A useful project description names the surfaces instead of relying on the name of the room. Walls, ceilings, baseboards, window casings, doors, and built-in shelves may need different preparation and different coatings. Walk through the space and list each item that belongs in the job. Identify both faces of doors, closet interiors, and the edges that are visible only when something is opened.
Separate appearance changes from repairs. A color change on sound paint is different from work on peeling layers, damaged drywall, or water-stained trim. Mark uncertain areas for inspection before deciding how much finishing work is reasonable. Photographs taken in normal daylight can help you remember the condition and discuss it consistently.
Keep a second list of exclusions. Furniture refinishing, electrical work, leak repairs, and moving large appliances should never become assumed tasks simply because they are near a painted surface. With clear boundaries, you can compare estimates and evaluate the finished result against the same expectations. It also becomes easier to divide a larger improvement into manageable stages.
Set up protection around the way work will move
Trace the route from the entrance to the work area before laying coverings. Identify where tools turn corners, where parts will be stored, and where people need to pass. Protection should remain stable under those movements instead of becoming a loose obstacle that shifts each time something is carried through.
Match coverings to the risk. Dust containment, spill protection, and support for removed components are different needs. Test any adhesive product on a discreet compatible area and follow its removal timing. Delicate flooring, fresh coatings, wallpaper, and aged finishes may need another approach.
Check protection at each change of stage. Preparation debris should not remain where it can be dragged across finished surfaces during reassembly. Keep fittings, controls, labels, and moving parts free from coating as appropriate, and label hardware that is removed. Before normal use resumes, inspect the protected surfaces and remove coverings carefully. A good setup does more than catch the first drip; it remains useful through repairs, application, drying, cleanup, and the movement of belongings back into place.
Ask what condition the primer is intended to address
Begin the primer decision with a short description of the surface: bare or coated, porous or sealed, stained or clean, sound or failing. This description helps identify the problem the primer needs to solve. It also reveals conditions, such as active moisture or loose material, that require correction before any primer is appropriate.
Check the proposed primer’s compatibility with the substrate, existing finish, and topcoat. Where the history is uncertain, consult technical guidance and make a full-system trial. Do not treat the phrase “paint and primer” as permission to skip every separate bonding or stain-blocking requirement.
Apply at the specified rate and respect the next-coat interval. Inspect after drying for discoloration, lifting, roughness, or uneven appearance that indicates more investigation is needed. Keep the selected system in the project record, including any changes made after testing. Primer is a functional part of preparation; choosing it through the actual surface condition is more useful than adding an arbitrary extra layer and assuming that thickness will solve an unidentified problem.
Keep brushed edges controlled and consistent
Use a brush suited to the coating and the size of the detail. A large brush that is efficient on broad trim may be awkward around a narrow profile, while a very small brush can make a long edge slow and uneven. Check the manufacturer’s tool recommendations and practice on the approved sample before working in a prominent location.
Load enough material to keep the stroke flowing without flooding corners. Follow the shape of the component and watch for accumulations on lower edges, inside profiles, and around joints. Work systematically so that adjoining wet areas meet cleanly. Repeatedly brushing a finish as it starts to set can leave more marks than it removes.
Protect neighboring materials using an appropriate combination of careful technique and compatible masking. Review edges after the required drying time rather than trying to correct every reflection in wet paint. If sanding or other preparation is needed between coats, follow the coating instructions and the surface’s safety requirements. A neat brushed edge comes from preparation, suitable tools, and timing, rather than pressure or speed alone.
Make the approval sample answer a specific question
Decide what you need to learn from a sample before making it. Color, adhesion, stain blocking, texture matching, and cleaning response are separate questions. A tiny decorative swatch may answer the first while providing little evidence about the others. Choose a location or material that represents the uncertainty you actually face.
Document the trial in a short sequence: existing condition, cleaning, repair or preparation, primer if specified, finish, and evaluation time. Use the same tools and products planned for the wider job. If a stage changes, repeat the sample so approval still refers to the real system.
Inspect after the manufacturer’s required interval and under the lighting that matters to the space. Record whether the result was accepted and what limitations remain. For example, a successful color trial on smooth scrap does not prove that an old textured wall will look identical. Keep the approved reference available until handover. This makes the sample a practical decision tool and avoids treating an attractive wet patch as proof that every preparation question has been resolved.
Divide kitchen cleaning into compatible surface groups
Clear food and loose items before cleaning so products can be used in a controlled area. Group tasks by material: counters and backsplash, cabinet finishes, appliance surfaces, fixtures, and floors. Check the relevant care instructions and keep food-contact requirements distinct from ordinary decorative-surface cleaning.
Start with accessible upper and vertical areas, then work toward lower surfaces. Pay attention to pulls, exposed cabinet ends, and edges beside appliances where residue can collect. Use clean tools and avoid flooding seams or directing spray toward controls and outlets. Follow the product’s instructions for removing residue before items return.
Name appliance interiors and movement separately in the scope. Disconnecting or shifting equipment attached to utilities is not an assumed part of wiping nearby surfaces. Inspect the dry result for soil, film, and damage, and record repair needs honestly. Finish with the floor after the rest of the work is complete. This material-based sequence produces a more useful deep clean than applying one product to every visible surface and judging success only by the counter’s shine.
Distinguish drying, recoating, and return to use
A coating can feel dry before it is ready for another coat or ordinary use. The product label and technical data distinguish these stages because they serve different purposes. Recoating too soon can disturb the first layer, while loading shelves or closing painted parts too early can mark a surface that looks complete.
Use the instructions for the exact product and conditions. Temperature, humidity, airflow, film thickness, and the underlying surface can affect progress. A timetable taken from another paint or another room is only a rough comparison. Build the schedule around the manufacturer’s requirements rather than a universal promise that everything will be ready the next morning.
Plan reassembly and cleaning separately from application. Ask when furniture can return, when doors may remain closed, and when the finish can receive its first routine wash. Avoid aggressive testing with a fingernail or abrasive pad. For more background, Benjamin Moore explains factors affecting paint drying; the selected product’s own directions remain the practical reference for the job.
Planning your next step
Use the inspection notes and sample decisions from this guide to describe the work you want completed. Bring photographs of uncertain areas and list the surfaces that should be included before comparing estimates. For broader background, read our How To Paint Kitchen Cabinets A 2022 Step By Step Guide, or review AK Painters Pro Corp.’s services.
When you are ready to discuss the scope, request a free estimate. Related reading: