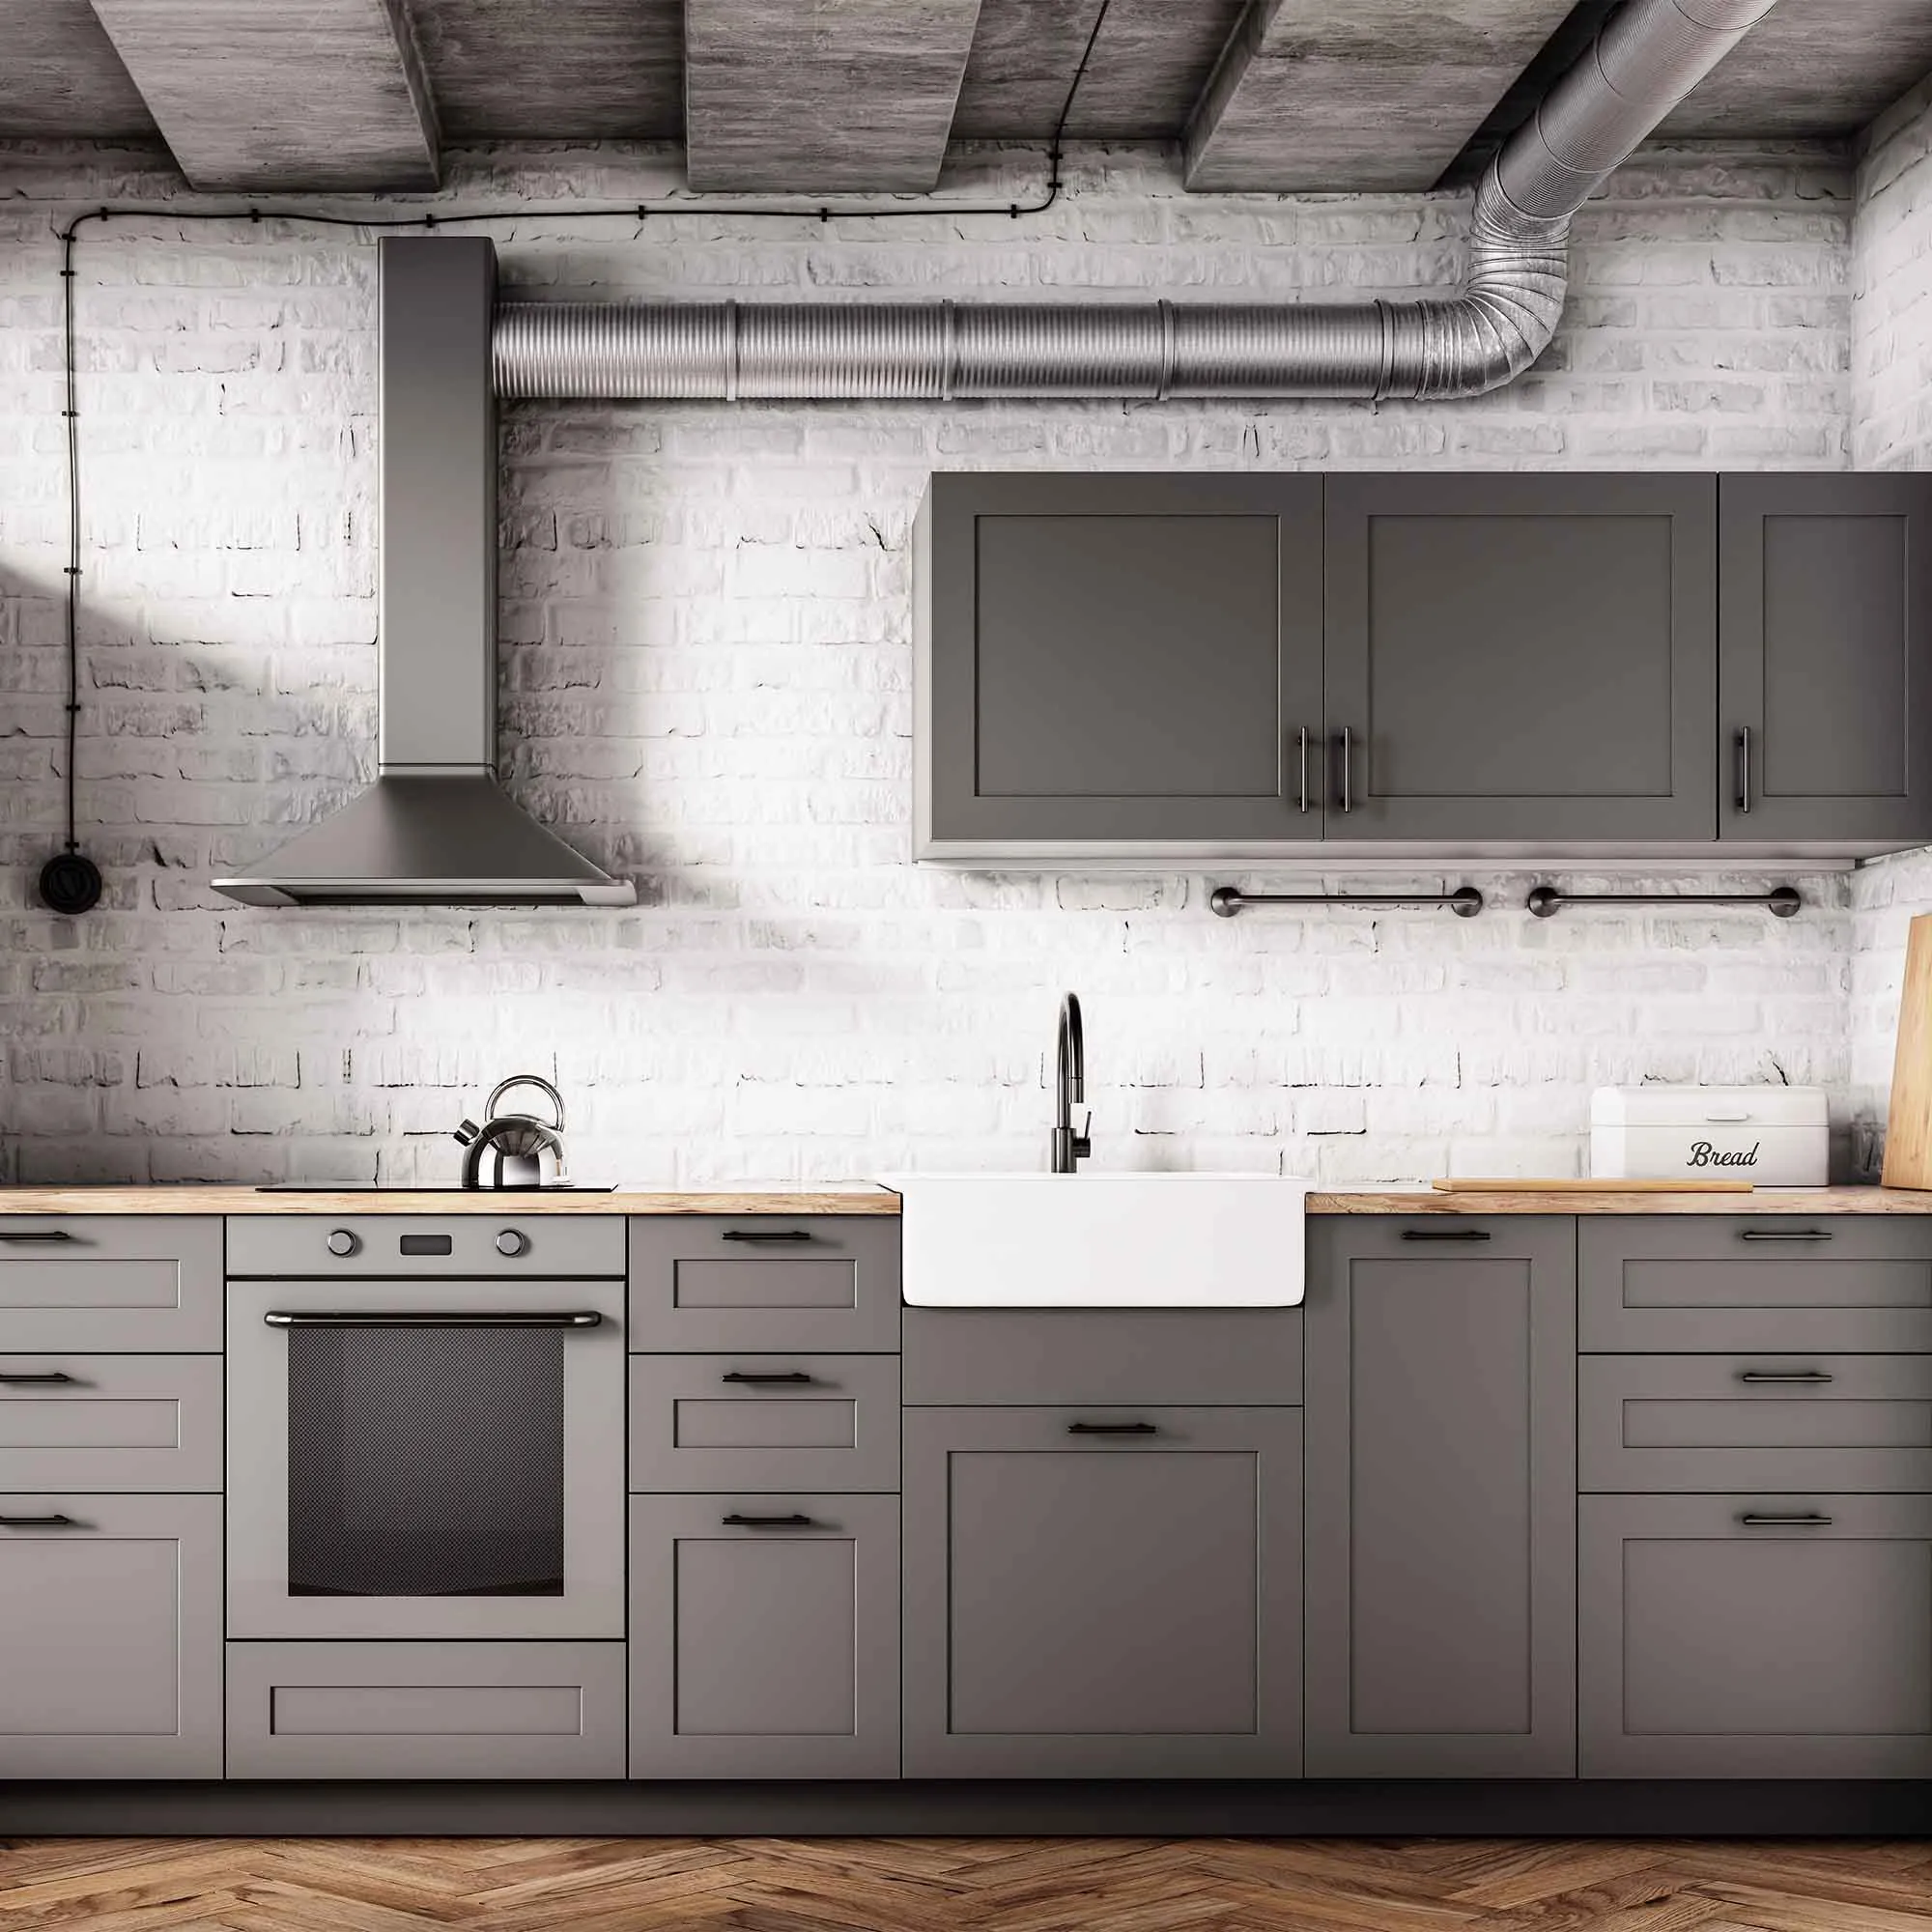
Laundry cabinets often sit near appliance heat, moisture, and concentrated storage. Start by clearing them and inspecting panel edges, shelves, and the areas near hoses or vents. Resolve leaks or damaged material before treating the work as a straightforward color change.
Define whether shelf interiors and exposed ends are included, and identify any factory-coated surfaces that need compatibility testing. Plan appliance access separately; painting should not require casual movement of connected equipment. Protect controls, utilities, and the floor while keeping essential service access available.
Choose a sample under the room’s normal lighting and beside the appliances that will remain. Allow the coating its required curing period before loading shelves with detergents and containers. When items return, use storage arrangements that reduce spills and abrasion. Record the finish and cleaning guidance so future care suits the new coating instead of following a routine intended for the previous factory surface.
Label cabinet parts before anything is removed
Cabinet doors and drawers often appear interchangeable until reassembly begins. Make a simple map of the kitchen and assign each opening an identifier. Label removed parts in a location that will remain readable without affecting the visible finish. Keep hinges, screws, and other hardware grouped according to the system used.
Photograph the arrangement before removal, including adjustable hinges and unusual clearances. Decide which interiors, shelf edges, and back faces belong in the finishing scope. Clarify whether hardware is being reused or replaced, because new hole positions may require repairs before preparation and coating begin.
Create protected storage and drying space for the components. Stacking freshly finished parts or placing them against abrasive surfaces can mark the coating. Plan handling so edges remain accessible without touching wet faces. During reassembly, use the map to return each part to its original location and check alignment and movement. A careful labeling system reduces avoidable adjustments and helps protect the finish at the stage when the kitchen is nearly ready to use again.
Turn a broad project request into a surface checklist
Stand in the space with a notebook and name each surface you expect to change. Include the details that are easy to overlook: inside returns, exposed ends, shelf backs, door edges, and accessible undersides. Mark items that stay as they are. This checklist becomes the common reference for the estimate, preparation, and final inspection.
For each included item, record the current condition and the intended result. “Change color on sound paint” is a different task from “repair damaged substrate and restore a uniform finish.” Identify uncertain areas for assessment rather than hiding them inside a general allowance.
Assign responsibilities for moving contents, disconnecting equipment, repairs by other trades, and disposal where relevant. Agree on how newly discovered work will be approved before it proceeds. Keep the list concise enough to use on site, with photographs for complicated locations. A clear scope gives routine decisions a reliable boundary and makes it easier to explain any change in time or cost without relying on assumptions about what the original room or service name included.
Resolve moisture causes before covering the evidence
A stain, blister, or peeling edge can be a symptom rather than the main problem. Look at the location and pattern. Damage below a window, along a ceiling joint, or near plumbing deserves a different investigation from a scuff caused by a chair. Repainting may conceal a mark temporarily without correcting the condition that produced it.
Have leaks, recurring condensation, or other suspected moisture sources assessed and corrected before finishing. Let affected materials reach the condition required by the repair and coating products. Surface appearance alone is not a reliable way to decide that a previously wet assembly is ready. Where necessary, the appropriate trade should verify the repair and drying plan.
Once the cause is addressed, evaluate whether the substrate remains sound. Soft, swollen, crumbling, or persistently contaminated materials may need work beyond cosmetic painting. A suitable stain-blocking system can address a residual mark on a sound surface, but it is not a substitute for correcting active moisture. Keep photographs and watch the area after the project so a returning pattern is recognized early.
Remove kitchen residue before preparing cabinets
Cabinet surfaces near cooking and frequent hand contact may carry residue that is not obvious at first glance. Inspect around pulls, beside the range, above appliances, and along upper edges. Cleaning needs to address contamination before any preparation method spreads it across the surface. Identify the cabinet material and existing finish first.
Choose a cleaner compatible with that finish and the planned coating system. Test a discreet area, follow dilution and rinsing instructions, and avoid saturating joints, exposed panel edges, or hardware. More liquid or stronger cleaner can damage a vulnerable substrate without making it more paint-ready.
Let surfaces dry and inspect them again under angled light. Residue, polishing products, and worn areas may need further assessment. Do not proceed simply because the broad flat faces look clean; profiles and corners can retain contamination. Complete a representative adhesion and finish trial using the full proposed system. Cabinet repainting places substantial demands on preparation because the finished parts will be handled, cleaned, and brought into close contact with one another repeatedly.
Make the approval sample answer a specific question
Decide what you need to learn from a sample before making it. Color, adhesion, stain blocking, texture matching, and cleaning response are separate questions. A tiny decorative swatch may answer the first while providing little evidence about the others. Choose a location or material that represents the uncertainty you actually face.
Document the trial in a short sequence: existing condition, cleaning, repair or preparation, primer if specified, finish, and evaluation time. Use the same tools and products planned for the wider job. If a stage changes, repeat the sample so approval still refers to the real system.
Inspect after the manufacturer’s required interval and under the lighting that matters to the space. Record whether the result was accepted and what limitations remain. For example, a successful color trial on smooth scrap does not prove that an old textured wall will look identical. Keep the approved reference available until handover. This makes the sample a practical decision tool and avoids treating an attractive wet patch as proof that every preparation question has been resolved.
Protect cabinet finishes during reassembly and early use
Cabinet parts experience contact immediately when doors close and drawers slide. That makes drying and curing arrangements especially important. Follow the exact coating system’s guidance before handling, installing hardware, closing parts against stops, or returning stored objects. A surface that feels dry can still be vulnerable to pressure and abrasion.
Plan the kitchen’s temporary use around those restrictions. Keep frequently needed items accessible elsewhere and avoid rushing reassembly because storage has become inconvenient. When parts are ready, handle them with clean hands and use protected surfaces that will not imprint or scratch the finish. Check alignment so doors and drawers do not rub.
Ask when routine cleaning and normal loading can resume. Avoid adhesive accessories, shelf liners, bumpers, or pads until their compatibility and timing are clear. Record any care limitations alongside the product details. During the first period of use, correct mechanical rubbing promptly rather than trying to cover the resulting damage with more paint. Good reassembly preserves the work that went into preparation and application.
Use the appliance manual to define cleaning boundaries
Find the model’s cleaning instructions before deciding what to remove or which product to use. Identify accessible interior surfaces, exterior finishes, removable parts, controls, seals, and openings that must be protected. A familiar appearance does not establish that two appliances share the same coating or care requirements.
Arrange contents and any required cooling or shutdown in advance. Movement involving gas, water, or fixed electrical connections needs the appropriate person and should not become an assumed cleaning step. Keep the scope specific enough that an exterior wipe is not confused with internal maintenance or repair.
Follow the approved sequence for residue removal, rinsing, drying, and reassembly. Do not force parts into place or apply stronger chemicals to damaged finishes. Record cracked components, failed seals, and unusual conditions for the owner to address through a qualified technician. Before returning the appliance to use, check that the cleaning steps and reassembly requirements have been completed. The aim is a clean appliance within its manufacturer’s limits, with maintenance issues clearly distinguished from soil.
Create a finish map that another person can understand
Use a simple plan or room list to connect every finish to its location. Write the product line, manufacturer, color, sheen, and any primer beside the relevant surface. Include special preparation only where it affects future work. Someone unfamiliar with the project should be able to identify the system without opening several containers and guessing.
Photograph readable labels and keep them with the written map. Record approved samples, completion dates, and care restrictions. Label retained materials and store them according to their instructions. An unidentified remainder is less useful than a clear product record, particularly after storage or aging changes its condition.
Update the map after repairs or later phases. Mark substitutions explicitly and keep the old information as history rather than allowing contradictory notes to circulate. When a problem returns, add its location and observed pattern before treatment removes the evidence. These records support maintenance and estimates, while keeping expectations realistic: a saved formula helps identify the finish but cannot guarantee that fresh material will disappear into an aged surrounding surface.
Planning your next step
Use the inspection notes and sample decisions from this guide to describe the work you want completed. Bring photographs of uncertain areas and list the surfaces that should be included before comparing estimates. For broader background, read our How To Paint Kitchen Cabinets A 2022 Step By Step Guide, or review AK Painters Pro Corp.’s services.
When you are ready to discuss the scope, request a free estimate. Related reading: