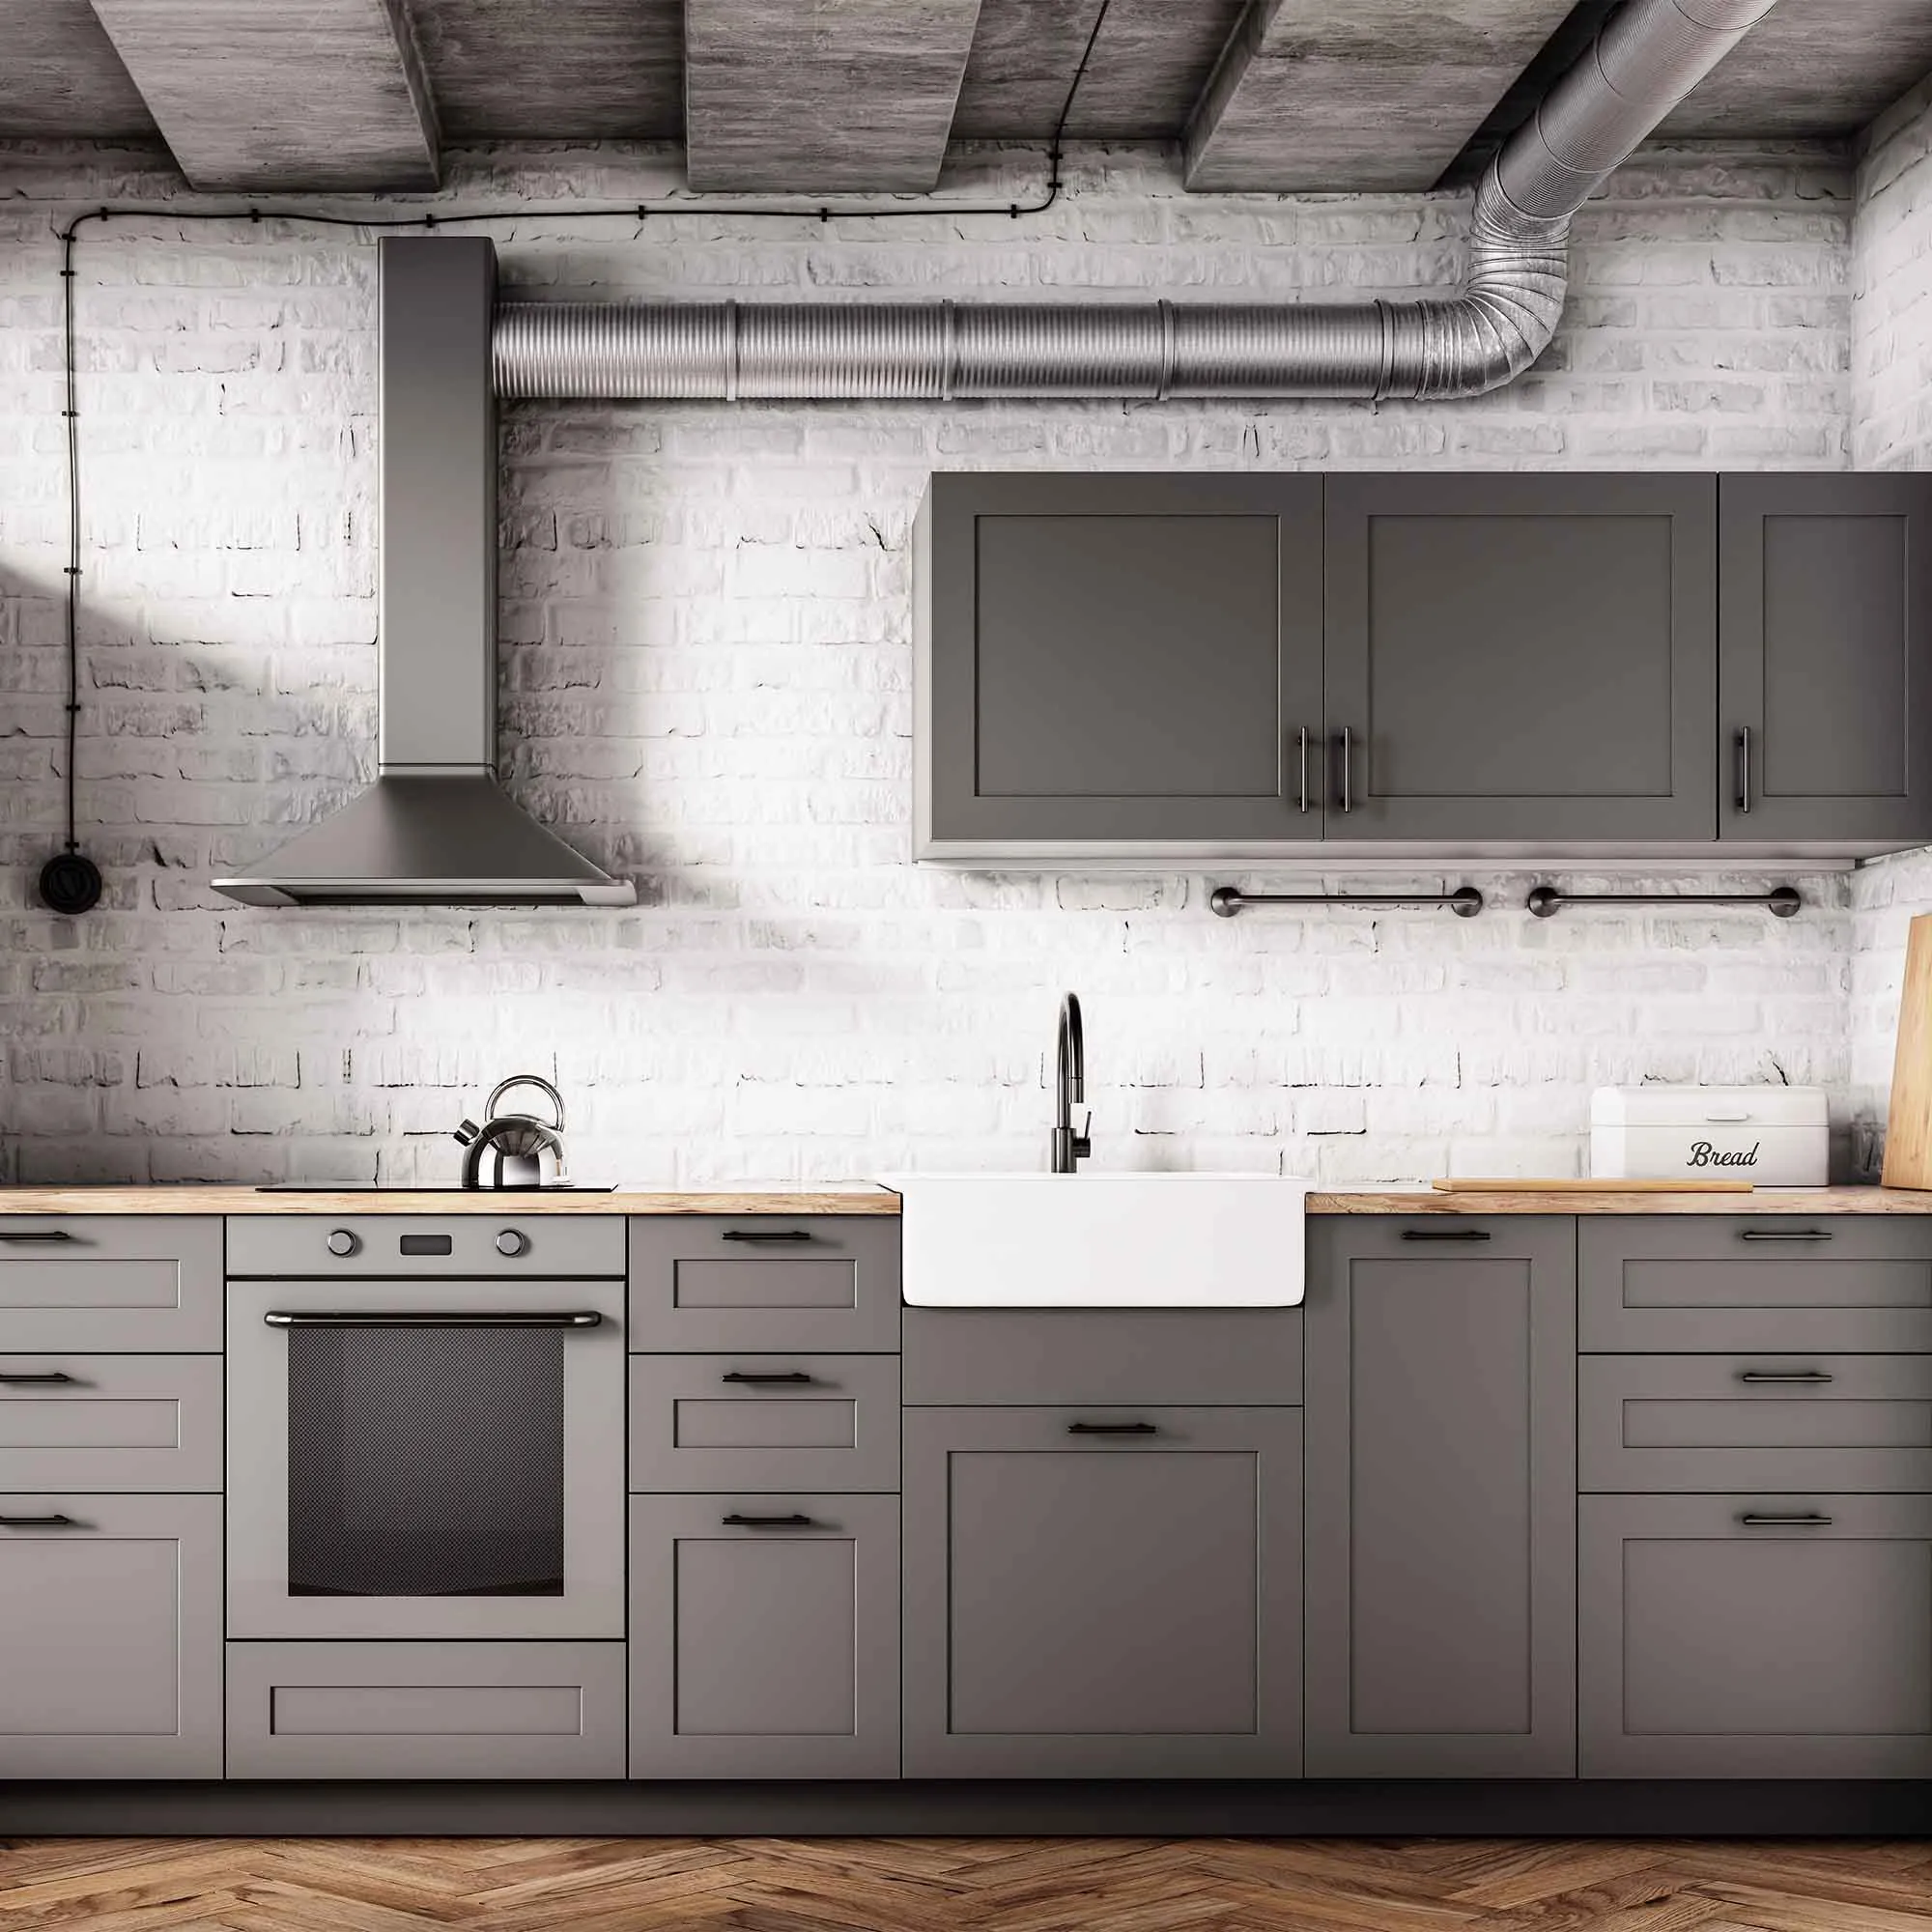
Oak cabinets can retain visible grain after painting, and that may be either welcome character or a mismatch with the desired result. Decide which appearance you want before comparing estimates. A straightforward color change and a more extensive grain-filling finish involve different preparation and expectations.
Examine a representative door under the kitchen’s normal lighting, including under-cabinet fixtures. Ask for a sample of the complete proposed system if a smoother appearance is important. Joints, damaged veneer, and construction details need separate assessment; paint does not turn every cabinet into a seamless manufactured panel.
Record the accepted sample and the included preparation clearly. Review the color beside the countertop and backsplash, since their textures also influence the effect. During the final walkthrough, compare the work with the approved sample rather than an unrelated photograph. This makes the finished kitchen easier to evaluate and avoids discovering too late that “painted cabinets” meant different surface textures to different people.
Decide whether visible wood grain belongs in the result
Painting wood cabinets does not automatically create the appearance of a smooth manufactured panel. Open grain, joints, and existing texture may remain visible through the finish. Discuss that appearance before choosing products or comparing estimates. A color change and a grain-filling project can involve very different preparation scopes.
Examine a representative door in both direct and side light. If a smoother appearance is desired, ask for a sample that includes the complete proposed filling, priming, and coating sequence. Follow compatible-system guidance, and evaluate the dry sample rather than a photograph of unrelated cabinets. Some construction joints may remain visible even after careful preparation.
Consider whether the additional work is worthwhile for the cabinet’s condition and design. A smooth finish cannot correct loose joints, damaged panels, or failing veneer by itself. Record the accepted sample and the limits of the scope. During the final walkthrough, compare against that agreed result instead of expecting paint to erase every feature of the original wood. Clear expectations make the finish choice more practical and the completed kitchen easier to assess.
Identify the wood and its previous finish
A stain result depends on the material underneath it. Solid wood, veneer, engineered panels, and factory-finished components may need different treatment. Look for manufacturer information and examine concealed edges where appropriate. Do not assume that every surface with a wood pattern can be sanded or stained like solid lumber.
Find out what finish is already present. A penetrating stain, a clear film, paint, wax, and an unknown furniture polish can affect the next system differently. If records are unavailable, use a cautious assessment and a representative test rather than choosing a remover by guesswork. Thin veneers and delicate profiles can be damaged by aggressive preparation.
Note repairs and mixed materials. A replacement board or filled area may accept color differently from its neighbors even after careful preparation. Decide whether visible variation is acceptable before choosing the finish. Record the findings and the approved sample. Identifying the actual wood and previous coating helps turn stain selection from a color-card exercise into a realistic plan for the piece or structure you have.
Inspect the prepared wood before applying color
Once cleaning and appropriate preparation are complete, pause before opening the stain. View the surface from an angle and look for scratches, glue residue, compressed fibers, and unevenly treated patches. Color can make these features more visible, so the inspection is most useful while corrections are still part of preparation.
Compare broad faces with edges and profiles. Where sanding is suitable, the sequence should be consistent and appropriate to the construction. Thin veneer and delicate details require restraint. Resolve coating-history and hazardous-material concerns before disturbing unknown or older finishes, and use suitable dust-control methods for the actual task.
Clean the prepared surface as the finish manufacturer directs, then make the representative trial. If the sample reveals uneven absorption, investigate the preparation instead of immediately adding more stain. Record any revised method and apply it consistently across comparable components. This checkpoint helps keep the final color decision connected to the quality of the substrate, rather than expecting the stain to conceal differences introduced by the work that came before it.
Select primer for the problem it needs to solve
Primer is not one universal product. Bare porous material, glossy existing paint, residual staining, and exposed metal present different requirements. Start by identifying the substrate and the condition of the existing coating. Then choose a primer and finish that are explicitly compatible with that situation and with each other.
Avoid relying on a marketing phrase alone. A combined paint-and-primer product does not remove every need for separate preparation or a specialized primer. Read the technical information for the intended surface and discuss uncertain combinations with the manufacturer or supplier. A trial area is especially useful where the existing finish is unknown or where staining has returned through earlier paint.
Apply the primer at the recommended coverage and allow the stated interval before the next coat. A heavy layer is not a reliable substitute for choosing the correct system. Inspect for bleed-through, lifting, roughness, or uneven absorption before proceeding. The purpose of the primer stage is to establish a suitable base; if that stage fails, more topcoat usually makes the eventual correction larger.
Make the approval sample answer a specific question
Decide what you need to learn from a sample before making it. Color, adhesion, stain blocking, texture matching, and cleaning response are separate questions. A tiny decorative swatch may answer the first while providing little evidence about the others. Choose a location or material that represents the uncertainty you actually face.
Document the trial in a short sequence: existing condition, cleaning, repair or preparation, primer if specified, finish, and evaluation time. Use the same tools and products planned for the wider job. If a stage changes, repeat the sample so approval still refers to the real system.
Inspect after the manufacturer’s required interval and under the lighting that matters to the space. Record whether the result was accepted and what limitations remain. For example, a successful color trial on smooth scrap does not prove that an old textured wall will look identical. Keep the approved reference available until handover. This makes the sample a practical decision tool and avoids treating an attractive wet patch as proof that every preparation question has been resolved.
Choose sheen around use and surface condition
Sheen affects more than whether a wall looks shiny. It changes how strongly surface irregularities and reflected light stand out. A very smooth sample may look attractive in a higher sheen, while the same finish can emphasize uneven patches on an older wall. Evaluate both the desired appearance and the condition you can realistically achieve through preparation.
Think about how the surface will be used. Areas touched regularly need a coating whose technical information supports the intended cleaning and wear. A finish name alone does not establish performance: products described as matte, eggshell, satin, or semi-gloss can differ between manufacturers. Compare the actual product information and ask for a sample when appearance is important.
Use an intentional relationship between neighboring surfaces. Trim does not have to match walls in sheen, but an accidental mix of finishes can make a repaired area look unfinished. Write down the sheen for each surface, including ceilings and doors. When touching up existing work, matching the color without matching the sheen may leave a visible patch even if the paint was applied carefully.
Label cabinet parts before anything is removed
Cabinet doors and drawers often appear interchangeable until reassembly begins. Make a simple map of the kitchen and assign each opening an identifier. Label removed parts in a location that will remain readable without affecting the visible finish. Keep hinges, screws, and other hardware grouped according to the system used.
Photograph the arrangement before removal, including adjustable hinges and unusual clearances. Decide which interiors, shelf edges, and back faces belong in the finishing scope. Clarify whether hardware is being reused or replaced, because new hole positions may require repairs before preparation and coating begin.
Create protected storage and drying space for the components. Stacking freshly finished parts or placing them against abrasive surfaces can mark the coating. Plan handling so edges remain accessible without touching wet faces. During reassembly, use the map to return each part to its original location and check alignment and movement. A careful labeling system reduces avoidable adjustments and helps protect the finish at the stage when the kitchen is nearly ready to use again.
Compare estimates by the work they include
Two prices are difficult to compare if they describe different work. Ask for a written scope that identifies surfaces, preparation, repairs, coating products, and the areas excluded from the job. Clarify whether hardware removal, furniture moving, and final cleanup are included. A short description such as “paint room” leaves too much room for different assumptions.
Discuss how unexpected conditions will be handled. Hidden damage, loose existing coatings, or additional repair needs may not be clear until preparation begins. Agree that changes should be explained and approved before extra work proceeds. Ask how those changes affect both cost and schedule, rather than focusing on price alone.
Review the handover as part of the estimate. Product records, leftover materials where appropriate, care instructions, and a final walkthrough help you maintain the finish afterward. Avoid comparing proposals through an unsupported promise about how many years a finish will last. Exposure, use, preparation, and maintenance all matter. A specific, understandable plan gives you a stronger basis for choosing work than a vague assurance attached to a low total.
Planning your next step
Use the inspection notes and sample decisions from this guide to describe the work you want completed. Bring photographs of uncertain areas and list the surfaces that should be included before comparing estimates. For broader background, read our How To Paint Kitchen Cabinets A 2022 Step By Step Guide, or review AK Painters Pro Corp.’s services.
When you are ready to discuss the scope, request a free estimate. Related reading: