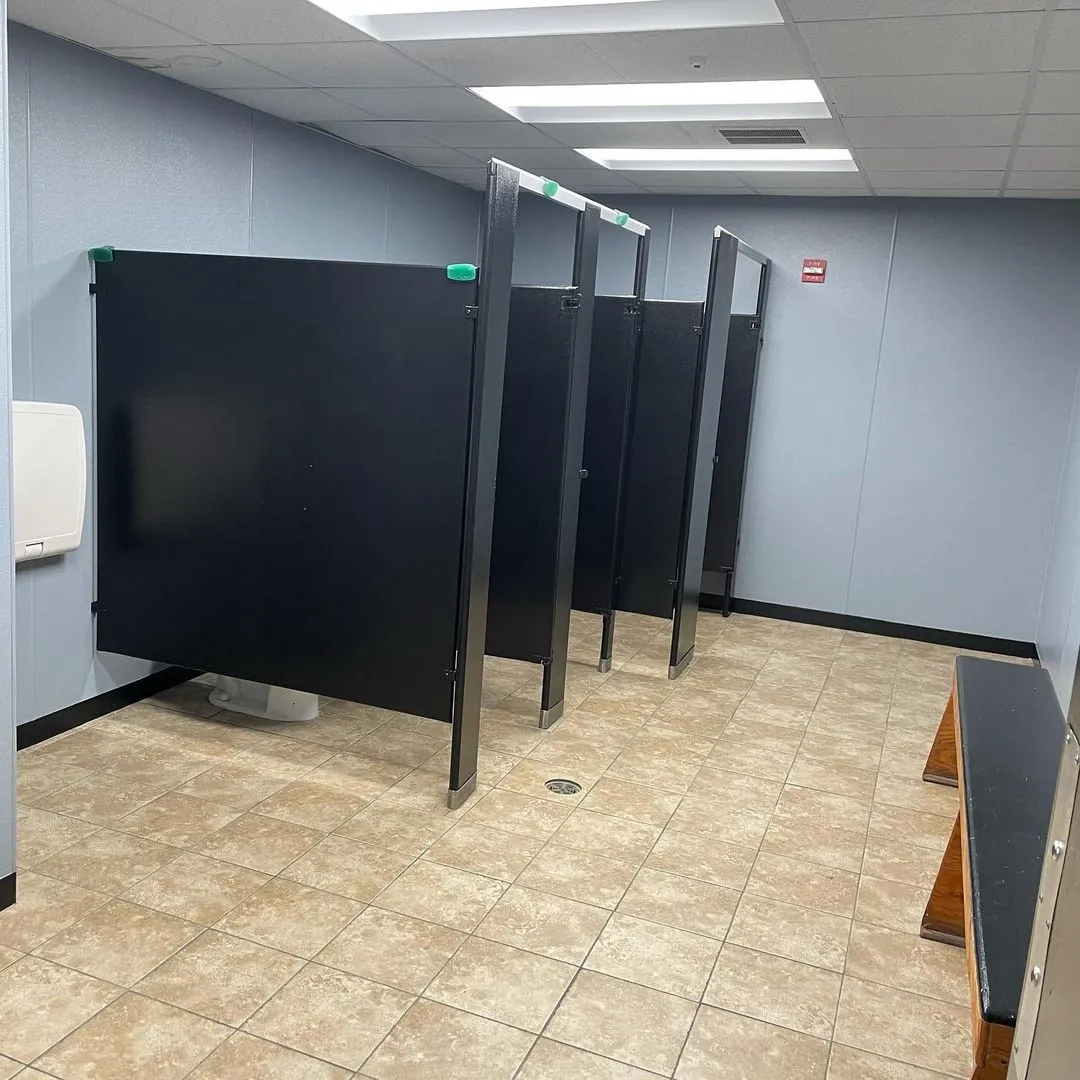
A small bathroom can contain a surprisingly complex set of surfaces and systems. List painting, tile, fixtures, storage, cleaning, and any utility changes separately before requesting estimates. The room’s limited area does not make plumbing, electrical, or water-management decisions part of ordinary cosmetic work by default.
Inspect leaks, damaged materials, and ventilation concerns early. Identify which conditions need the appropriate professional before decorative finishes are selected. If the budget is limited, retain sound components deliberately rather than reducing necessary preparation on the surfaces being changed.
Choose coordinated samples and confirm the sequence and curing requirements for each material. Arrange an alternative bathroom plan while the space is unavailable. During handover, compare the result with the surface list and record exclusions and remaining repairs clearly. This keeps a manageable refresh from expanding through hidden assumptions or being mistaken for a complete renovation of every underlying system.
Define the boundary of a bathroom refresh
A bathroom refresh can range from painting and cleaning to tile, fixture, and layout changes. List the work explicitly so a cosmetic project does not quietly become plumbing, electrical, or water-management work. Identify who is responsible for each trade and which decisions must be made before finishes are selected.
Inspect existing moisture conditions, damaged materials, and ventilation concerns early. New paint or tile cannot correct every underlying problem. Wet-area assemblies, utility changes, and other specialized work should be planned and completed by the appropriate professionals under applicable requirements. Keep those responsibilities separate from ordinary finish selection.
Choose materials as a coordinated set, considering cleaning, edges, transitions, and the room’s actual use. Approve physical samples where possible and verify product compatibility. Plan how the household will function while the bathroom is unavailable, including the time needed for curing and inspection. A clear scope allows the finishing work to proceed in the right order and makes it easier to evaluate the completed room against an agreed result.
Define exactly what will be finished
A useful project description names the surfaces instead of relying on the name of the room. Walls, ceilings, baseboards, window casings, doors, and built-in shelves may need different preparation and different coatings. Walk through the space and list each item that belongs in the job. Identify both faces of doors, closet interiors, and the edges that are visible only when something is opened.
Separate appearance changes from repairs. A color change on sound paint is different from work on peeling layers, damaged drywall, or water-stained trim. Mark uncertain areas for inspection before deciding how much finishing work is reasonable. Photographs taken in normal daylight can help you remember the condition and discuss it consistently.
Keep a second list of exclusions. Furniture refinishing, electrical work, leak repairs, and moving large appliances should never become assumed tasks simply because they are near a painted surface. With clear boundaries, you can compare estimates and evaluate the finished result against the same expectations. It also becomes easier to divide a larger improvement into manageable stages.
Keep the moisture investigation separate from cosmetic repair
Map the damaged area before cleaning or coating removes the evidence. Note its position relative to windows, plumbing, roof edges, ground level, and regularly wet objects. Compare whether the pattern changes after weather or normal use. These observations help the appropriate professional investigate the source.
Resolve the cause and establish that the material is suitable for repair before choosing paint or stain. Surface dryness alone may not describe the condition inside an assembly. Softened, swollen, crumbling, or persistently contaminated material needs assessment beyond a cosmetic finish.
Once the repair and drying requirements are met, select a compatible preparation and coating system for the sound substrate. A residual stain may need a specialized primer, but that step should follow the investigation rather than replace it. Retain photographs and the repair history, then check the location later. If the same pattern returns, use that evidence to reassess the cause instead of automatically adding another layer that temporarily hides the warning sign.
Plan tile layout before the first piece is placed
Tile work begins with the room’s dimensions, visible edges, fixtures, and transitions. Dry planning can reveal awkward narrow cuts or misaligned focal points before adhesive makes them difficult to change. Consider the view from the doorway and the relationship to cabinets, counters, and adjacent surfaces rather than centering the layout by habit.
Confirm the tile, substrate, setting material, grout, and movement details as a compatible assembly. Wet areas require an appropriate water-management system; tile and grout alone should not be assumed to provide it. Have the relevant professional define that assembly and follow the manufacturers’ installation requirements.
Agree on edge treatments, pattern direction, joint appearance, and the limits of the work before installation. A sample or dry arrangement helps communicate those choices. Coordinate plumbing, electrical, and other trade needs separately. During inspection, look at transitions and usable clearances as well as the center of the tiled area. A well-planned layout supports both appearance and function and reduces surprises at the edges of the room.
Set priorities without weakening the preparation
When the budget is limited, reduce the scope thoughtfully. Finishing fewer complete surfaces well is often more useful than spreading the same effort thinly across every room. Identify what matters most: a damaged wall, frequently used trim, a visible entrance, or a surface that needs protective maintenance. Rank those needs before choosing optional color changes.
Keep necessary preparation attached to the surfaces you select. Omitting cleaning, compatible priming, or agreed repairs can undermine the finish you are paying for. Discuss alternatives in concrete terms, such as retaining a sound ceiling or postponing a closet interior, instead of asking for an unspecified reduction in quality.
Plan later phases so they meet at natural boundaries. Corners, doorways, and complete boards usually create clearer stopping points than the middle of an uninterrupted surface. Record the products and colors for the next phase, while recognizing that aging can still affect the match. A phased project works best when access, cleanup, and future touch-ups are considered from the beginning rather than rediscovered each time work resumes.
Ask each proposal to describe the same finished result
Give every estimator the same surface list and condition notes. Include photographs of uncertain details and identify access restrictions that affect the work. Ask how preparation, repair, protection, application, and cleanup are represented so a lower price is not simply an estimate for fewer tasks.
Review the proposed products and the intended appearance together. A color change on a sound surface differs from a smoothness upgrade, extensive grain filling, or repair of a damaged substrate. A representative sample can make those differences easier to understand before the main work begins.
Clarify exclusions and the process for additional findings. Unexpected damage should lead to a documented scope decision with cost and timing implications, not an informal assumption. Include handover information and care instructions in the discussion. When comparing proposals, focus on the concrete work and its limits rather than unsupported lifespan or savings claims. This creates a fairer comparison and leaves an agreed reference for deciding whether the completed project matches what was actually purchased.
Put preparation and finishing in the right order
The order of work affects both the result and the amount of cleanup. Begin with inspection, access arrangements, and protection. Complete agreed repairs before final cleaning, then prepare the surface for the selected primer or finish. Each stage should leave a suitable starting point for the next one. Painting over unresolved dirt or damage only makes the underlying problem harder to address later.
Think about overlapping trades as well as the painting itself. Drilling, carpentry, and dusty installation work usually need to be coordinated ahead of delicate finishes. If another trade must return afterward, agree on protection and responsibility for touch-ups. A finished wall can be damaged quickly by an unplanned ladder or tool bag.
Allow for inspection between stages. Check repaired areas before coating conceals their edges, and review the first finished sample before repeating it throughout the space. Keep a written list of remaining steps rather than treating the first coat as the halfway point. Preparation, drying, and careful reassembly may account for much of the project even when the visible application goes quickly.
Create a finish map that another person can understand
Use a simple plan or room list to connect every finish to its location. Write the product line, manufacturer, color, sheen, and any primer beside the relevant surface. Include special preparation only where it affects future work. Someone unfamiliar with the project should be able to identify the system without opening several containers and guessing.
Photograph readable labels and keep them with the written map. Record approved samples, completion dates, and care restrictions. Label retained materials and store them according to their instructions. An unidentified remainder is less useful than a clear product record, particularly after storage or aging changes its condition.
Update the map after repairs or later phases. Mark substitutions explicitly and keep the old information as history rather than allowing contradictory notes to circulate. When a problem returns, add its location and observed pattern before treatment removes the evidence. These records support maintenance and estimates, while keeping expectations realistic: a saved formula helps identify the finish but cannot guarantee that fresh material will disappear into an aged surrounding surface.
Planning your next step
Use the inspection notes and sample decisions from this guide to describe the work you want completed. Bring photographs of uncertain areas and list the surfaces that should be included before comparing estimates. For broader background, read our The Best House Cleaning Tips and Tricks 2022, or review AK Painters Pro Corp.’s services.
When you are ready to discuss the scope, request a free estimate. Related reading: