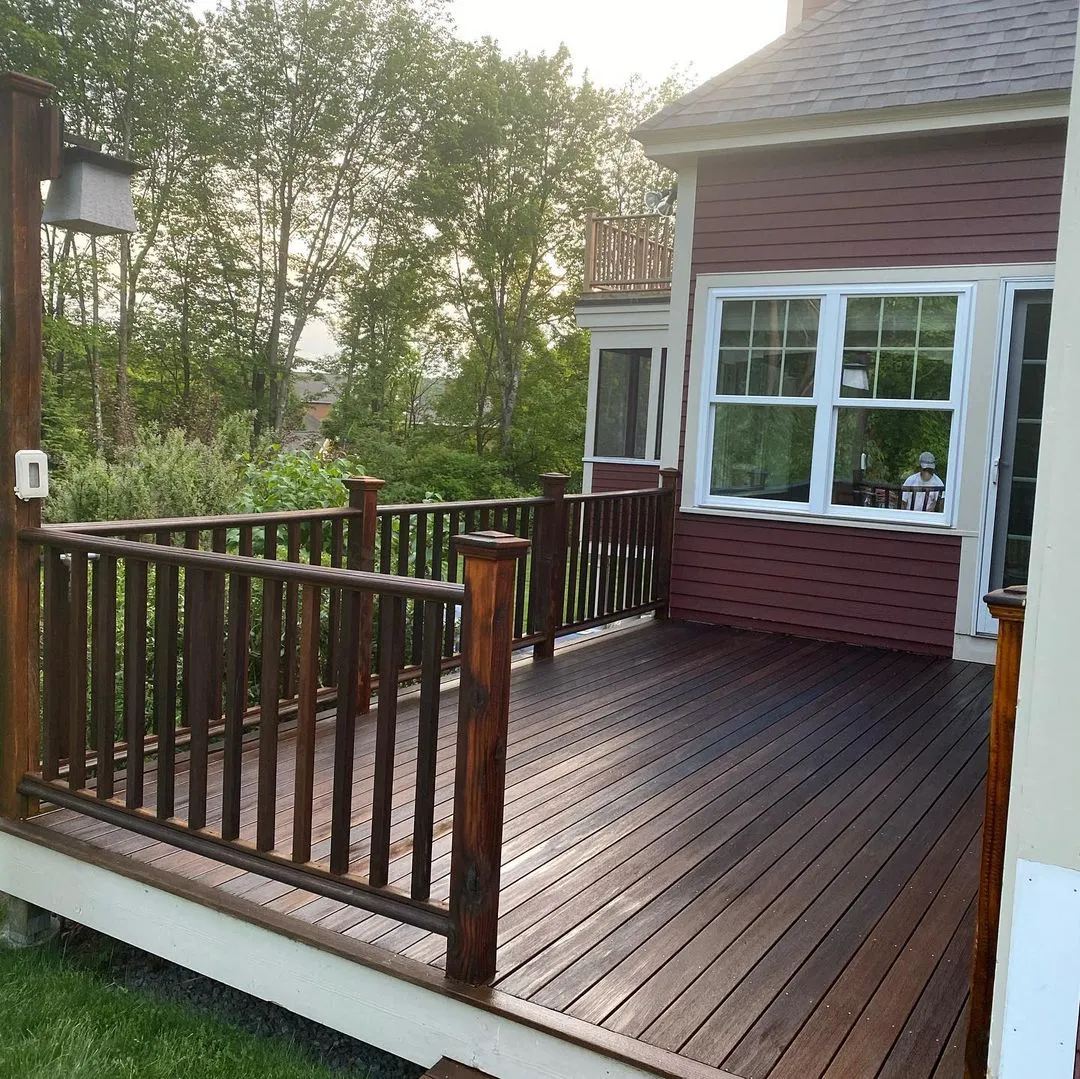
Matching an interior door to existing stained trim is a comparison between real materials, not just color names. Identify the door construction and the trim’s finish history where possible. Veneer, solid wood, repairs, and aging can all affect the final relationship.
Use a representative sample of the proposed system and view it beside the trim in the actual hallway or room. Include the intended topcoat and sheen. Decide whether the goal is a close coordination or an exact match, and be realistic about differences between species and aged finishes.
Label hardware if removed and plan handling so edges remain accessible without touching wet faces. Check operation before and after the work, following the product’s curing guidance before normal closure. During the final review, look at both sides of the doorway and the open-door edges. Keep the sample and product details so future work has a clearer reference than a photograph taken under different lighting.
Plan door painting around edges and operation
Before removing hardware or painting, check how the door operates. Note existing rubbing, sticking, or misalignment so those issues can be addressed rather than hidden by a new finish. Decide which faces and edges belong in the scope, and identify any manufacturer restrictions, labels, or components that must remain unpainted.
Protect hinges, latches, seals, and surrounding surfaces as appropriate. If components are removed, label and store them together. Painted surfaces that touch each other need adequate drying and curing time before normal closure. A door that feels dry may still mark or stick where the finish presses against a stop or seal.
Follow the coating and door manufacturer’s instructions for preparation and application. Work with the panel or slab geometry so material does not collect in recessed corners or along the bottom edge. Plan an alternative route or security arrangement while the opening is unavailable. At handover, confirm that the door opens, closes, and latches correctly, and clarify when it can remain closed without risking the new finish.
Identify the wood and its previous finish
A stain result depends on the material underneath it. Solid wood, veneer, engineered panels, and factory-finished components may need different treatment. Look for manufacturer information and examine concealed edges where appropriate. Do not assume that every surface with a wood pattern can be sanded or stained like solid lumber.
Find out what finish is already present. A penetrating stain, a clear film, paint, wax, and an unknown furniture polish can affect the next system differently. If records are unavailable, use a cautious assessment and a representative test rather than choosing a remover by guesswork. Thin veneers and delicate profiles can be damaged by aggressive preparation.
Note repairs and mixed materials. A replacement board or filled area may accept color differently from its neighbors even after careful preparation. Decide whether visible variation is acceptable before choosing the finish. Record the findings and the approved sample. Identifying the actual wood and previous coating helps turn stain selection from a color-card exercise into a realistic plan for the piece or structure you have.
Test stain on representative wood, not just a color card
The same stain can look different on different boards. Species, grain, previous treatment, weathering, and preparation all affect absorption and appearance. Use an inconspicuous part of the actual piece or a genuinely matching sample when possible. A store display gives a direction, but it cannot show every characteristic of your wood.
Prepare the trial exactly as the project will be prepared. Changing the sanding sequence or skipping a planned conditioner can change the result. Include the intended topcoat where the system requires one, since a clear finish can alter the final appearance. Follow all product directions for application, excess removal, and evaluation time.
Compare the dry sample in the light where the finished surface will be seen. Look at both broad color and local variation around grain, end grain, and repairs. If several boards are involved, sample more than one representative condition. Keep the approved piece or location available during application. It becomes a practical reference for consistency, while allowing for natural differences that no transparent finish can completely erase.
Prepare wood consistently across the whole surface
Uneven preparation can produce uneven stain even when the application is careful. Establish the appropriate cleaning and preparation sequence for the wood and selected product. Remove contamination with a compatible method, and assess existing coatings before sanding or stripping. Unknown or older finishes may require specialized evaluation before disturbance.
Where sanding is appropriate, use a consistent sequence and follow the grain and manufacturer guidance. Do not overwork one spot while leaving another comparatively rough. Edges, profiles, and thin veneers need particular care because material can be removed quickly. Remove preparation dust using a suitable controlled method before applying the finish.
Inspect the bare or prepared surface in angled light. Scratches, glue residue, and compressed areas can become more visible after staining. Use a representative test to check the result before treating the whole piece. If preparation changes halfway through the job, make a new sample rather than assuming the color will remain identical. Consistency begins before the stain container is opened and is difficult to recover through heavier application afterward.
Review color from the positions where the space is used
Place the sample where it can be seen from a doorway, a seat, and the main walking route. These positions may reveal different reflections and surrounding colors. A choice made while standing directly in front of a brightly lit swatch can overlook the way the finish appears during everyday use.
Make the review repeatable. Note the sample name, location, time of day, and lighting setting. Compare it beside fixed materials such as floors, counters, roofing, or trim, depending on the project. If those materials will change, coordinate samples instead of approving each decision in isolation.
Use the intended sheen and a sufficiently representative area where practical. Cameras and screens can help document the options but should not replace the physical comparison. Once a sample is accepted, keep it available until completion and record the exact formula and finish. That reference makes later questions easier to resolve and prevents a similar-looking chip from being substituted simply because nobody can remember which sample was approved in the real setting.
Pay attention to end grain and exposed board edges
The ends and edges of wood components often behave differently from the broad faces. On exterior structures, these areas may receive concentrated moisture and wear. On stained furniture or trim, they may absorb color differently. Inspect them deliberately rather than treating them as leftover details after the main surface is finished.
Follow the coating manufacturer’s instructions for the particular wood and exposure. Some systems call for special attention to cut ends or other vulnerable locations. Do not assume that adding a very heavy coat is an appropriate solution; excess material can dry or perform poorly. Test appearance where end grain will be visible.
Plan the work so edges can be reached without handling wet faces or standing on a newly finished surface. If components are inaccessible, clarify the limitation in the scope rather than suggesting that all sides have been treated. During the walkthrough, check rail ends, board tops, door edges, and similar details. A finish looks more complete when these transitions are intentional, and maintenance is easier when vulnerable locations are known.
Set up protection around the way work will move
Trace the route from the entrance to the work area before laying coverings. Identify where tools turn corners, where parts will be stored, and where people need to pass. Protection should remain stable under those movements instead of becoming a loose obstacle that shifts each time something is carried through.
Match coverings to the risk. Dust containment, spill protection, and support for removed components are different needs. Test any adhesive product on a discreet compatible area and follow its removal timing. Delicate flooring, fresh coatings, wallpaper, and aged finishes may need another approach.
Check protection at each change of stage. Preparation debris should not remain where it can be dragged across finished surfaces during reassembly. Keep fittings, controls, labels, and moving parts free from coating as appropriate, and label hardware that is removed. Before normal use resumes, inspect the protected surfaces and remove coverings carefully. A good setup does more than catch the first drip; it remains useful through repairs, application, drying, cleanup, and the movement of belongings back into place.
Create a finish map that another person can understand
Use a simple plan or room list to connect every finish to its location. Write the product line, manufacturer, color, sheen, and any primer beside the relevant surface. Include special preparation only where it affects future work. Someone unfamiliar with the project should be able to identify the system without opening several containers and guessing.
Photograph readable labels and keep them with the written map. Record approved samples, completion dates, and care restrictions. Label retained materials and store them according to their instructions. An unidentified remainder is less useful than a clear product record, particularly after storage or aging changes its condition.
Update the map after repairs or later phases. Mark substitutions explicitly and keep the old information as history rather than allowing contradictory notes to circulate. When a problem returns, add its location and observed pattern before treatment removes the evidence. These records support maintenance and estimates, while keeping expectations realistic: a saved formula helps identify the finish but cannot guarantee that fresh material will disappear into an aged surrounding surface.
Planning your next step
Use the inspection notes and sample decisions from this guide to describe the work you want completed. Bring photographs of uncertain areas and list the surfaces that should be included before comparing estimates. For broader background, read our How to Stain Wood the right way, or review AK Painters Pro Corp.’s services.
When you are ready to discuss the scope, request a free estimate. Related reading: