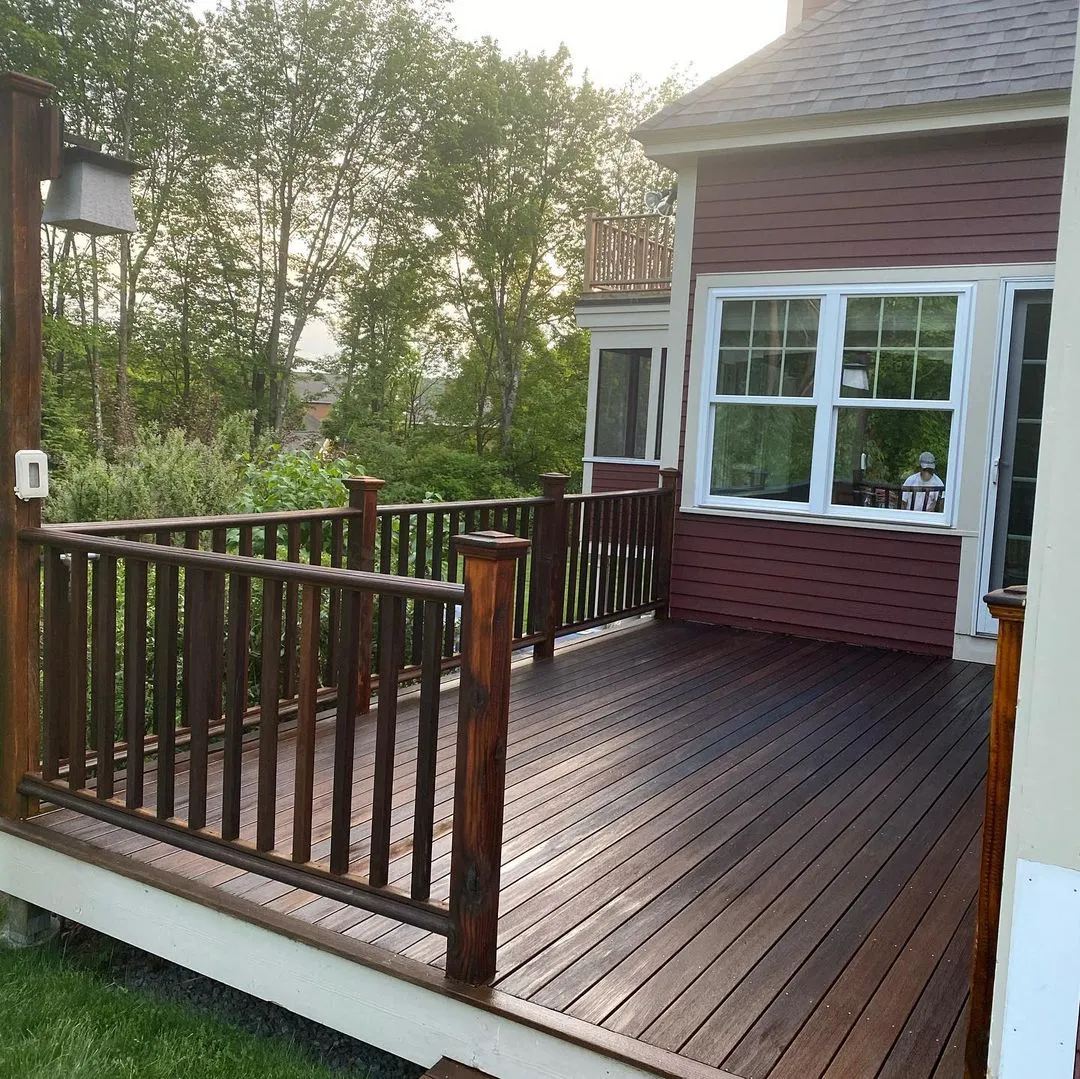
Oak furniture often has a pronounced grain pattern that becomes an important part of the stained result. Inspect the piece for veneer, repairs, mixed boards, and previous coatings before choosing a color. The goal should account for the actual construction rather than assuming every part is solid wood with identical absorption.
Prepare a representative sample and include the planned topcoat where the system requires one. Review the dry finish under the lighting where the piece will be used. Grain, end grain, and repaired areas may remain distinct, so decide whether that variation supports the intended appearance.
Plan handling around drawers, doors, and horizontal surfaces that will carry objects. Allow the coating’s specified return-to-use time before reassembly or loading. Keep the sample and product record for later maintenance, while recognizing that aged wood and finish can make future repairs visible. A careful sample process preserves the material’s character without promising a uniformity that the wood itself does not offer.
Read the construction before choosing a wood finish
Look at an accessible underside, back edge, or manufacturer label to understand how the item is made. A decorative face may cover a thin veneer or a manufactured core. Broad sanding or chemical removal can be inappropriate even when the visible surface has a convincing wood grain. Resolve that uncertainty before deciding on tools.
Make a condition note for each distinct component. Include replacement boards, filled holes, loose joints, and any area with a different existing coating. This helps explain why one stain sample cannot represent the whole project. If the history is unknown, an experienced refinisher can help determine what assessment is appropriate without sacrificing a prominent face.
Keep the material findings connected to the desired appearance. A transparent finish leaves the substrate visible, including characteristics that an opaque coating might conceal. Decide whether those differences belong in the result and sample accordingly. Stop if preparation reveals lifting veneer or unstable material. Finishing is the last stage of improving a suitable component; it should not be used to disguise a construction problem that still needs repair.
Plan refinishing as a handling and reassembly project
Before refinishing furniture, make a record of its parts and construction. Photograph drawer positions, door gaps, and removable hardware, then label matching components. Check stability and existing damage so structural repairs are resolved separately from the decorative finish. Veneer and composite sections should be identified before any aggressive preparation is considered.
Choose a work and drying arrangement that supports the piece without marking visible surfaces. Think about how each face and edge will be reached and where wet parts can remain undisturbed. A finish applied neatly can still be damaged by stacking or hurried movement afterward.
Approve a representative sample that includes the complete compatible system. Follow its handling and loading requirements during reassembly, and check operation without forcing parts that rub. Keep objects, liners, and protective pads off the surface until their use is appropriate. At handover, record care guidance and construction limitations. The goal is a usable piece with an understood finish system, not only an attractive photograph taken before the drawers close or the tabletop carries everyday objects.
Prepare wood consistently across the whole surface
Uneven preparation can produce uneven stain even when the application is careful. Establish the appropriate cleaning and preparation sequence for the wood and selected product. Remove contamination with a compatible method, and assess existing coatings before sanding or stripping. Unknown or older finishes may require specialized evaluation before disturbance.
Where sanding is appropriate, use a consistent sequence and follow the grain and manufacturer guidance. Do not overwork one spot while leaving another comparatively rough. Edges, profiles, and thin veneers need particular care because material can be removed quickly. Remove preparation dust using a suitable controlled method before applying the finish.
Inspect the bare or prepared surface in angled light. Scratches, glue residue, and compressed areas can become more visible after staining. Use a representative test to check the result before treating the whole piece. If preparation changes halfway through the job, make a new sample rather than assuming the color will remain identical. Consistency begins before the stain container is opened and is difficult to recover through heavier application afterward.
Compare stain samples through a repeatable sequence
Use several representative pieces or discreet locations when the project contains different boards or repairs. Label each sample with its preparation and product details. Without those notes, the most attractive result can become impossible to reproduce once the samples are moved around or the containers are put away.
Prepare and finish the samples through the actual proposed system. Include any compatible conditioner and topcoat required by that system, following their timing instructions. Keep application methods consistent so you are comparing materials or colors rather than accidental differences in technique.
Review the dry samples together in the intended setting. Check broad grain, end grain, and repaired areas, and note which variation is acceptable. If the result is unsuitable, adjust the system through manufacturer guidance before extending it to the project. Retain a sample as a reference for application and later maintenance. It should show what was approved on real wood, while recognizing that a natural material will not become identical from board to board merely because the same stain is used.
Account for uneven absorption before adding more stain
Blotchy color may come from the wood’s structure or from inconsistent preparation, residue, and previous coatings. Look at the pattern before trying to darken the entire surface. If the stain is already applied, follow the product’s guidance for correction rather than layering additional material over an unexplained problem.
A test on representative wood can show whether the selected system needs a conditioner or another preparation step. Use only compatible products in the sequence, and observe their timing instructions. A product that helps one type of wood may be unnecessary or unsuitable for another. Avoid treating a general internet tip as a substitute for the chosen system’s directions.
Set realistic expectations for natural variation. End grain and repaired areas may still look different from broad face grain. If a highly uniform appearance is essential, discuss whether the chosen opacity and material can deliver it before proceeding. Keep the approved sample as the standard. Trying to force every board to the same tone through repeated local staining can create darker patches and a more complicated repair.
Choose stain opacity with the existing surface in mind
Stain opacity controls how much wood variation remains visible. A more transparent appearance emphasizes grain and differences between boards, while a more opaque finish covers more of that variation. Product terms differ, so compare actual samples and technical information instead of assuming that two manufacturers use the same labels in the same way.
Start with the surface you have. Existing coatings, weathering, repairs, and mixed boards influence what a new stain can achieve. Moving to a more transparent result may require substantial preparation and may not be practical for every substrate. Do not expect a transparent coat to hide filler, previous paint, or uneven discoloration.
Evaluate the sample after the full system has dried. Consider appearance alongside maintenance requirements and suitability for the exposure. A deck floor, a fence, and interior furniture may require different products even when the color looks similar. Keep the final choice specific: manufacturer, product, opacity, color, and intended surface. That record helps avoid an incompatible substitution when only part of the work needs attention later.
Evaluate the finish in the room’s actual light
A color chip gives you a starting point, but the room determines how that color appears. Daylight, lamps, nearby flooring, and large pieces of furniture all influence what you see. Look at samples in the morning and evening, and switch on the lighting you normally use. A sample that appears neutral at noon may look noticeably warmer after sunset.
Place samples on more than one wall when the room receives uneven light. A shaded corner and a wall facing a window may make the same paint look different. Keep the existing surroundings visible so you can judge relationships rather than viewing an isolated patch against plain white paper.
For the final decision, use a sample that represents the intended finish as closely as possible. Sheen changes reflection, and a small color card cannot show the appearance of a broad glossy surface. Record the selected color name, code, manufacturer, and finish. Photographs are useful reminders, but screen brightness and camera processing make them unreliable as the final color standard. Approve the physical sample in person whenever practical.
Keep a useful record for future maintenance
Save more than the color name. Record the manufacturer, product line, sheen, color formula or code, and the surface where each product was used. Note the primer and any special preparation that mattered. A photograph of the label can be useful, but keep a readable written copy as well so the information is not lost among unrelated pictures.
Create a simple room or surface map. Similar whites on a ceiling, wall, and baseboard can become difficult to distinguish months later. Label leftover containers clearly and store them according to their instructions, away from children and unsuitable temperatures. Do not combine unidentified leftovers in an effort to save space.
Add the completion date, agreed care instructions, and any areas that need monitoring. A recurring stain or peeling patch may point to a condition beyond the coating itself. Records help a future contractor understand what has already been tried. They also make small repairs more efficient, although stored paint and a matching formula cannot guarantee an invisible touch-up after the surrounding finish has aged.
Planning your next step
Use the inspection notes and sample decisions from this guide to describe the work you want completed. Bring photographs of uncertain areas and list the surfaces that should be included before comparing estimates. For broader background, read our How to Stain Wood the right way, or review AK Painters Pro Corp.’s services.
When you are ready to discuss the scope, request a free estimate. Related reading: