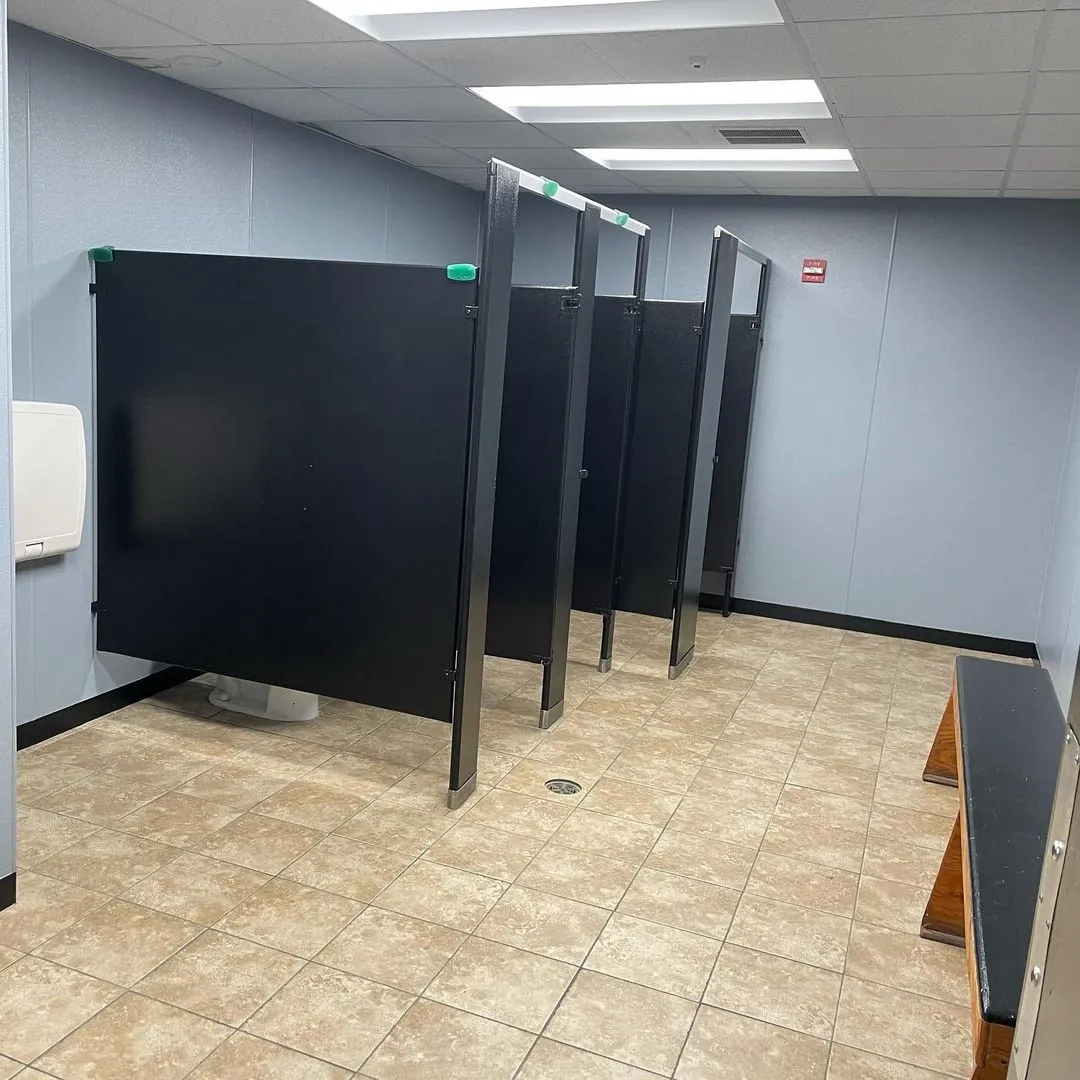
Tile cleaning and wall painting can interfere with each other if they are scheduled independently. Cleaner splashes may affect a fresh coating, while dusty wall preparation can settle on newly cleaned tile. Plan the sequence and protection around the actual materials and products before either task begins.
Inspect grout, sealant, and moisture conditions first so repairs are not hidden behind a cosmetic refresh. Identify the tile type and choose compatible cleaning methods. Protect adjacent painted surfaces and keep residue from remaining where primer or paint will later be applied.
Complete the relevant wet and dusty stages before delicate finishing where practical, then respect each product’s curing requirements. During the final clean, use methods suitable for the newly painted wall as well as the tile. At handover, record the separate care instructions and inspect transitions closely. A coordinated result depends on the boundary between materials as much as the broad finished surfaces.
Distinguish dirty grout from failed joints
Discolored grout may need cleaning, but cracks, missing material, or recurring dampness need a different assessment. Inspect the pattern and check whether nearby tile, sealant, or substrate shows related problems. Do not assume that applying a surface product will repair a failing joint or a water-management problem beneath the tile.
For ordinary cleaning, use a method compatible with the tile and grout manufacturer guidance. Natural stone and specialty finishes may be damaged by products that are commonly used on other tile. Test discreetly, follow label instructions, and do not mix cleaners. Avoid repeatedly increasing abrasion when the remaining mark may be permanent discoloration or wear.
If repair is needed, identify where grout belongs and where a movement joint or compatible sealant is required. Those materials serve different purposes. Have persistent leakage or loose tiles assessed before cosmetic work proceeds. After suitable repairs or cleaning, record the products and care requirements so future maintenance does not damage the joints or conceal a recurring condition that needs attention.
Inspect bathroom joints before choosing the cleaning intensity
Look at tile joints, fixture edges, cabinet corners, and painted surfaces before opening products. Identify cracks, missing sealant, soft material, and recurring damp marks. Cleaning can remove soil, but it should not conceal evidence of a leak or a failing assembly that needs assessment.
Match the method to each material. Stone, glass coatings, plated hardware, and paint may need different products even though they are close together. Test uncertain finishes discreetly and protect adjacent surfaces from splashes. Follow labels for ventilation, contact time, and rinsing, and never mix cleaners.
Work with separate appropriate tools for heavily soiled fixtures and general surfaces. Avoid saturating damaged joints or electrical areas. Inspect after drying so residue is not confused with permanent discoloration or wear. Record unresolved material problems separately from the cleaning result. This gives the bathroom a useful, honest handover: the surfaces that could be cleaned are clean, while conditions needing repair remain identified rather than hidden behind repeated stronger treatment.
Write a surface list before selecting cleaning products
Make one row in your cleaning notes for each material: floor, painted wall, counter, cabinet, fixture, appliance, and glass where relevant. Add the finish or manufacturer if known. The purpose is to prevent a room label such as “bathroom” from implying that all its surfaces can receive the same treatment.
Next, record the visible condition. Note open seams, worn coatings, cracks, and fresh finishes with curing restrictions. Photograph damage that needs to remain distinguishable from the cleaning result. Identify uncertain surfaces for a discreet compatibility test before the main work starts.
Match products to that list using their labels and the material’s care guidance. Include whether residue must be rinsed away and where liquid must be kept out. Keep original labels available and never combine products. If a task needs specialized contamination handling, move it outside the ordinary cleaning scope until it has been assessed. This small planning step reduces trial-and-error treatment on prominent surfaces and makes it easier to explain why one area may need a different approach from another nearby.
Put preparation and finishing in the right order
The order of work affects both the result and the amount of cleanup. Begin with inspection, access arrangements, and protection. Complete agreed repairs before final cleaning, then prepare the surface for the selected primer or finish. Each stage should leave a suitable starting point for the next one. Painting over unresolved dirt or damage only makes the underlying problem harder to address later.
Think about overlapping trades as well as the painting itself. Drilling, carpentry, and dusty installation work usually need to be coordinated ahead of delicate finishes. If another trade must return afterward, agree on protection and responsibility for touch-ups. A finished wall can be damaged quickly by an unplanned ladder or tool bag.
Allow for inspection between stages. Check repaired areas before coating conceals their edges, and review the first finished sample before repeating it throughout the space. Keep a written list of remaining steps rather than treating the first coat as the halfway point. Preparation, drying, and careful reassembly may account for much of the project even when the visible application goes quickly.
Set up protection around the way work will move
Trace the route from the entrance to the work area before laying coverings. Identify where tools turn corners, where parts will be stored, and where people need to pass. Protection should remain stable under those movements instead of becoming a loose obstacle that shifts each time something is carried through.
Match coverings to the risk. Dust containment, spill protection, and support for removed components are different needs. Test any adhesive product on a discreet compatible area and follow its removal timing. Delicate flooring, fresh coatings, wallpaper, and aged finishes may need another approach.
Check protection at each change of stage. Preparation debris should not remain where it can be dragged across finished surfaces during reassembly. Keep fittings, controls, labels, and moving parts free from coating as appropriate, and label hardware that is removed. Before normal use resumes, inspect the protected surfaces and remove coverings carefully. A good setup does more than catch the first drip; it remains useful through repairs, application, drying, cleanup, and the movement of belongings back into place.
Ask what condition the primer is intended to address
Begin the primer decision with a short description of the surface: bare or coated, porous or sealed, stained or clean, sound or failing. This description helps identify the problem the primer needs to solve. It also reveals conditions, such as active moisture or loose material, that require correction before any primer is appropriate.
Check the proposed primer’s compatibility with the substrate, existing finish, and topcoat. Where the history is uncertain, consult technical guidance and make a full-system trial. Do not treat the phrase “paint and primer” as permission to skip every separate bonding or stain-blocking requirement.
Apply at the specified rate and respect the next-coat interval. Inspect after drying for discoloration, lifting, roughness, or uneven appearance that indicates more investigation is needed. Keep the selected system in the project record, including any changes made after testing. Primer is a functional part of preparation; choosing it through the actual surface condition is more useful than adding an arbitrary extra layer and assuming that thickness will solve an unidentified problem.
Schedule the return of contact, cleaning, and furnishings
Ask for separate instructions for the next coat, careful handling, normal contact, and routine cleaning. These stages can occur at different times, and the correct schedule belongs to the exact product system. A finish that appears complete may still mark beneath a shelf liner, closed door, chair, or stored object.
Build those restrictions into the room or project plan before work begins. Arrange temporary storage, alternate access, or delayed furniture delivery where needed. This is easier than trying to extend curing time after the space has already been promised for normal use.
Follow the manufacturer’s conditions for drying and ventilation and account for the actual environment. Avoid testing readiness by scratching or pressing a prominent surface. If circumstances change, get product-specific guidance before accelerating reassembly. Keep the care dates or conditions in the handover notes so everyone involved follows the same plan. Treating return to use as a defined stage protects the effort already spent on preparation and application and reduces damage during the final few steps of the project.
Coordinate final cleaning with newly completed finishes
Newly painted, stained, or installed surfaces may not tolerate their normal cleaning routine immediately. Obtain the product-specific timing and care instructions before scheduling a final clean. Distinguish removal of loose work debris from washing a fresh coating. A surface can look finished while still needing protection from moisture, pressure, or adhesive materials.
Complete remaining dusty work and remove construction waste that falls outside ordinary cleaning first. Then use suitable tools to clean accessible surfaces without redistributing grit. Protect edges, hardware, and delicate materials, and keep products away from incompatible neighboring finishes. Do not scrape unexplained marks from new glass or stone without checking the manufacturer’s guidance.
Inspect the space before returning furnishings or opening it to normal traffic. Confirm that surfaces are dry, routes are clear, and no cleaning residue remains where it should have been removed. Record any defects that require the finishing contractor rather than attempting an improvised repair during cleaning. A coordinated final clean preserves the new work and makes the handover easier to assess.
Planning your next step
Use the inspection notes and sample decisions from this guide to describe the work you want completed. Bring photographs of uncertain areas and list the surfaces that should be included before comparing estimates. For broader background, read our The Best House Cleaning Tips and Tricks 2022, or review AK Painters Pro Corp.’s services.
When you are ready to discuss the scope, request a free estimate. Related reading: