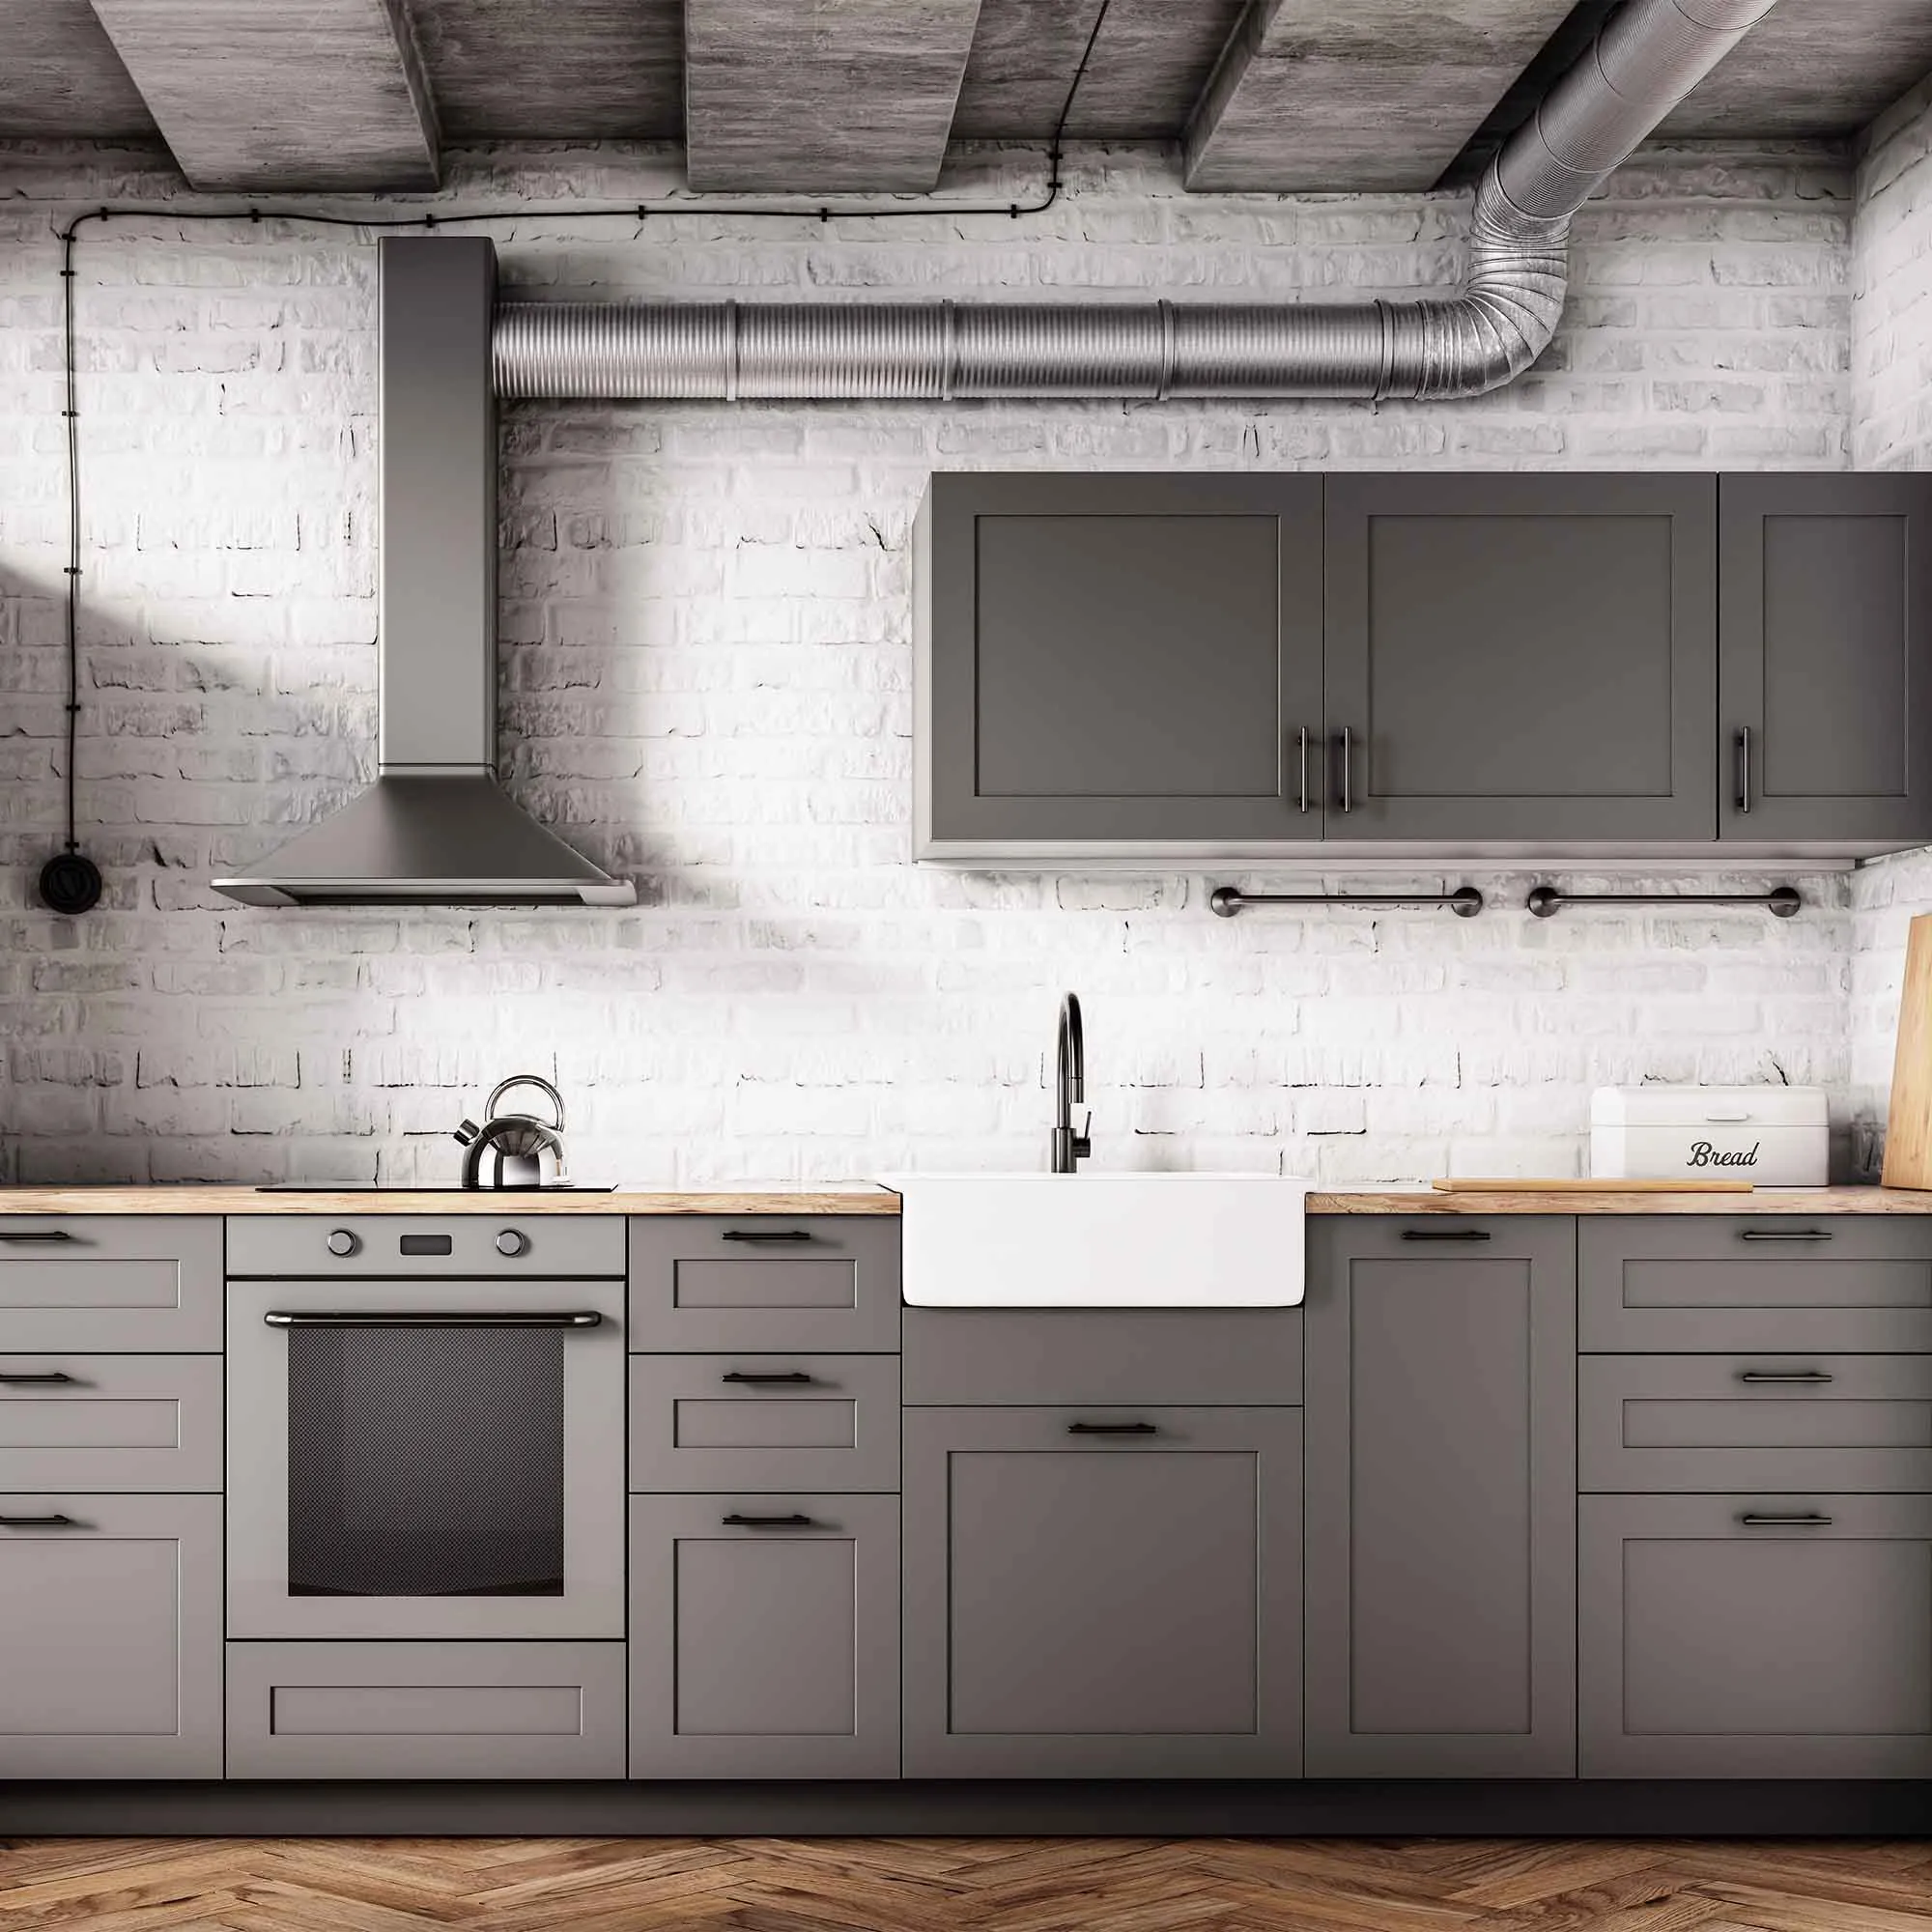
Chips on cabinet door edges can come from impact, rubbing, weak adhesion, or a vulnerable underlying material. Examine where the damage occurs and check whether neighboring doors or drawers make contact. A paint repair will be short-lived if the mechanical cause remains.
Identify the cabinet construction and the existing coating before selecting a repair method. A solid wood edge, veneer, and a laminated panel may need different treatment. Record the original product if available, and assess whether a small touch-up can blend with the aged finish.
Correct alignment through the appropriate person before final coating. Let the repair reach the required stage before reinstalling parts or pressing them against stops. During the walkthrough, open adjacent components together and inspect the edges from normal angles. Keep the product and care records for later use, but avoid treating repeated chips in the same location as an inevitable reason to keep adding paint.
Plan door painting around edges and operation
Before removing hardware or painting, check how the door operates. Note existing rubbing, sticking, or misalignment so those issues can be addressed rather than hidden by a new finish. Decide which faces and edges belong in the scope, and identify any manufacturer restrictions, labels, or components that must remain unpainted.
Protect hinges, latches, seals, and surrounding surfaces as appropriate. If components are removed, label and store them together. Painted surfaces that touch each other need adequate drying and curing time before normal closure. A door that feels dry may still mark or stick where the finish presses against a stop or seal.
Follow the coating and door manufacturer’s instructions for preparation and application. Work with the panel or slab geometry so material does not collect in recessed corners or along the bottom edge. Plan an alternative route or security arrangement while the opening is unavailable. At handover, confirm that the door opens, closes, and latches correctly, and clarify when it can remain closed without risking the new finish.
Protect cabinet finishes during reassembly and early use
Cabinet parts experience contact immediately when doors close and drawers slide. That makes drying and curing arrangements especially important. Follow the exact coating system’s guidance before handling, installing hardware, closing parts against stops, or returning stored objects. A surface that feels dry can still be vulnerable to pressure and abrasion.
Plan the kitchen’s temporary use around those restrictions. Keep frequently needed items accessible elsewhere and avoid rushing reassembly because storage has become inconvenient. When parts are ready, handle them with clean hands and use protected surfaces that will not imprint or scratch the finish. Check alignment so doors and drawers do not rub.
Ask when routine cleaning and normal loading can resume. Avoid adhesive accessories, shelf liners, bumpers, or pads until their compatibility and timing are clear. Record any care limitations alongside the product details. During the first period of use, correct mechanical rubbing promptly rather than trying to cover the resulting damage with more paint. Good reassembly preserves the work that went into preparation and application.
Read the construction before choosing a wood finish
Look at an accessible underside, back edge, or manufacturer label to understand how the item is made. A decorative face may cover a thin veneer or a manufactured core. Broad sanding or chemical removal can be inappropriate even when the visible surface has a convincing wood grain. Resolve that uncertainty before deciding on tools.
Make a condition note for each distinct component. Include replacement boards, filled holes, loose joints, and any area with a different existing coating. This helps explain why one stain sample cannot represent the whole project. If the history is unknown, an experienced refinisher can help determine what assessment is appropriate without sacrificing a prominent face.
Keep the material findings connected to the desired appearance. A transparent finish leaves the substrate visible, including characteristics that an opaque coating might conceal. Decide whether those differences belong in the result and sample accordingly. Stop if preparation reveals lifting veneer or unstable material. Finishing is the last stage of improving a suitable component; it should not be used to disguise a construction problem that still needs repair.
Make small wall repairs blend with their surroundings
First establish that the defect is suitable for a cosmetic repair. A small nail hole differs from a recurring crack or a soft area caused by moisture. Investigate movement or deterioration before filling it. On older or uncertain finishes, assess hazardous-material concerns before disturbing the surface.
Use a repair material appropriate to the substrate and depth of the defect. Applying an excessive amount at once can create drying and shaping problems. Follow the product’s instructions, let it become ready for the next step, and shape the repair to match the surrounding plane. A bright work light held at an angle can reveal ridges that ordinary overhead lighting misses.
Remove preparation dust using an appropriate controlled method and prime where the chosen system requires it. Bare repair material may absorb paint differently from the surrounding finish. Check both texture and sheen after the sample dries. If a patch remains visible, adding more finish over the same small spot may emphasize it. A properly prepared full wall coat can provide a more consistent visual result than repeated isolated touch-ups.
Select primer for the problem it needs to solve
Primer is not one universal product. Bare porous material, glossy existing paint, residual staining, and exposed metal present different requirements. Start by identifying the substrate and the condition of the existing coating. Then choose a primer and finish that are explicitly compatible with that situation and with each other.
Avoid relying on a marketing phrase alone. A combined paint-and-primer product does not remove every need for separate preparation or a specialized primer. Read the technical information for the intended surface and discuss uncertain combinations with the manufacturer or supplier. A trial area is especially useful where the existing finish is unknown or where staining has returned through earlier paint.
Apply the primer at the recommended coverage and allow the stated interval before the next coat. A heavy layer is not a reliable substitute for choosing the correct system. Inspect for bleed-through, lifting, roughness, or uneven absorption before proceeding. The purpose of the primer stage is to establish a suitable base; if that stage fails, more topcoat usually makes the eventual correction larger.
Decide when a spot repair will be visible
Touch-ups work best when the surrounding finish is sound and the repair is small, but even matching paint can show. Age, sunlight, cleaning, sheen, surface texture, and the application tool all affect the result. Begin with the original product records if available. A color name alone may not identify the same coating or finish.
Clean and prepare the damaged area appropriately, then test the repair in a discreet location. Use a technique that matches the existing texture rather than applying a thick patch in the hope of hiding the defect. Let the trial dry fully before comparing it in both daylight and the room’s normal artificial light.
If the patch remains obvious, consider repainting the complete wall or component to a natural boundary. Repeatedly enlarging a spot can create a growing halo of different texture and sheen. Discuss that possibility before starting so the scope can expand deliberately if needed. Keep leftover paint and application notes afterward, while recognizing that future aging may still make another touch-up more noticeable.
Label cabinet parts before anything is removed
Cabinet doors and drawers often appear interchangeable until reassembly begins. Make a simple map of the kitchen and assign each opening an identifier. Label removed parts in a location that will remain readable without affecting the visible finish. Keep hinges, screws, and other hardware grouped according to the system used.
Photograph the arrangement before removal, including adjustable hinges and unusual clearances. Decide which interiors, shelf edges, and back faces belong in the finishing scope. Clarify whether hardware is being reused or replaced, because new hole positions may require repairs before preparation and coating begin.
Create protected storage and drying space for the components. Stacking freshly finished parts or placing them against abrasive surfaces can mark the coating. Plan handling so edges remain accessible without touching wet faces. During reassembly, use the map to return each part to its original location and check alignment and movement. A careful labeling system reduces avoidable adjustments and helps protect the finish at the stage when the kitchen is nearly ready to use again.
Check the places most likely to wear first
Create a short inspection route through the finished area. Include handles, corners, lower edges, surfaces beneath objects, and locations exposed to water or sunlight. These points often show change before the center of a broad surface. A quick, regular look can distinguish new wear from a longstanding characteristic of the material.
Use the recorded care instructions for cleaning and allow any initial curing restriction to pass. Remove soil with compatible tools and avoid repeated hard rubbing in one spot. If a mark remains, decide whether it is dirt, abrasion, staining, or a building condition before choosing another product.
Correct practical causes of damage where possible. Adjust a rubbing component through the appropriate person, relocate a moisture-trapping object, or change an abrasive cleaning habit. Keep dated photographs when a pattern recurs. Maintenance becomes more effective when it responds to why the surface is changing. Simply applying more cleaner or another coat can conceal useful evidence and repeat the same unsuccessful treatment without improving the underlying situation.
Planning your next step
Use the inspection notes and sample decisions from this guide to describe the work you want completed. Bring photographs of uncertain areas and list the surfaces that should be included before comparing estimates. For broader background, read our How To Paint Kitchen Cabinets A 2022 Step By Step Guide, or review AK Painters Pro Corp.’s services.
When you are ready to discuss the scope, request a free estimate. Related reading: