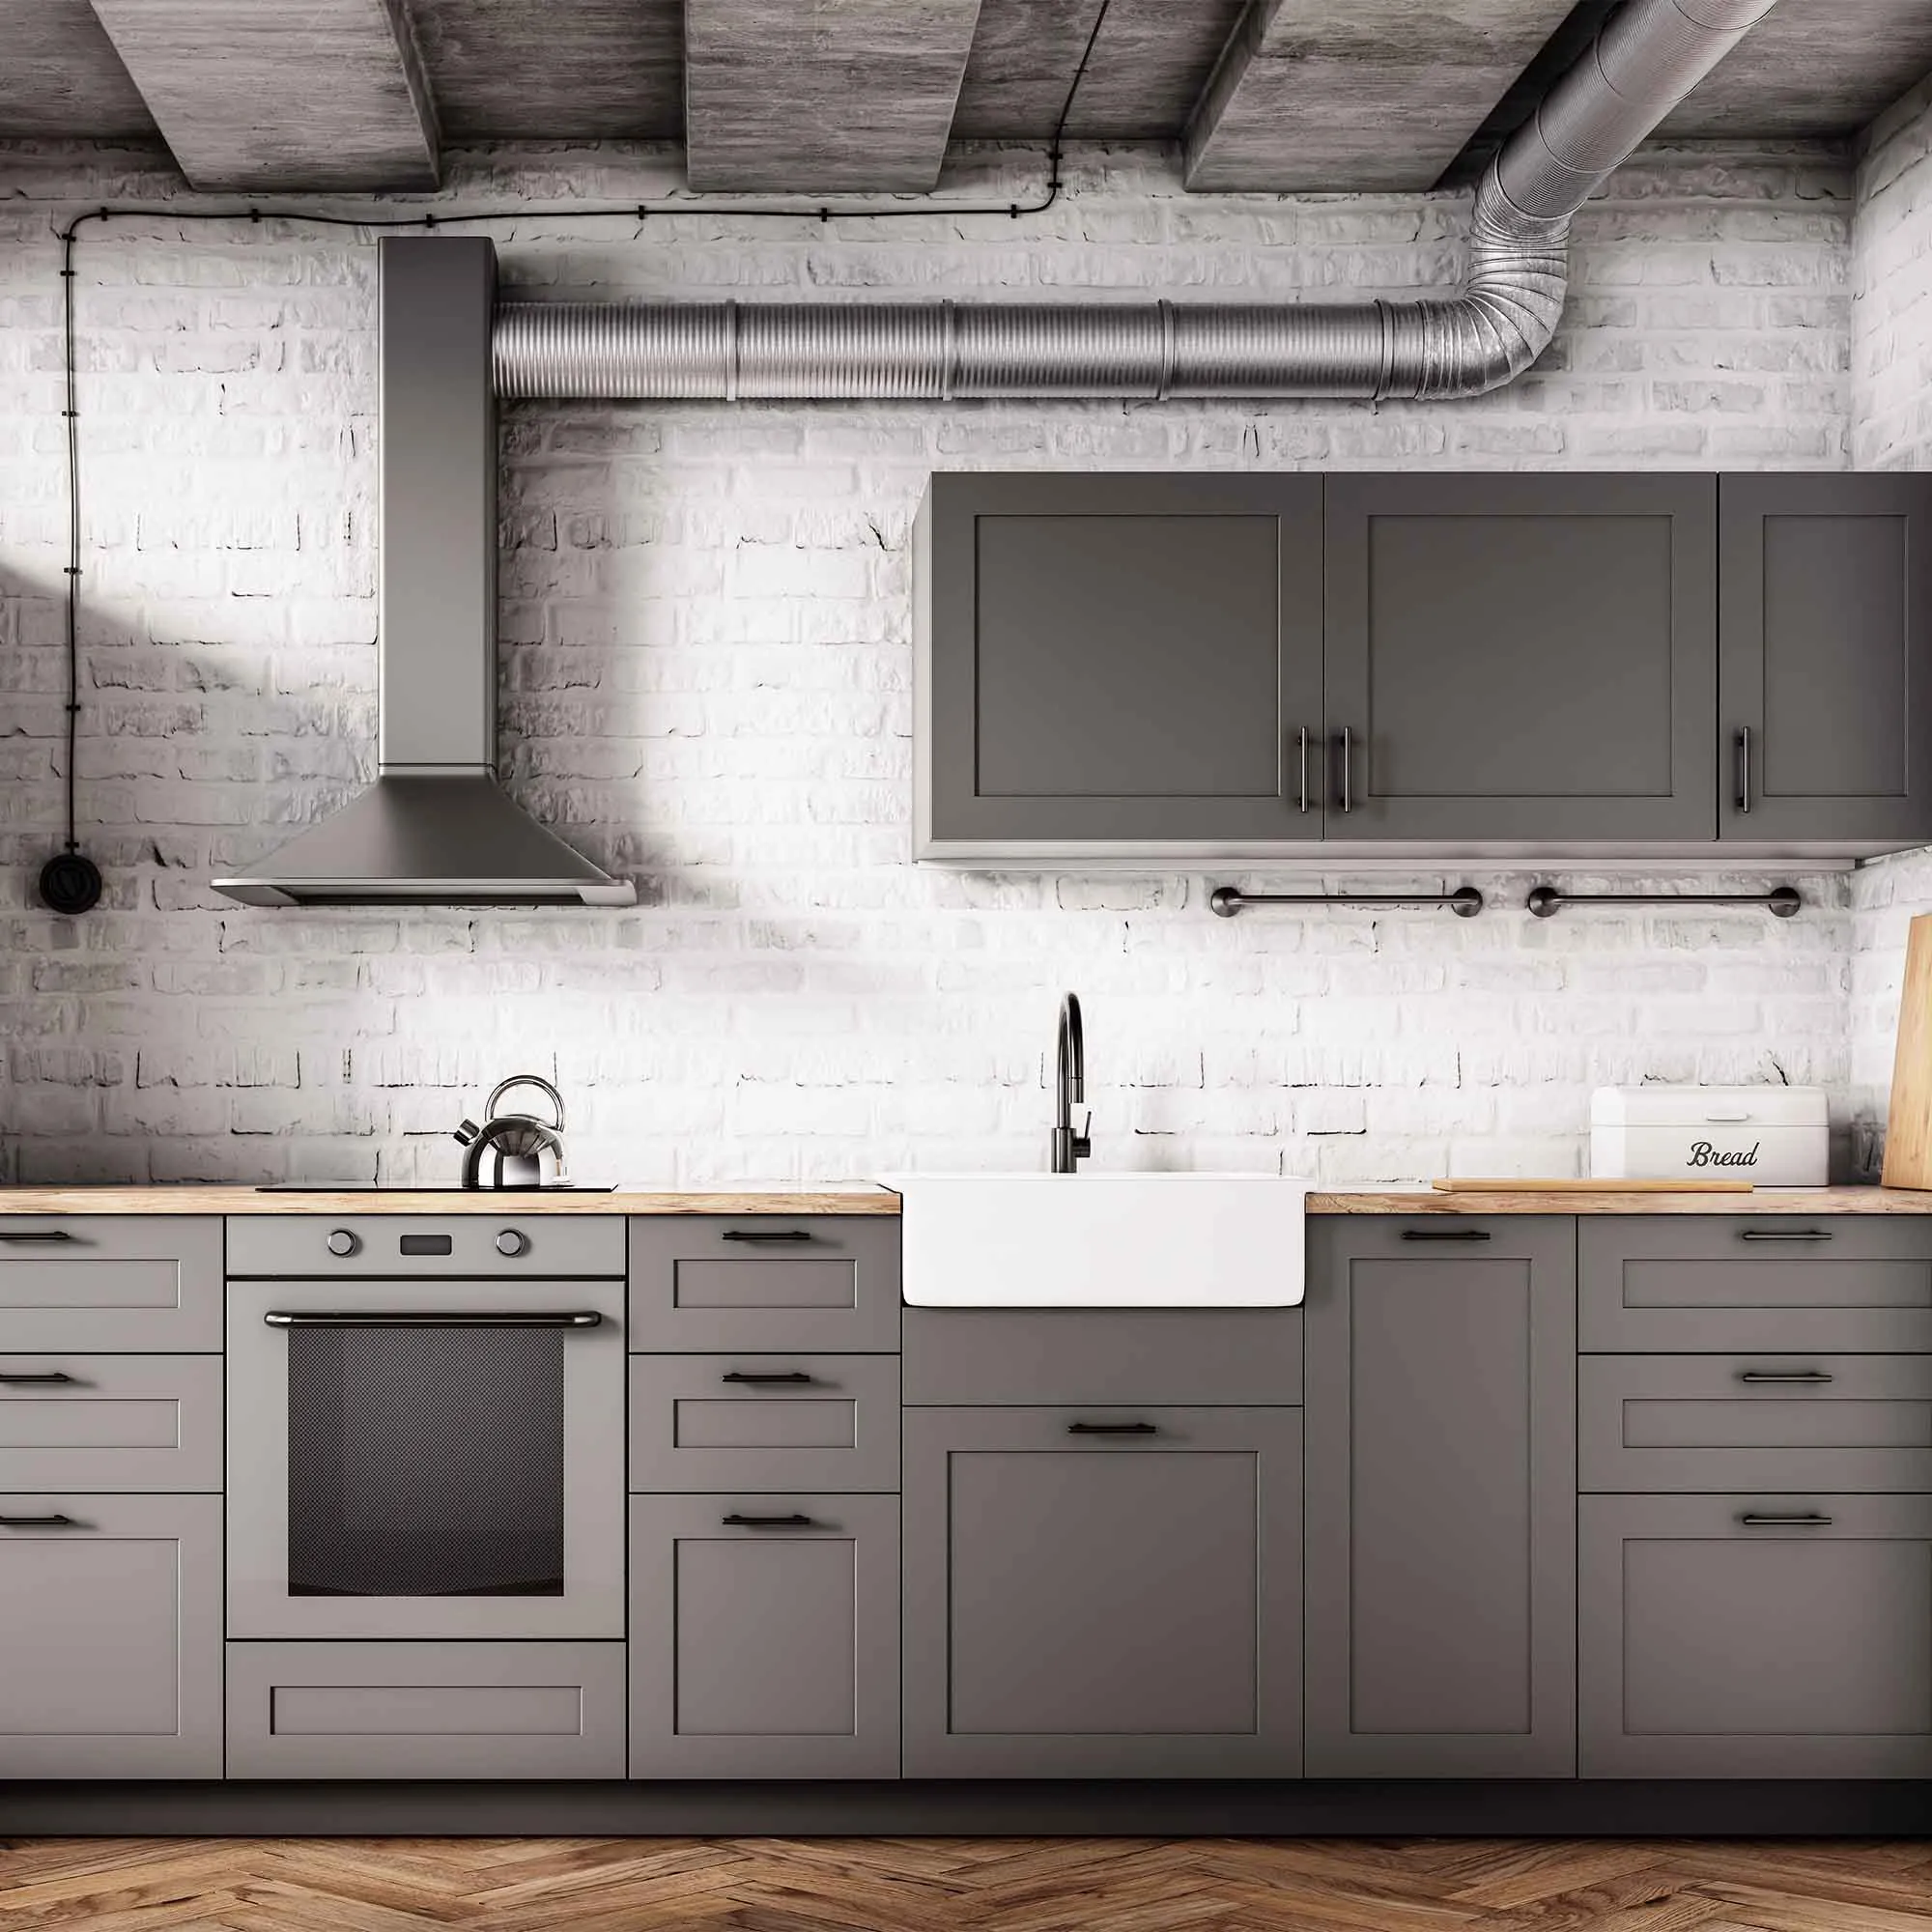
Removing cabinet doors without a map can create avoidable problems when similar parts return to slightly different openings. Before preparation starts, photograph the kitchen and assign every door and drawer a clear identifier. Include unusual hinges, adjustable parts, and pieces that already rub or sit unevenly.
Decide which hardware will be reused and which will change. New pulls or hinges may require hole repairs before coating, so that choice belongs early in the process. Keep screws and matching parts in labeled groups, using a system that survives cleaning and painting without marking visible faces.
Plan protected storage and drying space for removed components. Reassembly should follow the coating’s handling guidance, not merely the point when the kitchen feels inconvenient. Use the map to restore each piece, check movement and alignment, and inspect hidden edges before loading the cabinets. A good organization system protects the finish at the moment it is most vulnerable to rushed handling.
Label cabinet parts before anything is removed
Cabinet doors and drawers often appear interchangeable until reassembly begins. Make a simple map of the kitchen and assign each opening an identifier. Label removed parts in a location that will remain readable without affecting the visible finish. Keep hinges, screws, and other hardware grouped according to the system used.
Photograph the arrangement before removal, including adjustable hinges and unusual clearances. Decide which interiors, shelf edges, and back faces belong in the finishing scope. Clarify whether hardware is being reused or replaced, because new hole positions may require repairs before preparation and coating begin.
Create protected storage and drying space for the components. Stacking freshly finished parts or placing them against abrasive surfaces can mark the coating. Plan handling so edges remain accessible without touching wet faces. During reassembly, use the map to return each part to its original location and check alignment and movement. A careful labeling system reduces avoidable adjustments and helps protect the finish at the stage when the kitchen is nearly ready to use again.
Turn a broad project request into a surface checklist
Stand in the space with a notebook and name each surface you expect to change. Include the details that are easy to overlook: inside returns, exposed ends, shelf backs, door edges, and accessible undersides. Mark items that stay as they are. This checklist becomes the common reference for the estimate, preparation, and final inspection.
For each included item, record the current condition and the intended result. “Change color on sound paint” is a different task from “repair damaged substrate and restore a uniform finish.” Identify uncertain areas for assessment rather than hiding them inside a general allowance.
Assign responsibilities for moving contents, disconnecting equipment, repairs by other trades, and disposal where relevant. Agree on how newly discovered work will be approved before it proceeds. Keep the list concise enough to use on site, with photographs for complicated locations. A clear scope gives routine decisions a reliable boundary and makes it easier to explain any change in time or cost without relying on assumptions about what the original room or service name included.
Set up protection around the way work will move
Trace the route from the entrance to the work area before laying coverings. Identify where tools turn corners, where parts will be stored, and where people need to pass. Protection should remain stable under those movements instead of becoming a loose obstacle that shifts each time something is carried through.
Match coverings to the risk. Dust containment, spill protection, and support for removed components are different needs. Test any adhesive product on a discreet compatible area and follow its removal timing. Delicate flooring, fresh coatings, wallpaper, and aged finishes may need another approach.
Check protection at each change of stage. Preparation debris should not remain where it can be dragged across finished surfaces during reassembly. Keep fittings, controls, labels, and moving parts free from coating as appropriate, and label hardware that is removed. Before normal use resumes, inspect the protected surfaces and remove coverings carefully. A good setup does more than catch the first drip; it remains useful through repairs, application, drying, cleanup, and the movement of belongings back into place.
Put preparation and finishing in the right order
The order of work affects both the result and the amount of cleanup. Begin with inspection, access arrangements, and protection. Complete agreed repairs before final cleaning, then prepare the surface for the selected primer or finish. Each stage should leave a suitable starting point for the next one. Painting over unresolved dirt or damage only makes the underlying problem harder to address later.
Think about overlapping trades as well as the painting itself. Drilling, carpentry, and dusty installation work usually need to be coordinated ahead of delicate finishes. If another trade must return afterward, agree on protection and responsibility for touch-ups. A finished wall can be damaged quickly by an unplanned ladder or tool bag.
Allow for inspection between stages. Check repaired areas before coating conceals their edges, and review the first finished sample before repeating it throughout the space. Keep a written list of remaining steps rather than treating the first coat as the halfway point. Preparation, drying, and careful reassembly may account for much of the project even when the visible application goes quickly.
Protect cabinet finishes during reassembly and early use
Cabinet parts experience contact immediately when doors close and drawers slide. That makes drying and curing arrangements especially important. Follow the exact coating system’s guidance before handling, installing hardware, closing parts against stops, or returning stored objects. A surface that feels dry can still be vulnerable to pressure and abrasion.
Plan the kitchen’s temporary use around those restrictions. Keep frequently needed items accessible elsewhere and avoid rushing reassembly because storage has become inconvenient. When parts are ready, handle them with clean hands and use protected surfaces that will not imprint or scratch the finish. Check alignment so doors and drawers do not rub.
Ask when routine cleaning and normal loading can resume. Avoid adhesive accessories, shelf liners, bumpers, or pads until their compatibility and timing are clear. Record any care limitations alongside the product details. During the first period of use, correct mechanical rubbing promptly rather than trying to cover the resulting damage with more paint. Good reassembly preserves the work that went into preparation and application.
Plan door painting around edges and operation
Before removing hardware or painting, check how the door operates. Note existing rubbing, sticking, or misalignment so those issues can be addressed rather than hidden by a new finish. Decide which faces and edges belong in the scope, and identify any manufacturer restrictions, labels, or components that must remain unpainted.
Protect hinges, latches, seals, and surrounding surfaces as appropriate. If components are removed, label and store them together. Painted surfaces that touch each other need adequate drying and curing time before normal closure. A door that feels dry may still mark or stick where the finish presses against a stop or seal.
Follow the coating and door manufacturer’s instructions for preparation and application. Work with the panel or slab geometry so material does not collect in recessed corners or along the bottom edge. Plan an alternative route or security arrangement while the opening is unavailable. At handover, confirm that the door opens, closes, and latches correctly, and clarify when it can remain closed without risking the new finish.
Keep a useful record for future maintenance
Save more than the color name. Record the manufacturer, product line, sheen, color formula or code, and the surface where each product was used. Note the primer and any special preparation that mattered. A photograph of the label can be useful, but keep a readable written copy as well so the information is not lost among unrelated pictures.
Create a simple room or surface map. Similar whites on a ceiling, wall, and baseboard can become difficult to distinguish months later. Label leftover containers clearly and store them according to their instructions, away from children and unsuitable temperatures. Do not combine unidentified leftovers in an effort to save space.
Add the completion date, agreed care instructions, and any areas that need monitoring. A recurring stain or peeling patch may point to a condition beyond the coating itself. Records help a future contractor understand what has already been tried. They also make small repairs more efficient, although stored paint and a matching formula cannot guarantee an invisible touch-up after the surrounding finish has aged.
Review completion in an organized route
Bring the agreed scope and sample references to the walkthrough. Start in one location and move systematically so small details do not disappear inside a general impression of the room or property. Give finishes their appropriate drying time and use ordinary lighting and viewing positions to judge appearance.
Check the broad surfaces first, then edges, profiles, transitions, and functional components. Note missed work, unwanted residue, damage, or uneven finish with a precise location. Compare any concern with the preparation standard and limitations discussed before work, rather than expecting an old substrate to have changed beyond the agreed scope.
Collect the observations into one list and discuss the proposed corrections. Ask whether a spot treatment will blend and what protection or waiting period follows the repair. Confirm cleanup, operation, product records, and care instructions before closing out the project. An organized review gives both the owner and the contractor a concrete basis for completion and reduces the chance that returning furniture hides an issue that was still easy to inspect and resolve.
Planning your next step
Use the inspection notes and sample decisions from this guide to describe the work you want completed. Bring photographs of uncertain areas and list the surfaces that should be included before comparing estimates. For broader background, read our How To Paint Kitchen Cabinets A 2022 Step By Step Guide, or review AK Painters Pro Corp.’s services.
When you are ready to discuss the scope, request a free estimate. Related reading: