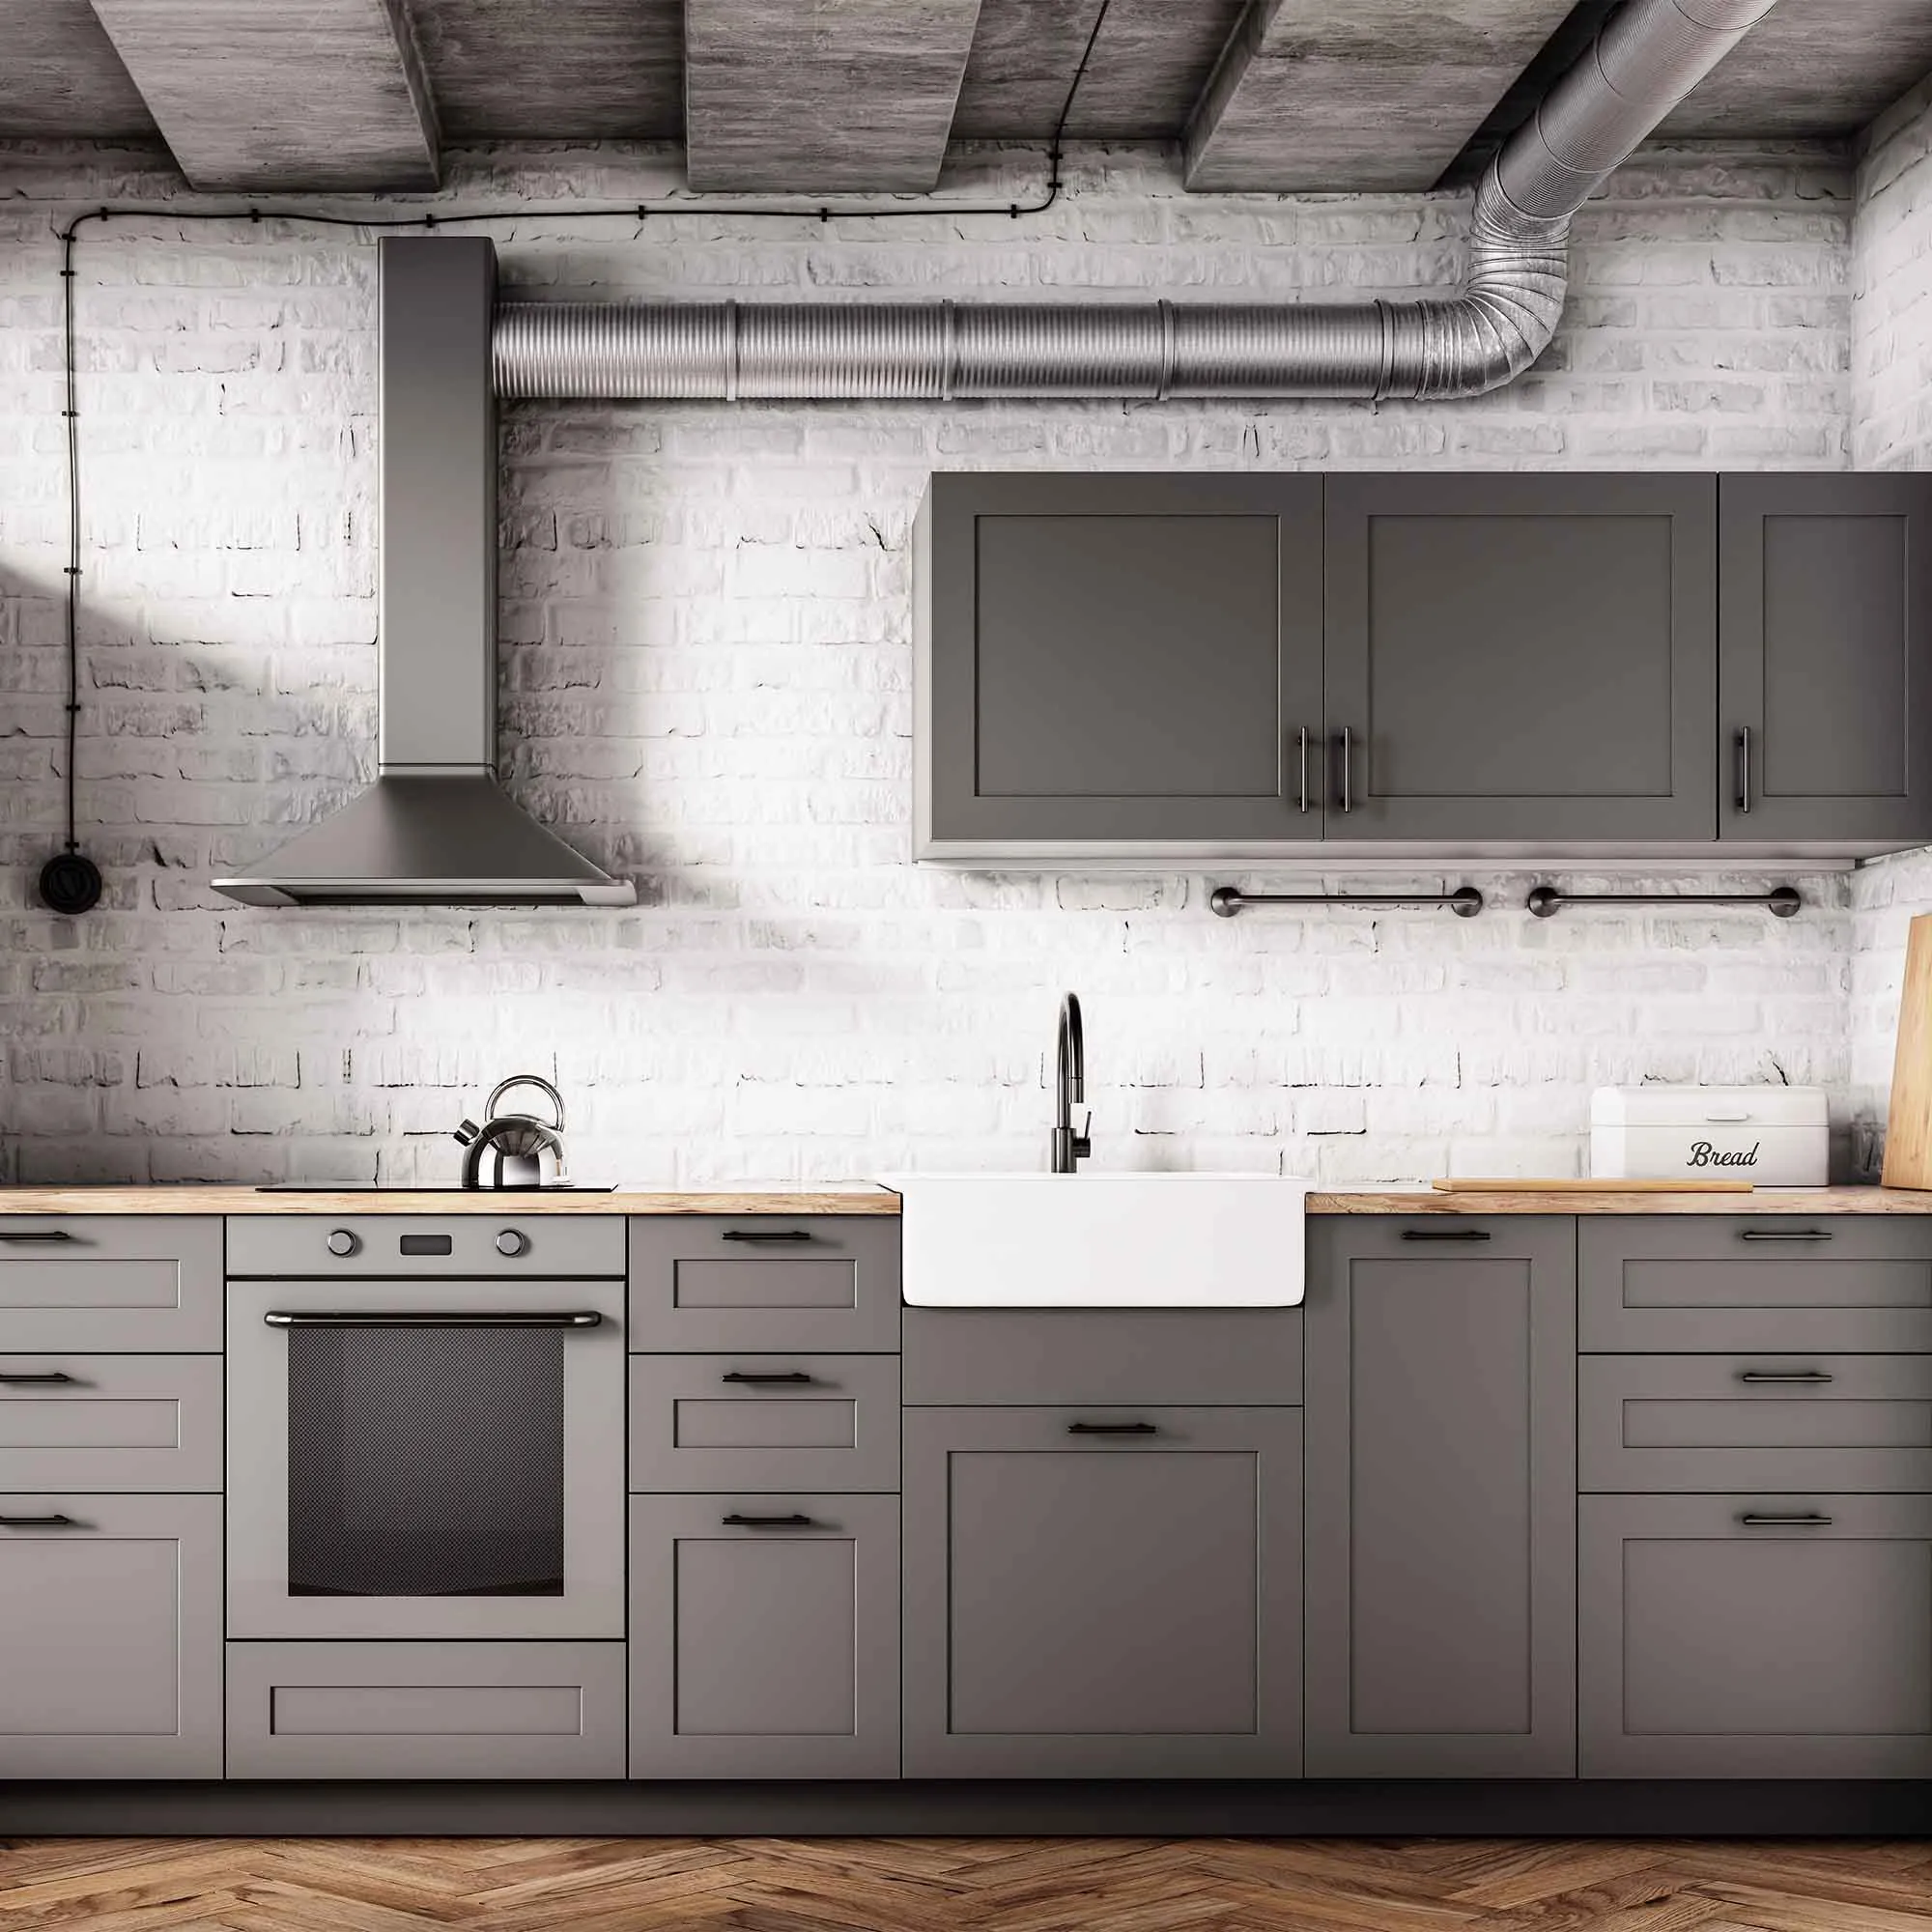
Cabinet repainting and backsplash installation overlap at some of the kitchen’s most visible edges. Plan the two scopes together before either trade begins. Demolition, cutting, drilling, and grout work can affect a fresh finish, while cabinet repairs may change the surfaces the tile installer expects to meet.
Agree on the sequence, protection, and responsibility for touch-ups. Choose cabinet and tile samples together beside the countertop so the final combination is reviewed as a whole. Clarify edge treatments and the finish around outlets through the appropriate trades.
Leave time for each material’s required curing and cleaning conditions. A kitchen may look nearly complete while still needing protection from wet cleaning or hardware contact. At the final review, inspect the cabinet-to-tile junction and the narrow areas beside appliances before restoring everything. Keep separate product and care records for the cabinet coating, tile, grout, and sealant so later maintenance does not treat them as interchangeable surfaces.
Put preparation and finishing in the right order
The order of work affects both the result and the amount of cleanup. Begin with inspection, access arrangements, and protection. Complete agreed repairs before final cleaning, then prepare the surface for the selected primer or finish. Each stage should leave a suitable starting point for the next one. Painting over unresolved dirt or damage only makes the underlying problem harder to address later.
Think about overlapping trades as well as the painting itself. Drilling, carpentry, and dusty installation work usually need to be coordinated ahead of delicate finishes. If another trade must return afterward, agree on protection and responsibility for touch-ups. A finished wall can be damaged quickly by an unplanned ladder or tool bag.
Allow for inspection between stages. Check repaired areas before coating conceals their edges, and review the first finished sample before repeating it throughout the space. Keep a written list of remaining steps rather than treating the first coat as the halfway point. Preparation, drying, and careful reassembly may account for much of the project even when the visible application goes quickly.
Plan tile layout before the first piece is placed
Tile work begins with the room’s dimensions, visible edges, fixtures, and transitions. Dry planning can reveal awkward narrow cuts or misaligned focal points before adhesive makes them difficult to change. Consider the view from the doorway and the relationship to cabinets, counters, and adjacent surfaces rather than centering the layout by habit.
Confirm the tile, substrate, setting material, grout, and movement details as a compatible assembly. Wet areas require an appropriate water-management system; tile and grout alone should not be assumed to provide it. Have the relevant professional define that assembly and follow the manufacturers’ installation requirements.
Agree on edge treatments, pattern direction, joint appearance, and the limits of the work before installation. A sample or dry arrangement helps communicate those choices. Coordinate plumbing, electrical, and other trade needs separately. During inspection, look at transitions and usable clearances as well as the center of the tiled area. A well-planned layout supports both appearance and function and reduces surprises at the edges of the room.
Label cabinet parts before anything is removed
Cabinet doors and drawers often appear interchangeable until reassembly begins. Make a simple map of the kitchen and assign each opening an identifier. Label removed parts in a location that will remain readable without affecting the visible finish. Keep hinges, screws, and other hardware grouped according to the system used.
Photograph the arrangement before removal, including adjustable hinges and unusual clearances. Decide which interiors, shelf edges, and back faces belong in the finishing scope. Clarify whether hardware is being reused or replaced, because new hole positions may require repairs before preparation and coating begin.
Create protected storage and drying space for the components. Stacking freshly finished parts or placing them against abrasive surfaces can mark the coating. Plan handling so edges remain accessible without touching wet faces. During reassembly, use the map to return each part to its original location and check alignment and movement. A careful labeling system reduces avoidable adjustments and helps protect the finish at the stage when the kitchen is nearly ready to use again.
Set up protection around the way work will move
Trace the route from the entrance to the work area before laying coverings. Identify where tools turn corners, where parts will be stored, and where people need to pass. Protection should remain stable under those movements instead of becoming a loose obstacle that shifts each time something is carried through.
Match coverings to the risk. Dust containment, spill protection, and support for removed components are different needs. Test any adhesive product on a discreet compatible area and follow its removal timing. Delicate flooring, fresh coatings, wallpaper, and aged finishes may need another approach.
Check protection at each change of stage. Preparation debris should not remain where it can be dragged across finished surfaces during reassembly. Keep fittings, controls, labels, and moving parts free from coating as appropriate, and label hardware that is removed. Before normal use resumes, inspect the protected surfaces and remove coverings carefully. A good setup does more than catch the first drip; it remains useful through repairs, application, drying, cleanup, and the movement of belongings back into place.
Define exactly what will be finished
A useful project description names the surfaces instead of relying on the name of the room. Walls, ceilings, baseboards, window casings, doors, and built-in shelves may need different preparation and different coatings. Walk through the space and list each item that belongs in the job. Identify both faces of doors, closet interiors, and the edges that are visible only when something is opened.
Separate appearance changes from repairs. A color change on sound paint is different from work on peeling layers, damaged drywall, or water-stained trim. Mark uncertain areas for inspection before deciding how much finishing work is reasonable. Photographs taken in normal daylight can help you remember the condition and discuss it consistently.
Keep a second list of exclusions. Furniture refinishing, electrical work, leak repairs, and moving large appliances should never become assumed tasks simply because they are near a painted surface. With clear boundaries, you can compare estimates and evaluate the finished result against the same expectations. It also becomes easier to divide a larger improvement into manageable stages.
Make the approval sample answer a specific question
Decide what you need to learn from a sample before making it. Color, adhesion, stain blocking, texture matching, and cleaning response are separate questions. A tiny decorative swatch may answer the first while providing little evidence about the others. Choose a location or material that represents the uncertainty you actually face.
Document the trial in a short sequence: existing condition, cleaning, repair or preparation, primer if specified, finish, and evaluation time. Use the same tools and products planned for the wider job. If a stage changes, repeat the sample so approval still refers to the real system.
Inspect after the manufacturer’s required interval and under the lighting that matters to the space. Record whether the result was accepted and what limitations remain. For example, a successful color trial on smooth scrap does not prove that an old textured wall will look identical. Keep the approved reference available until handover. This makes the sample a practical decision tool and avoids treating an attractive wet patch as proof that every preparation question has been resolved.
Protect cabinet finishes during reassembly and early use
Cabinet parts experience contact immediately when doors close and drawers slide. That makes drying and curing arrangements especially important. Follow the exact coating system’s guidance before handling, installing hardware, closing parts against stops, or returning stored objects. A surface that feels dry can still be vulnerable to pressure and abrasion.
Plan the kitchen’s temporary use around those restrictions. Keep frequently needed items accessible elsewhere and avoid rushing reassembly because storage has become inconvenient. When parts are ready, handle them with clean hands and use protected surfaces that will not imprint or scratch the finish. Check alignment so doors and drawers do not rub.
Ask when routine cleaning and normal loading can resume. Avoid adhesive accessories, shelf liners, bumpers, or pads until their compatibility and timing are clear. Record any care limitations alongside the product details. During the first period of use, correct mechanical rubbing promptly rather than trying to cover the resulting damage with more paint. Good reassembly preserves the work that went into preparation and application.
Coordinate final cleaning with newly completed finishes
Newly painted, stained, or installed surfaces may not tolerate their normal cleaning routine immediately. Obtain the product-specific timing and care instructions before scheduling a final clean. Distinguish removal of loose work debris from washing a fresh coating. A surface can look finished while still needing protection from moisture, pressure, or adhesive materials.
Complete remaining dusty work and remove construction waste that falls outside ordinary cleaning first. Then use suitable tools to clean accessible surfaces without redistributing grit. Protect edges, hardware, and delicate materials, and keep products away from incompatible neighboring finishes. Do not scrape unexplained marks from new glass or stone without checking the manufacturer’s guidance.
Inspect the space before returning furnishings or opening it to normal traffic. Confirm that surfaces are dry, routes are clear, and no cleaning residue remains where it should have been removed. Record any defects that require the finishing contractor rather than attempting an improvised repair during cleaning. A coordinated final clean preserves the new work and makes the handover easier to assess.
Planning your next step
Use the inspection notes and sample decisions from this guide to describe the work you want completed. Bring photographs of uncertain areas and list the surfaces that should be included before comparing estimates. For broader background, read our How To Paint Kitchen Cabinets A 2022 Step By Step Guide, or review AK Painters Pro Corp.’s services.
When you are ready to discuss the scope, request a free estimate. Related reading: