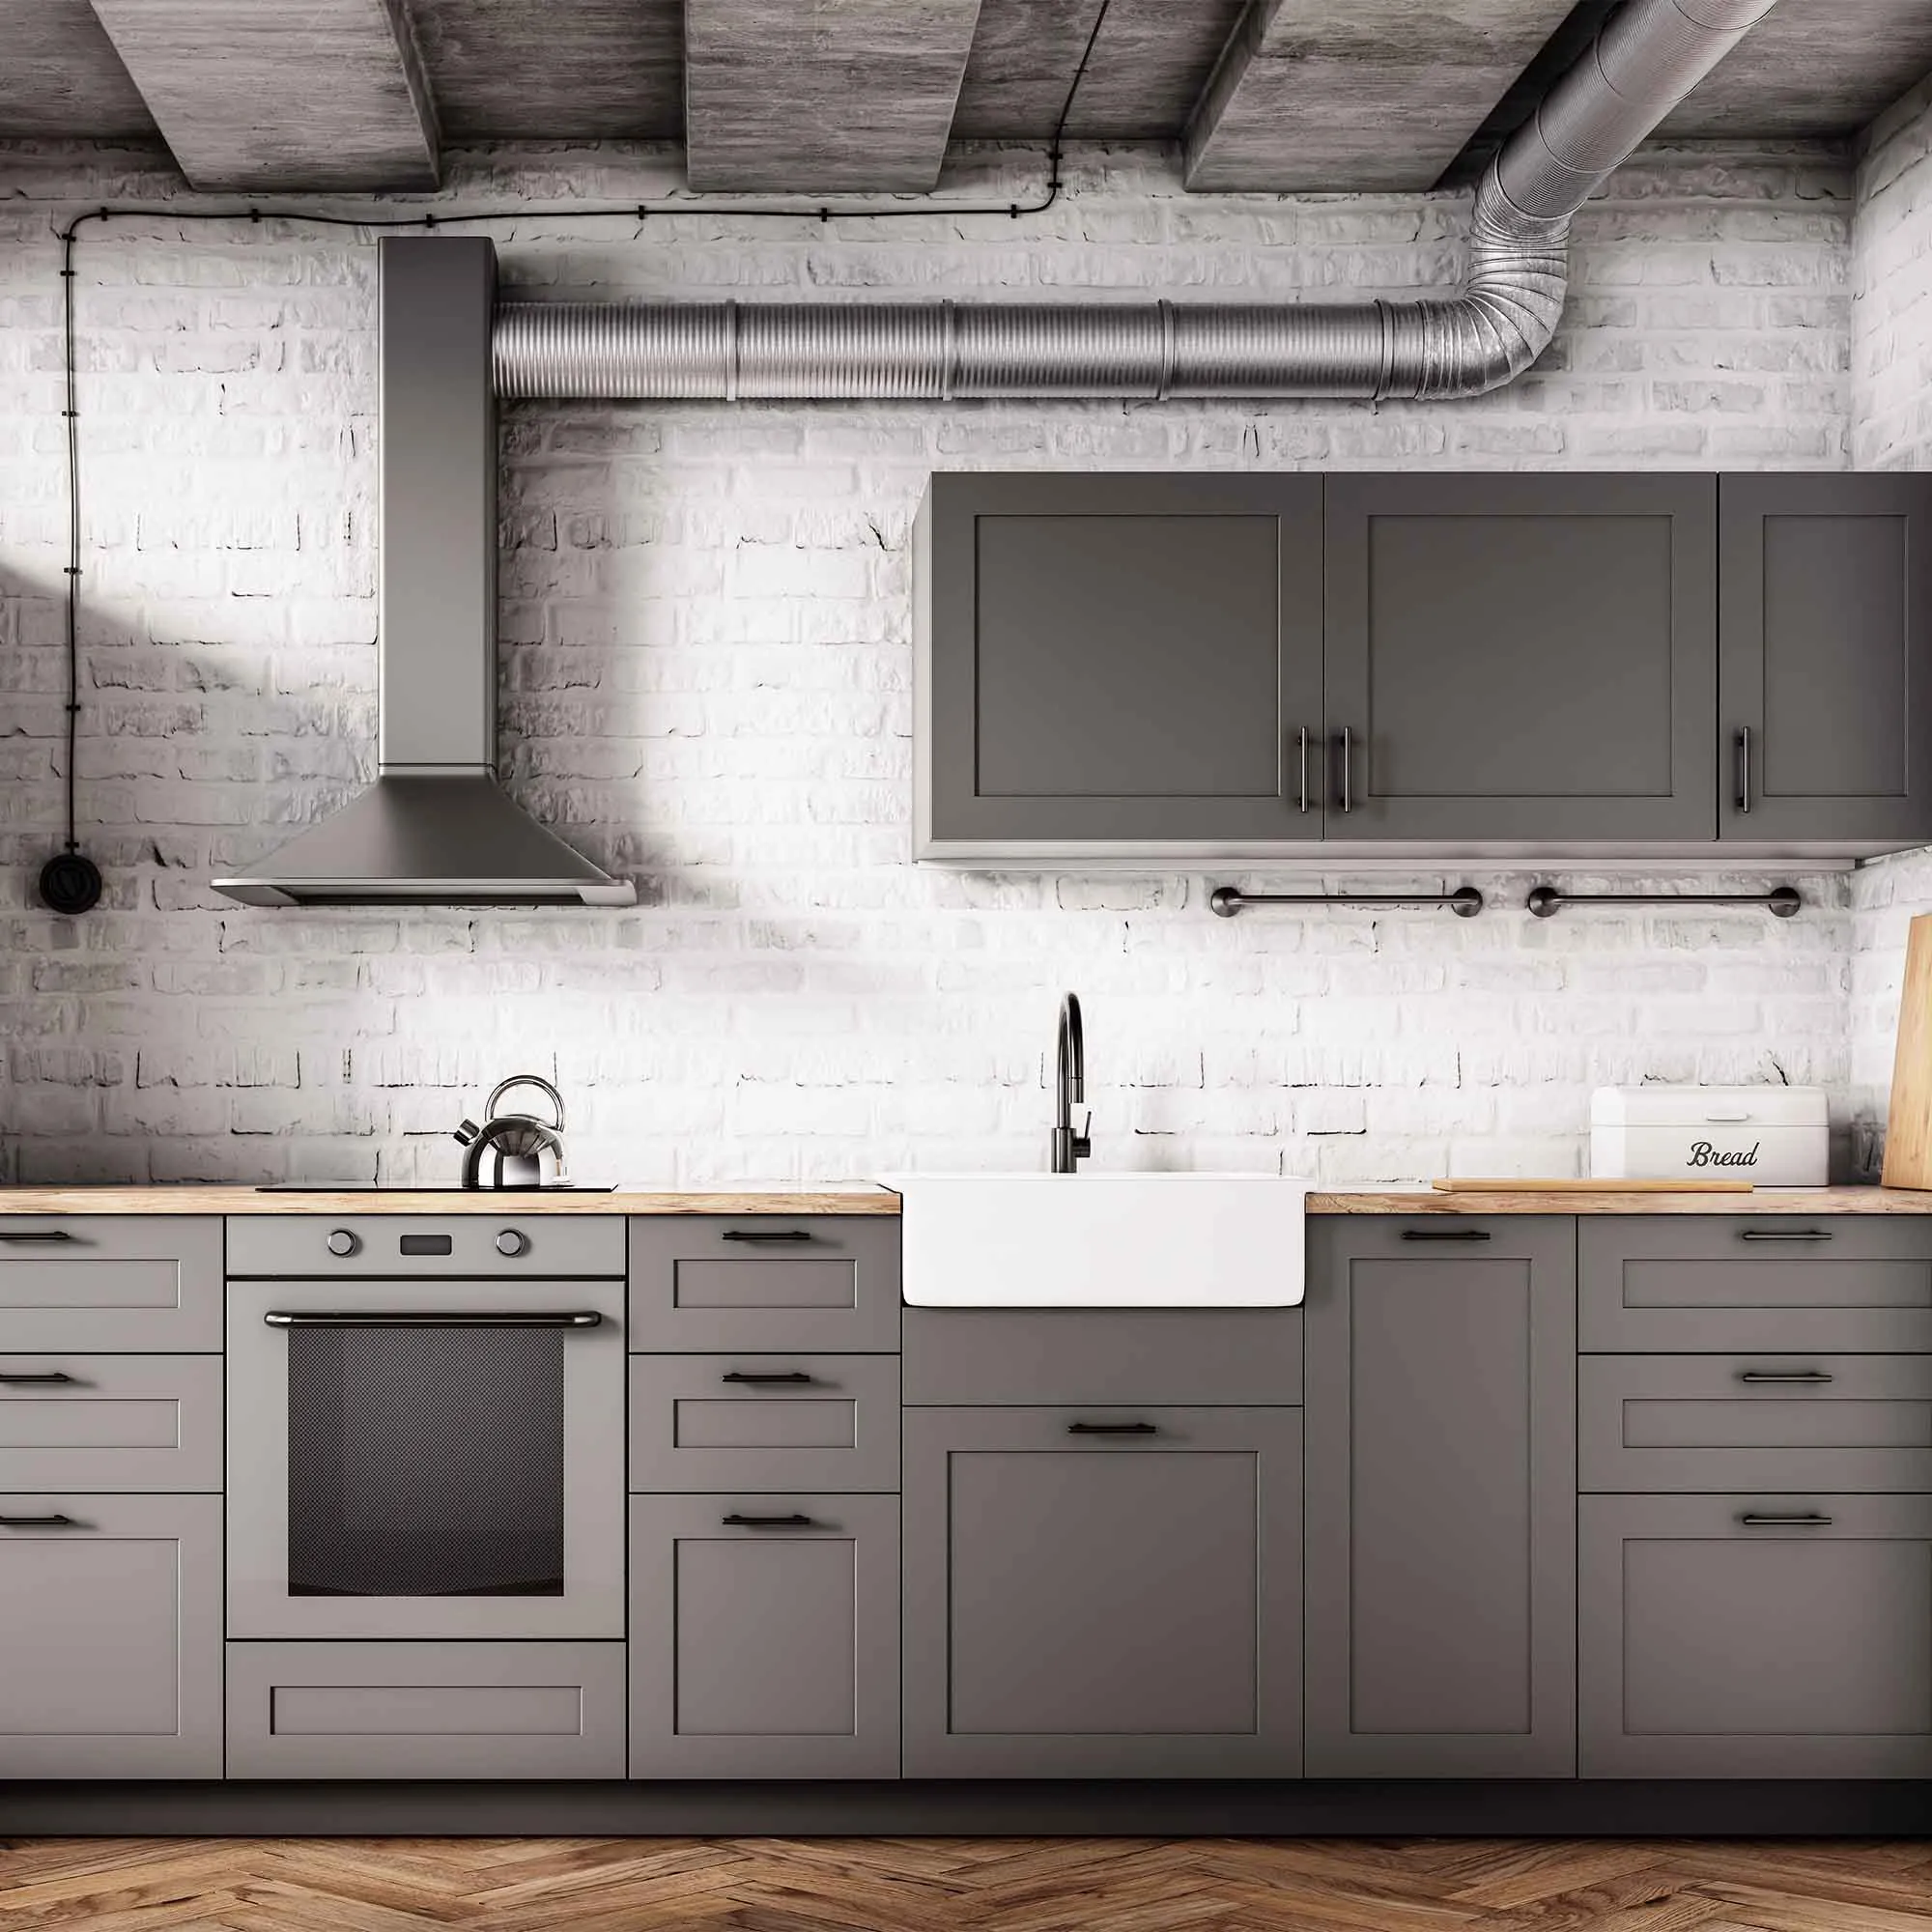
Cabinet grease is often concentrated around pulls, beside cooking equipment, and along the upper edges of doors. Broad panels may look clean while profiles and corners retain residue. Inspect those locations closely before selecting a preparation method or assuming that abrasion alone will create a suitable surface.
Identify the cabinet material and existing finish, then test a compatible cleaner discreetly. Avoid soaking seams or vulnerable panel edges. Follow rinsing and drying instructions so the cleaning step does not leave a new residue that interferes with primer.
Use the full proposed coating sequence on a representative area near the actual challenge. Allow the required evaluation time and watch for adhesion or appearance problems. If the trial fails, investigate before coating every door. Keeping the cleaning and preparation record helps explain what was done and makes later maintenance more sensible than returning immediately to a product that may be unsuitable for the new finish.
Remove kitchen residue before preparing cabinets
Cabinet surfaces near cooking and frequent hand contact may carry residue that is not obvious at first glance. Inspect around pulls, beside the range, above appliances, and along upper edges. Cleaning needs to address contamination before any preparation method spreads it across the surface. Identify the cabinet material and existing finish first.
Choose a cleaner compatible with that finish and the planned coating system. Test a discreet area, follow dilution and rinsing instructions, and avoid saturating joints, exposed panel edges, or hardware. More liquid or stronger cleaner can damage a vulnerable substrate without making it more paint-ready.
Let surfaces dry and inspect them again under angled light. Residue, polishing products, and worn areas may need further assessment. Do not proceed simply because the broad flat faces look clean; profiles and corners can retain contamination. Complete a representative adhesion and finish trial using the full proposed system. Cabinet repainting places substantial demands on preparation because the finished parts will be handled, cleaned, and brought into close contact with one another repeatedly.
Clean a kitchen without overlooking contact points
A kitchen cleaning plan should distinguish food-contact surfaces, appliance exteriors, cabinets, and floors. Identify each material and use compatible products. Clear counters before beginning, store food appropriately, and avoid spraying cleaners toward exposed food, utensils, outlets, or appliance controls. Follow label instructions for surfaces that contact food.
Pay attention to handles, cabinet edges, backsplash joints, and accessible areas beside appliances. These locations can retain residue even when the broad counter looks clean. Use separate tools where appropriate and avoid flooding seams or unfinished panel edges. Wipe cleaner away as directed so the result is not left sticky or streaked.
Coordinate appliance movement and interior cleaning explicitly. Heavy appliances, gas connections, water lines, and electrical equipment should not be moved casually as part of an assumed cleaning task. After cleaning, inspect under ordinary lighting and let surfaces dry before returning items. A useful kitchen scope names the details included, so a tidy counter does not become a substitute for the more time-consuming work the household actually expected.
Prepare an existing glossy finish for a new coating
A glossy surface may look clean while still carrying residue from hands, polish, grease, or household products. Identify the material and existing finish as far as possible, then clean with a compatible method before considering mechanical preparation. Working directly over contamination can spread it and compromise later adhesion.
Follow the new coating system’s preparation requirements. Some surfaces need controlled abrasion, a particular bonding primer, or both; others are unsuitable for the proposed finish. Do not guess from the shine alone. Assess older coatings before producing dust, and use appropriate containment and protection for the actual material and task.
Make a representative test area that includes the complete cleaning, preparation, priming, and finish sequence. Allow the prescribed evaluation period. Watch for lifting, softening, or a finish that releases from the old coating. If the trial is unsuccessful, identify the cause before proceeding. The objective is a reliable bond to a sound base, not merely a temporarily dull-looking surface. Document the successful process so it can be repeated consistently on all matching components.
Select primer for the problem it needs to solve
Primer is not one universal product. Bare porous material, glossy existing paint, residual staining, and exposed metal present different requirements. Start by identifying the substrate and the condition of the existing coating. Then choose a primer and finish that are explicitly compatible with that situation and with each other.
Avoid relying on a marketing phrase alone. A combined paint-and-primer product does not remove every need for separate preparation or a specialized primer. Read the technical information for the intended surface and discuss uncertain combinations with the manufacturer or supplier. A trial area is especially useful where the existing finish is unknown or where staining has returned through earlier paint.
Apply the primer at the recommended coverage and allow the stated interval before the next coat. A heavy layer is not a reliable substitute for choosing the correct system. Inspect for bleed-through, lifting, roughness, or uneven absorption before proceeding. The purpose of the primer stage is to establish a suitable base; if that stage fails, more topcoat usually makes the eventual correction larger.
Make the approval sample answer a specific question
Decide what you need to learn from a sample before making it. Color, adhesion, stain blocking, texture matching, and cleaning response are separate questions. A tiny decorative swatch may answer the first while providing little evidence about the others. Choose a location or material that represents the uncertainty you actually face.
Document the trial in a short sequence: existing condition, cleaning, repair or preparation, primer if specified, finish, and evaluation time. Use the same tools and products planned for the wider job. If a stage changes, repeat the sample so approval still refers to the real system.
Inspect after the manufacturer’s required interval and under the lighting that matters to the space. Record whether the result was accepted and what limitations remain. For example, a successful color trial on smooth scrap does not prove that an old textured wall will look identical. Keep the approved reference available until handover. This makes the sample a practical decision tool and avoids treating an attractive wet patch as proof that every preparation question has been resolved.
Read the construction before choosing a wood finish
Look at an accessible underside, back edge, or manufacturer label to understand how the item is made. A decorative face may cover a thin veneer or a manufactured core. Broad sanding or chemical removal can be inappropriate even when the visible surface has a convincing wood grain. Resolve that uncertainty before deciding on tools.
Make a condition note for each distinct component. Include replacement boards, filled holes, loose joints, and any area with a different existing coating. This helps explain why one stain sample cannot represent the whole project. If the history is unknown, an experienced refinisher can help determine what assessment is appropriate without sacrificing a prominent face.
Keep the material findings connected to the desired appearance. A transparent finish leaves the substrate visible, including characteristics that an opaque coating might conceal. Decide whether those differences belong in the result and sample accordingly. Stop if preparation reveals lifting veneer or unstable material. Finishing is the last stage of improving a suitable component; it should not be used to disguise a construction problem that still needs repair.
Plan ventilation without spreading dust or fumes
Read the coating and cleaning product labels before deciding how the space will be ventilated. Requirements vary, and an open door does not automatically provide suitable conditions. Identify where fresh air can enter and where air will leave without carrying odors or preparation dust into occupied rooms or neighboring spaces.
Separate dusty preparation from clean finishing. A fan pointed at a freshly coated surface can move debris into the finish, and air movement through an uncontrolled work area can spread dust. Use an appropriate containment and ventilation arrangement for the actual task. Do not disable required building systems or compromise combustion appliances to make a makeshift airflow path.
Coordinate the plan with the occupants and, in commercial properties, the person responsible for building systems. Follow product-specific requirements for personal protection, ignition sources, and reentry. Low odor is not proof that a space is ready for unrestricted use. Include ventilation in the schedule so it remains available during the relevant drying period, rather than stopping it as soon as the tools are packed away.
Protect cabinet finishes during reassembly and early use
Cabinet parts experience contact immediately when doors close and drawers slide. That makes drying and curing arrangements especially important. Follow the exact coating system’s guidance before handling, installing hardware, closing parts against stops, or returning stored objects. A surface that feels dry can still be vulnerable to pressure and abrasion.
Plan the kitchen’s temporary use around those restrictions. Keep frequently needed items accessible elsewhere and avoid rushing reassembly because storage has become inconvenient. When parts are ready, handle them with clean hands and use protected surfaces that will not imprint or scratch the finish. Check alignment so doors and drawers do not rub.
Ask when routine cleaning and normal loading can resume. Avoid adhesive accessories, shelf liners, bumpers, or pads until their compatibility and timing are clear. Record any care limitations alongside the product details. During the first period of use, correct mechanical rubbing promptly rather than trying to cover the resulting damage with more paint. Good reassembly preserves the work that went into preparation and application.
Planning your next step
Use the inspection notes and sample decisions from this guide to describe the work you want completed. Bring photographs of uncertain areas and list the surfaces that should be included before comparing estimates. For broader background, read our How To Paint Kitchen Cabinets A 2022 Step By Step Guide, or review AK Painters Pro Corp.’s services.
When you are ready to discuss the scope, request a free estimate. Related reading: