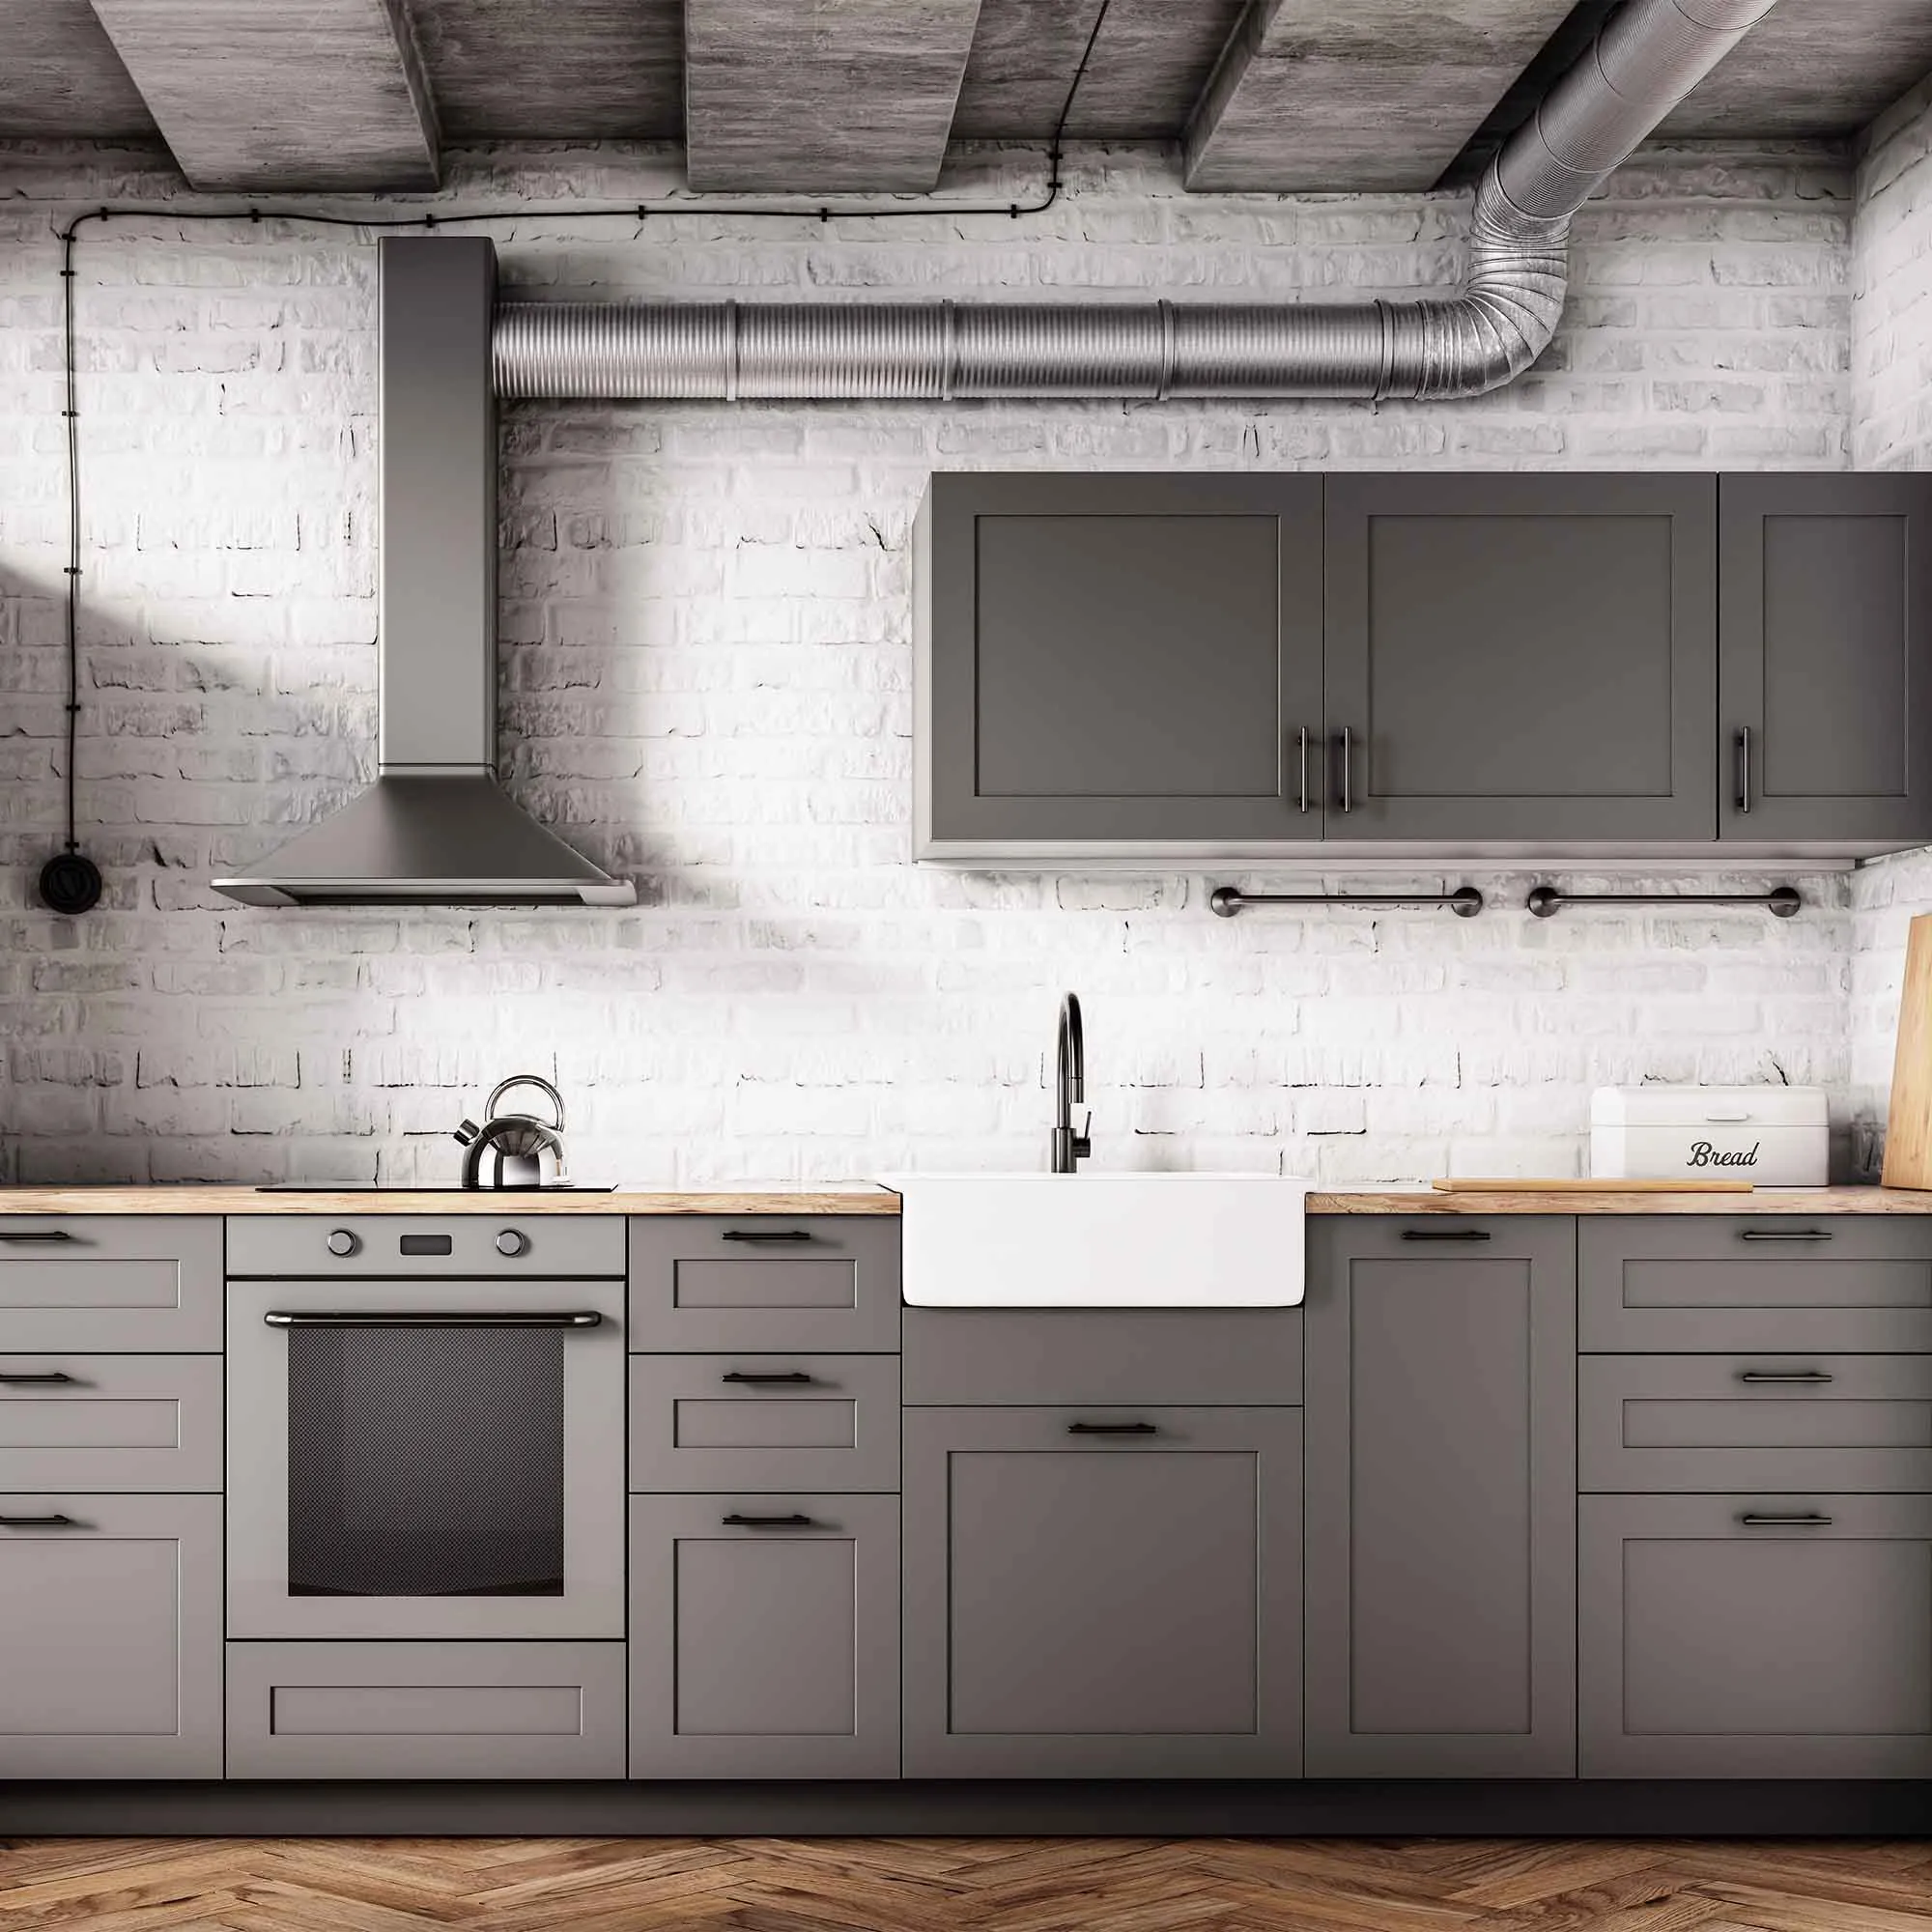
A decorative cabinet finish may contain several layers, including color, glaze, and a protective topcoat. Its appearance does not identify the complete system. Gather any product history available and inspect for loose layers, damaged profiles, and residue before deciding how it should be prepared for repainting.
Avoid choosing a remover or sanding method solely from the visible color. The cabinet construction and coating history need assessment, especially where veneer or older finishes are involved. A representative trial should include cleaning, preparation, primer, and the intended topcoat.
Review the dry sample for adhesion, texture, and any discoloration returning through the new finish. Decide whether the project aims to preserve existing decorative contours or create a more uniform appearance. Record that expectation in the scope. If the sample reveals failure in underlying layers, resolve it before coating all components. A sound base matters more than quickly hiding the old decorative effect.
Identify the wood and its previous finish
A stain result depends on the material underneath it. Solid wood, veneer, engineered panels, and factory-finished components may need different treatment. Look for manufacturer information and examine concealed edges where appropriate. Do not assume that every surface with a wood pattern can be sanded or stained like solid lumber.
Find out what finish is already present. A penetrating stain, a clear film, paint, wax, and an unknown furniture polish can affect the next system differently. If records are unavailable, use a cautious assessment and a representative test rather than choosing a remover by guesswork. Thin veneers and delicate profiles can be damaged by aggressive preparation.
Note repairs and mixed materials. A replacement board or filled area may accept color differently from its neighbors even after careful preparation. Decide whether visible variation is acceptable before choosing the finish. Record the findings and the approved sample. Identifying the actual wood and previous coating helps turn stain selection from a color-card exercise into a realistic plan for the piece or structure you have.
Prepare an existing glossy finish for a new coating
A glossy surface may look clean while still carrying residue from hands, polish, grease, or household products. Identify the material and existing finish as far as possible, then clean with a compatible method before considering mechanical preparation. Working directly over contamination can spread it and compromise later adhesion.
Follow the new coating system’s preparation requirements. Some surfaces need controlled abrasion, a particular bonding primer, or both; others are unsuitable for the proposed finish. Do not guess from the shine alone. Assess older coatings before producing dust, and use appropriate containment and protection for the actual material and task.
Make a representative test area that includes the complete cleaning, preparation, priming, and finish sequence. Allow the prescribed evaluation period. Watch for lifting, softening, or a finish that releases from the old coating. If the trial is unsuccessful, identify the cause before proceeding. The objective is a reliable bond to a sound base, not merely a temporarily dull-looking surface. Document the successful process so it can be repeated consistently on all matching components.
Remove kitchen residue before preparing cabinets
Cabinet surfaces near cooking and frequent hand contact may carry residue that is not obvious at first glance. Inspect around pulls, beside the range, above appliances, and along upper edges. Cleaning needs to address contamination before any preparation method spreads it across the surface. Identify the cabinet material and existing finish first.
Choose a cleaner compatible with that finish and the planned coating system. Test a discreet area, follow dilution and rinsing instructions, and avoid saturating joints, exposed panel edges, or hardware. More liquid or stronger cleaner can damage a vulnerable substrate without making it more paint-ready.
Let surfaces dry and inspect them again under angled light. Residue, polishing products, and worn areas may need further assessment. Do not proceed simply because the broad flat faces look clean; profiles and corners can retain contamination. Complete a representative adhesion and finish trial using the full proposed system. Cabinet repainting places substantial demands on preparation because the finished parts will be handled, cleaned, and brought into close contact with one another repeatedly.
Decide whether visible wood grain belongs in the result
Painting wood cabinets does not automatically create the appearance of a smooth manufactured panel. Open grain, joints, and existing texture may remain visible through the finish. Discuss that appearance before choosing products or comparing estimates. A color change and a grain-filling project can involve very different preparation scopes.
Examine a representative door in both direct and side light. If a smoother appearance is desired, ask for a sample that includes the complete proposed filling, priming, and coating sequence. Follow compatible-system guidance, and evaluate the dry sample rather than a photograph of unrelated cabinets. Some construction joints may remain visible even after careful preparation.
Consider whether the additional work is worthwhile for the cabinet’s condition and design. A smooth finish cannot correct loose joints, damaged panels, or failing veneer by itself. Record the accepted sample and the limits of the scope. During the final walkthrough, compare against that agreed result instead of expecting paint to erase every feature of the original wood. Clear expectations make the finish choice more practical and the completed kitchen easier to assess.
Select primer for the problem it needs to solve
Primer is not one universal product. Bare porous material, glossy existing paint, residual staining, and exposed metal present different requirements. Start by identifying the substrate and the condition of the existing coating. Then choose a primer and finish that are explicitly compatible with that situation and with each other.
Avoid relying on a marketing phrase alone. A combined paint-and-primer product does not remove every need for separate preparation or a specialized primer. Read the technical information for the intended surface and discuss uncertain combinations with the manufacturer or supplier. A trial area is especially useful where the existing finish is unknown or where staining has returned through earlier paint.
Apply the primer at the recommended coverage and allow the stated interval before the next coat. A heavy layer is not a reliable substitute for choosing the correct system. Inspect for bleed-through, lifting, roughness, or uneven absorption before proceeding. The purpose of the primer stage is to establish a suitable base; if that stage fails, more topcoat usually makes the eventual correction larger.
Use a small trial to answer the difficult questions
A trial area is most useful when it represents the real challenge. Choose a discreet but meaningful location with the same material, existing finish, and preparation needs as the rest of the job. A convenient piece of unrelated scrap may show color but tell you little about adhesion, absorption, or cleaning response on the actual surface.
Follow the complete proposed process on the sample. If the project includes cleaning, a primer, and two finish coats, a single swipe of topcoat is not an equivalent test. Respect the product’s drying and evaluation instructions. Check the result after it has had the specified time to develop, rather than judging only while it is wet.
Write down what you used and what you observed. Look for discoloration, softening, lifting, uneven absorption, and changes in texture. If the sample fails, stop and investigate before applying more material. A successful trial cannot guarantee every hidden condition, but it can prevent a small compatibility problem from becoming a room-wide or building-wide repair. Keep the approved sample available during the work as a visual reference.
Check older finishes before disturbing them
The age and history of a surface matter before sanding, scraping, or demolition. An attractive top layer does not tell you what is underneath it. If the building or finish history is uncertain, pause before turning a cosmetic project into dust-producing work. Identification and assessment should come before the choice of tools.
For older painted surfaces, consult the EPA’s lead-safe renovation guidance and use an appropriately qualified professional where needed. Do not treat this general painting guide as a hazardous-material assessment. Similarly, do not disturb suspect ceiling or other materials simply to see how easily they come off.
Keep the distinction between ordinary preparation and specialized work clear in the estimate. Ask who will assess the material, what findings could change the scope, and when finishing can safely resume. The fact that a company offers painting or cleaning does not by itself establish qualifications for hazardous-material work. Taking time to resolve uncertainty protects the project from an inappropriate preparation method and helps everyone understand what is actually included.
Compare estimates by the work they include
Two prices are difficult to compare if they describe different work. Ask for a written scope that identifies surfaces, preparation, repairs, coating products, and the areas excluded from the job. Clarify whether hardware removal, furniture moving, and final cleanup are included. A short description such as “paint room” leaves too much room for different assumptions.
Discuss how unexpected conditions will be handled. Hidden damage, loose existing coatings, or additional repair needs may not be clear until preparation begins. Agree that changes should be explained and approved before extra work proceeds. Ask how those changes affect both cost and schedule, rather than focusing on price alone.
Review the handover as part of the estimate. Product records, leftover materials where appropriate, care instructions, and a final walkthrough help you maintain the finish afterward. Avoid comparing proposals through an unsupported promise about how many years a finish will last. Exposure, use, preparation, and maintenance all matter. A specific, understandable plan gives you a stronger basis for choosing work than a vague assurance attached to a low total.
Planning your next step
Use the inspection notes and sample decisions from this guide to describe the work you want completed. Bring photographs of uncertain areas and list the surfaces that should be included before comparing estimates. For broader background, read our How To Paint Kitchen Cabinets A 2022 Step By Step Guide, or review AK Painters Pro Corp.’s services.
When you are ready to discuss the scope, request a free estimate. Related reading: