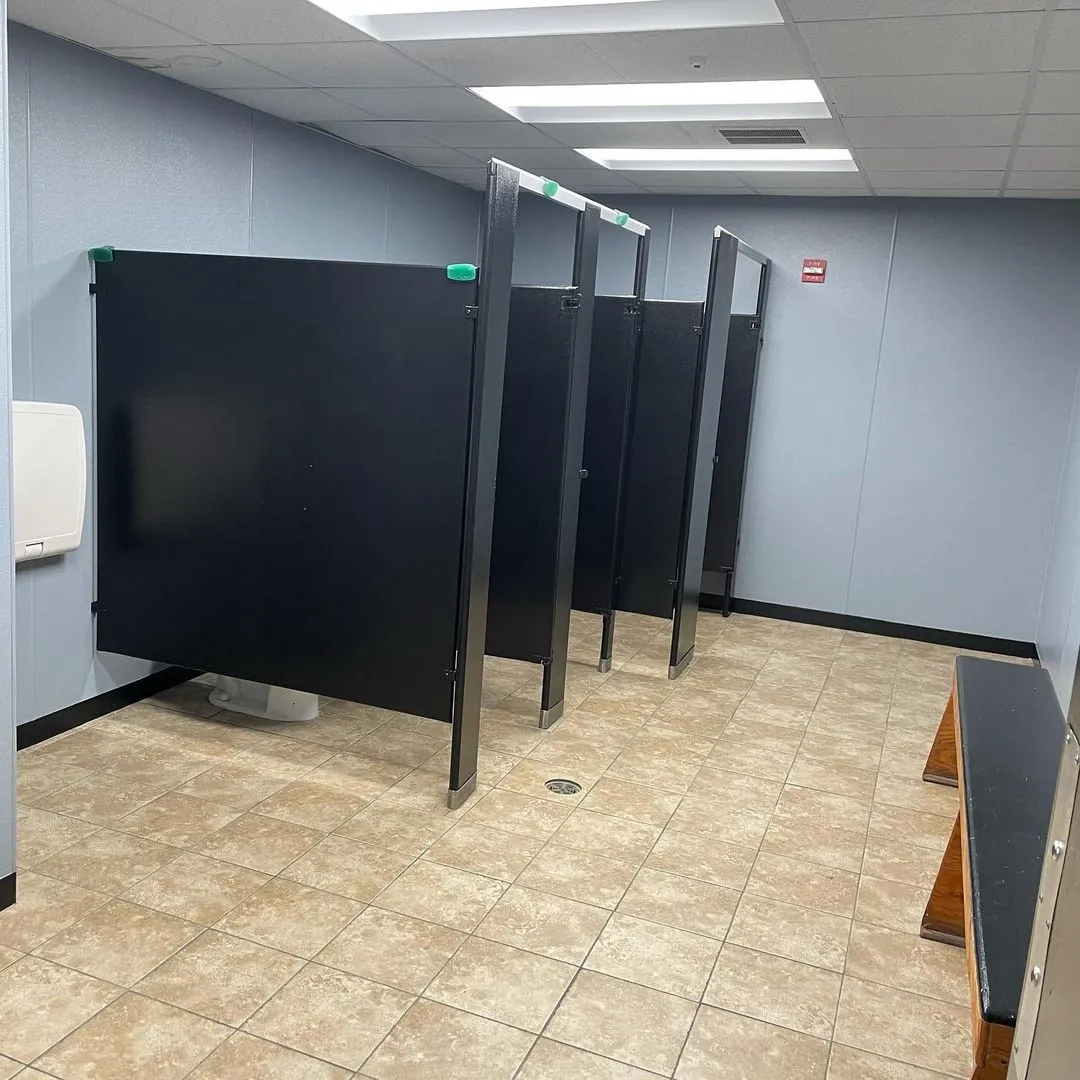
Commercial restroom repainting needs coordination with access, cleaning staff, fixtures, and moisture conditions. Inspect the room before selecting paint, separating ordinary wear from leaks, failed joints, and damaged substrate. Resolve those causes before cosmetic finishing begins.
Plan closures and alternatives with the facility manager, preserving required access and information. Protect fixtures, controls, partitions, and neighboring materials. The coating system should suit the actual substrate and maintenance procedures, with manufacturer confirmation where necessary.
Use a sample to review color, sheen, and the appearance around tile and partitions. Schedule the work so the room is not returned to routine washing before the product permits it. During handover, inspect edges and protected components, then provide clear care instructions and location-based product records. Ordinary painting should remain distinct from any specialized sanitation or compliance claims that have not been separately assessed.
Approach bathroom surfaces by material and moisture
Bathrooms combine glass, tile, grout, sealant, metal, painted finishes, and fixtures. Identify those materials before choosing cleaners. A product suitable for one may damage another, especially natural stone, specialty coatings, or plated hardware. Test uncertain surfaces discreetly and follow the manufacturer’s care guidance.
Remove loose soil first, then work through fixtures and surfaces with separate clean tools as appropriate. Do not mix products, and provide the ventilation required by their labels. Keep liquid out of electrical equipment and avoid saturating damaged joints. Follow contact and rinsing instructions rather than treating a strong smell as evidence of effective cleaning.
Inspect the dry result for remaining soil, residue, and damaged materials. Recurring dampness, failed sealant, soft surfaces, or persistent suspected mold need assessment beyond ordinary cleaning. Repeatedly scrubbing the same location cannot repair a leak or a failed assembly. Record those conditions and clarify whether repairs are a separate task before scheduling refinishing or a broader bathroom improvement.
Resolve moisture causes before covering the evidence
A stain, blister, or peeling edge can be a symptom rather than the main problem. Look at the location and pattern. Damage below a window, along a ceiling joint, or near plumbing deserves a different investigation from a scuff caused by a chair. Repainting may conceal a mark temporarily without correcting the condition that produced it.
Have leaks, recurring condensation, or other suspected moisture sources assessed and corrected before finishing. Let affected materials reach the condition required by the repair and coating products. Surface appearance alone is not a reliable way to decide that a previously wet assembly is ready. Where necessary, the appropriate trade should verify the repair and drying plan.
Once the cause is addressed, evaluate whether the substrate remains sound. Soft, swollen, crumbling, or persistently contaminated materials may need work beyond cosmetic painting. A suitable stain-blocking system can address a residual mark on a sound surface, but it is not a substitute for correcting active moisture. Keep photographs and watch the area after the project so a returning pattern is recognized early.
Write a coating schedule by surface and use
A commercial coating schedule should identify each surface and the product system intended for it. Include substrate, preparation, primer where required, finish, color, and sheen. Walls in a quiet office, frequently cleaned doors, and exposed metal components may need different systems even when the building uses a consistent color palette.
Discuss the actual cleaning and wear conditions. The product’s technical information should support the intended use, including the facility’s routine maintenance methods. Avoid selecting solely by sheen name or an unsupported claim that a coating is suitable for every high-traffic area. Where performance is important, involve the manufacturer or the facility’s technical adviser.
Approve a representative sample before broad application. Keep product substitutions controlled so the result remains compatible with the specified system and maintenance plan. At completion, provide or retain a readable schedule that facilities staff can use for repairs. A clear specification improves consistency across phases and makes future touch-ups less dependent on someone’s memory of which white paint was used in which corridor.
Coordinate coating choices with cleaning procedures
Ask how the space is cleaned before selecting the finish. The type of cleaner, frequency of washing, tools, and expected contact can all affect compatibility. This is particularly important in facilities with established cleaning protocols. A coating described as washable does not automatically support every chemical or procedure used in the building.
Review the proposed product’s technical information with the responsible facility staff and supplier. Where necessary, obtain manufacturer confirmation for the intended use. Avoid making health, sanitation, or regulatory claims based only on a paint’s marketing description. Ordinary painting is not a substitute for the facility’s required cleaning and operational controls.
Allow the specified cure before exposing the finish to routine cleaning. Test approved maintenance methods in a discreet area and observe any change in sheen or color. Document the product and care instructions for future staff, since the people managing the building may change after the project. The goal is a finish that can be maintained within the real operating routine, with its limits understood from the beginning.
Divide an occupied property into clear work zones
When people remain in a building, the work area needs a visible boundary and an understandable schedule. Identify which spaces are occupied, which can be closed, and which routes must remain available. A room-by-room plan should account for shared entrances, restrooms, deliveries, and daily operations rather than treating each painted room as isolated.
Communicate changes before moving barriers or equipment. Staff, visitors, and residents should know where to go and whom to contact if an access issue arises. Use the facility’s established safety and access procedures. Keep emergency routes and required building functions available, and resolve any uncertainty with the responsible manager before work begins.
Plan preparation, application, ventilation, and reopening as distinct stages. A completed-looking wall does not mean the entire zone is ready for use. Inspect and clean each area before returning it to occupants, then protect it from the next phase of work. Clear zoning reduces accidental contact with wet finishes and prevents repeated disruption caused by moving the same belongings several times.
Make a removal and restoration plan for signs and labels
Photograph signs, labels, and mounted information before masking or removal. Identify which items must remain available during the work and coordinate any temporary arrangement with the responsible owner or facility staff. Required information and operating labels should never disappear simply because they sit on a surface being repainted.
Label removable hardware and record its location. Confirm whether the same signs will return, whether mounting holes will change, and who handles electrical or specialized fixtures. Resolve those decisions before repairs and finish coats, so reinstallation does not require unplanned drilling through a completed surface.
Review color and sheen beside the actual sign where appearance matters. Reflections or a changed background can affect how it reads. After the coating permits reassembly, restore items through the agreed process and check alignment, legibility, and function. Keep required labels and controls free from paint. A finished wall is only part of completion when people also need the information and equipment attached to it to use the space normally.
Plan ventilation without spreading dust or fumes
Read the coating and cleaning product labels before deciding how the space will be ventilated. Requirements vary, and an open door does not automatically provide suitable conditions. Identify where fresh air can enter and where air will leave without carrying odors or preparation dust into occupied rooms or neighboring spaces.
Separate dusty preparation from clean finishing. A fan pointed at a freshly coated surface can move debris into the finish, and air movement through an uncontrolled work area can spread dust. Use an appropriate containment and ventilation arrangement for the actual task. Do not disable required building systems or compromise combustion appliances to make a makeshift airflow path.
Coordinate the plan with the occupants and, in commercial properties, the person responsible for building systems. Follow product-specific requirements for personal protection, ignition sources, and reentry. Low odor is not proof that a space is ready for unrestricted use. Include ventilation in the schedule so it remains available during the relevant drying period, rather than stopping it as soon as the tools are packed away.
Prepare the maintenance information before the final meeting
Collect product and location records as the work progresses instead of trying to reconstruct them from leftover containers at the end. Include accepted samples, preparation notes that matter to future compatibility, and any substitutions approved during the project. Organize the information by room or surface so facilities staff can use it without knowing the conversation history.
At the final meeting, review the completed scope and a single list of outstanding items. Explain when cleaning and ordinary contact may resume, using the exact product guidance. Clarify responsibility for damage caused by later installation or moving work so fresh defects do not become confused with unfinished painting.
Give staff a practical way to identify materials for future repairs. Discuss the limits of spot touch-ups and when a full plane may need recoating for consistency. Store records where later staff can find them and update them after maintenance changes. The handover is complete when the property has both an inspected finish and understandable instructions for caring for that finish in daily use.
Planning your next step
Use the inspection notes and sample decisions from this guide to describe the work you want completed. Bring photographs of uncertain areas and list the surfaces that should be included before comparing estimates. For broader background, read our Commercial Painting: The 10 Things to Consider When Painting Your Commercial Property, or review AK Painters Pro Corp.’s services.
When you are ready to discuss the scope, request a free estimate. Related reading: