Stains below a gutter can remain after the immediate debris is removed. Before cleaning the wall, determine whether overflow has actually been resolved and whether the siding or trim has been damaged. Photograph the pattern because it can help identify a returning water path later.
Identify the surface and coating, then choose a compatible cleaning method. Avoid applying stronger pressure or cleaner simply because the stain is dark. Inspect the dry result and distinguish remaining discoloration from loose paint or deteriorated material that needs repair.
If refinishing is necessary, coordinate it after the drainage work and the required drying assessment. Keep cleaning, repair, and painting as clearly described stages. Record the products used and any unresolved observations. A wall that looks cleaner is a useful result, but it should not be taken as evidence that hidden damage or every cause of the original overflow has been corrected.
Treat gutter cleaning as an access and drainage task
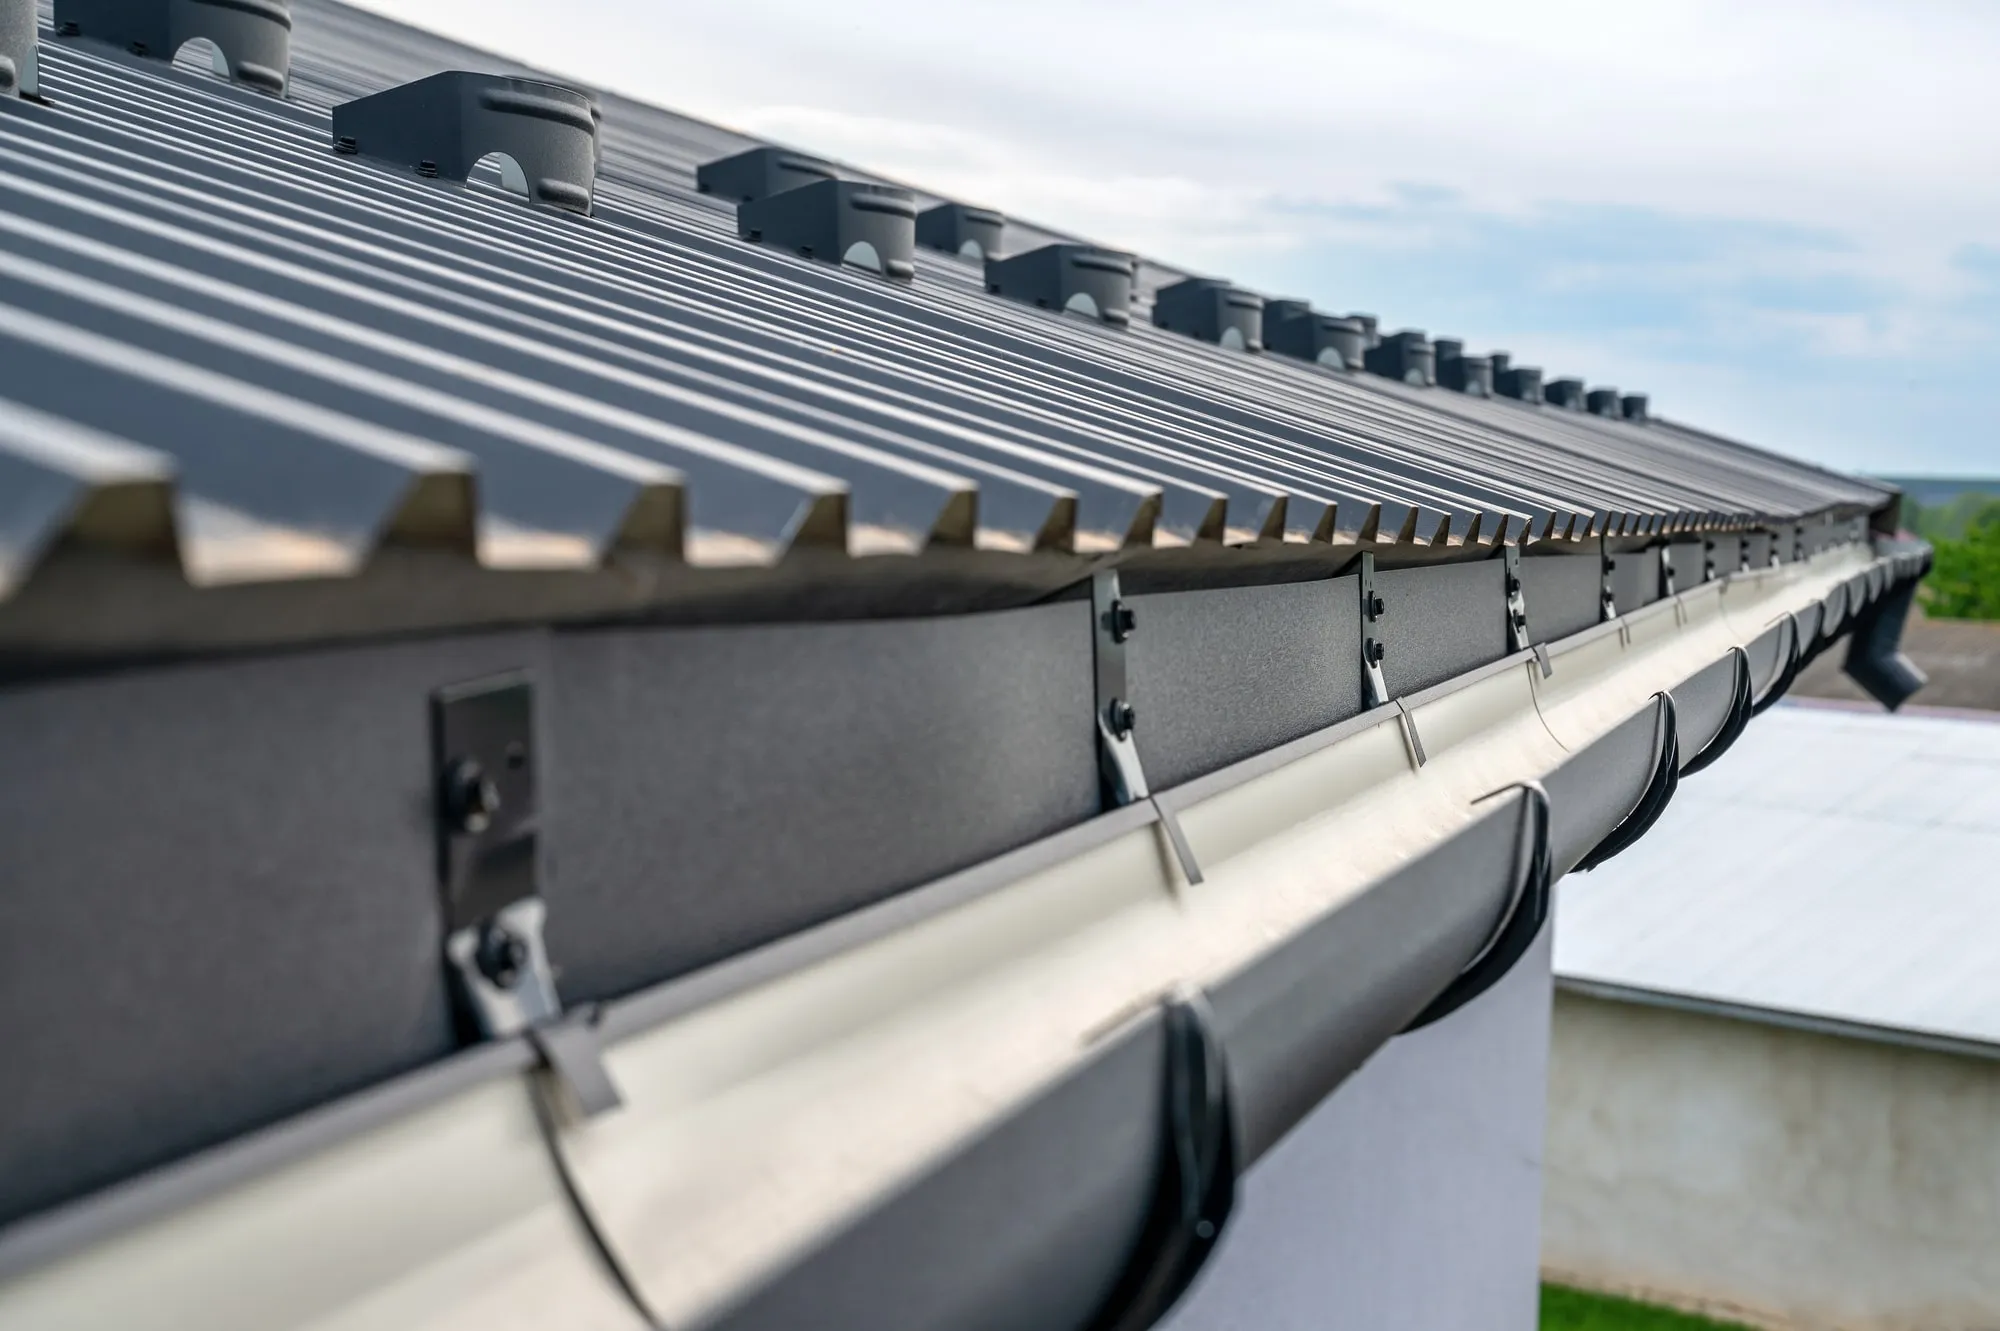
Gutters should be considered as part of the building’s water-management system. From a safe position, look for visible debris, overflow marks, disconnected sections, and water directed toward vulnerable surfaces. Those observations help define the task, but they do not justify unsafe climbing or reaching from improvised equipment.
Arrange suitable professional access where height, roof conditions, or location make the work unsuitable for ordinary ground-level cleaning. Clarify whether the service includes only debris removal or also inspection of accessible downspouts and visible drainage problems. Repairs, underground blockages, and roof work may be separate tasks. Avoid promising that cleaning alone will solve every overflow condition.
Protect the surrounding area and manage removed debris appropriately. After the work, review any damaged or poorly draining sections identified during access. Coordinate necessary repairs before repainting trim or siding that has been repeatedly wetted. Keep a record of problem locations so future maintenance focuses on where debris accumulates or water escapes, rather than following a schedule that ignores the property’s actual conditions.
Keep the moisture investigation separate from cosmetic repair
Map the damaged area before cleaning or coating removes the evidence. Note its position relative to windows, plumbing, roof edges, ground level, and regularly wet objects. Compare whether the pattern changes after weather or normal use. These observations help the appropriate professional investigate the source.
Resolve the cause and establish that the material is suitable for repair before choosing paint or stain. Surface dryness alone may not describe the condition inside an assembly. Softened, swollen, crumbling, or persistently contaminated material needs assessment beyond a cosmetic finish.
Once the repair and drying requirements are met, select a compatible preparation and coating system for the sound substrate. A residual stain may need a specialized primer, but that step should follow the investigation rather than replace it. Retain photographs and the repair history, then check the location later. If the same pattern returns, use that evidence to reassess the cause instead of automatically adding another layer that temporarily hides the warning sign.
Use exterior washing as preparation, not demolition
Exterior cleaning should remove the soil that interferes with the planned finish without damaging the substrate. Identify siding, trim, joints, windows, and nearby materials before choosing equipment or cleaner. High pressure is not a universal preparation method, and increasing force can turn a dirty surface into a damaged one.
Test the proposed method in a discreet area. Protect electrical equipment, openings, plants, and neighboring property as appropriate. Keep water from being driven behind siding, into vents, or through vulnerable joints. Follow cleaner and equipment directions, including requirements for protective equipment and runoff handling. Assess older coatings before any process that could release paint chips or dust.
After cleaning, inspect the surface again. Dirt can conceal peeling coatings, cracks, or soft areas that need a separate repair plan. Allow the material to reach the moisture condition required by the coating manufacturer rather than assuming a fixed number of hours is sufficient. A clean-looking exterior is only ready for paint when the surface is sound, suitably prepared, and dry enough for the selected system.
Respect the material and layout of siding
Identify the siding rather than treating every wall as the same substrate. Wood, fiber cement, vinyl, metal, and manufactured panels have different preparation and coating requirements. Look for manufacturer information and previous product records. If the material is uncertain, verify it before selecting a finish or applying an aggressive cleaner.
Inspect the joints, lower edges, fasteners, and areas around penetrations. Damaged or loose components may need repair before painting. Preserve drainage details and movement gaps; a visually continuous coating is not a reason to seal every opening. Plan how each board or panel will be coated without leaving arbitrary stopping marks in the middle of a prominent surface.
Follow the manufacturer’s guidance for coating compatibility, color restrictions, and preparation. A finish that works on one siding material may be inappropriate for another. Use a test area when adhesion or appearance is uncertain. During the final inspection, look along the siding from both directions to check coverage on exposed edges and profiles, while confirming that functional joints and openings remain clear.
Choose pressure-cleaning methods by substrate
Pressure cleaning is a method, not a guarantee that more force will improve the result. Identify the surface, coating condition, joints, and nearby materials before selecting equipment settings or attachments. Concrete, wood, siding, and delicate painted details should not be treated as interchangeable. Follow the equipment and surface manufacturers’ guidance.
Test in an inconspicuous area and keep the work controlled. Avoid directing water into electrical equipment, openings, vulnerable joints, or behind cladding. Do not use a pressure washer from an unstable position or improvised elevated access. Older coatings and unknown contamination need assessment before a process that could release debris.
Use compatible cleaners only as instructed, with appropriate protection and runoff management. Inspect the dry result for remaining soil and any damage. Lines, gouges, or raised fibers may indicate an unsuitable method rather than a need for another stronger pass. If coating follows cleaning, allow the substrate to reach the required moisture condition. A successful wash leaves a sound surface ready for its next use, not merely a temporarily brighter wet appearance.
Trace peeling paint back to its weak layer
Peeling may occur between coating layers or where the coating meets the underlying material. Those are different situations. Look at where the failure begins, whether it follows joints or moisture paths, and whether surrounding paint is well attached. Photographs can help compare exposed and sheltered areas before preparation changes the evidence.
Do not simply coat the loose edges. Determine which material is sound and what condition caused the failure. Moisture, contamination, incompatible layers, and weather exposure may require different remedies. On older coatings, resolve lead or other hazardous-material concerns before scraping or sanding. Appropriate preparation should remove or stabilize failed material according to the chosen repair system.
Feathering, repairs, and priming need to produce a suitable transition into the remaining sound finish. Test uncertain combinations before completing a large area. After repainting, monitor the location that failed first. If the same pattern returns, the underlying cause may still be present. More paint can temporarily cover the evidence, but a durable repair depends on correcting the condition beneath the visible peeling.
Create a practical exterior maintenance inspection
Inspect from safe ground-level positions before planning any work at height. Walk the property with a notebook or camera and compare exposed edges, sheltered areas, and places where water collects. Look for new peeling, open joints, damaged boards, staining, and vegetation touching the finish. Mark locations clearly rather than relying on general descriptions such as “the back wall.”
Distinguish changes in appearance from active deterioration. Surface dirt may need cleaning, while recurring dampness or soft material needs assessment. Avoid scraping suspicious areas during a preliminary walk, particularly where coating age is unknown. The inspection should gather information without creating dust or damage.
Prioritize repairs that address causes of failure before optional appearance changes. A leaking gutter or rubbing gate can affect the next finish just as it affected the last one. Share the observations when requesting an estimate, and ask which areas require closer professional inspection. Repeat the walk after the work and during later maintenance so developing patterns can be compared with a useful baseline.
Create a finish map that another person can understand
Use a simple plan or room list to connect every finish to its location. Write the product line, manufacturer, color, sheen, and any primer beside the relevant surface. Include special preparation only where it affects future work. Someone unfamiliar with the project should be able to identify the system without opening several containers and guessing.
Photograph readable labels and keep them with the written map. Record approved samples, completion dates, and care restrictions. Label retained materials and store them according to their instructions. An unidentified remainder is less useful than a clear product record, particularly after storage or aging changes its condition.
Update the map after repairs or later phases. Mark substitutions explicitly and keep the old information as history rather than allowing contradictory notes to circulate. When a problem returns, add its location and observed pattern before treatment removes the evidence. These records support maintenance and estimates, while keeping expectations realistic: a saved formula helps identify the finish but cannot guarantee that fresh material will disappear into an aged surrounding surface.
Planning your next step
Use the inspection notes and sample decisions from this guide to describe the work you want completed. Bring photographs of uncertain areas and list the surfaces that should be included before comparing estimates. For broader background, read our The Ultimate Guide to Power washing Your House 2022, or review AK Painters Pro Corp.’s services.
When you are ready to discuss the scope, request a free estimate. Related reading: