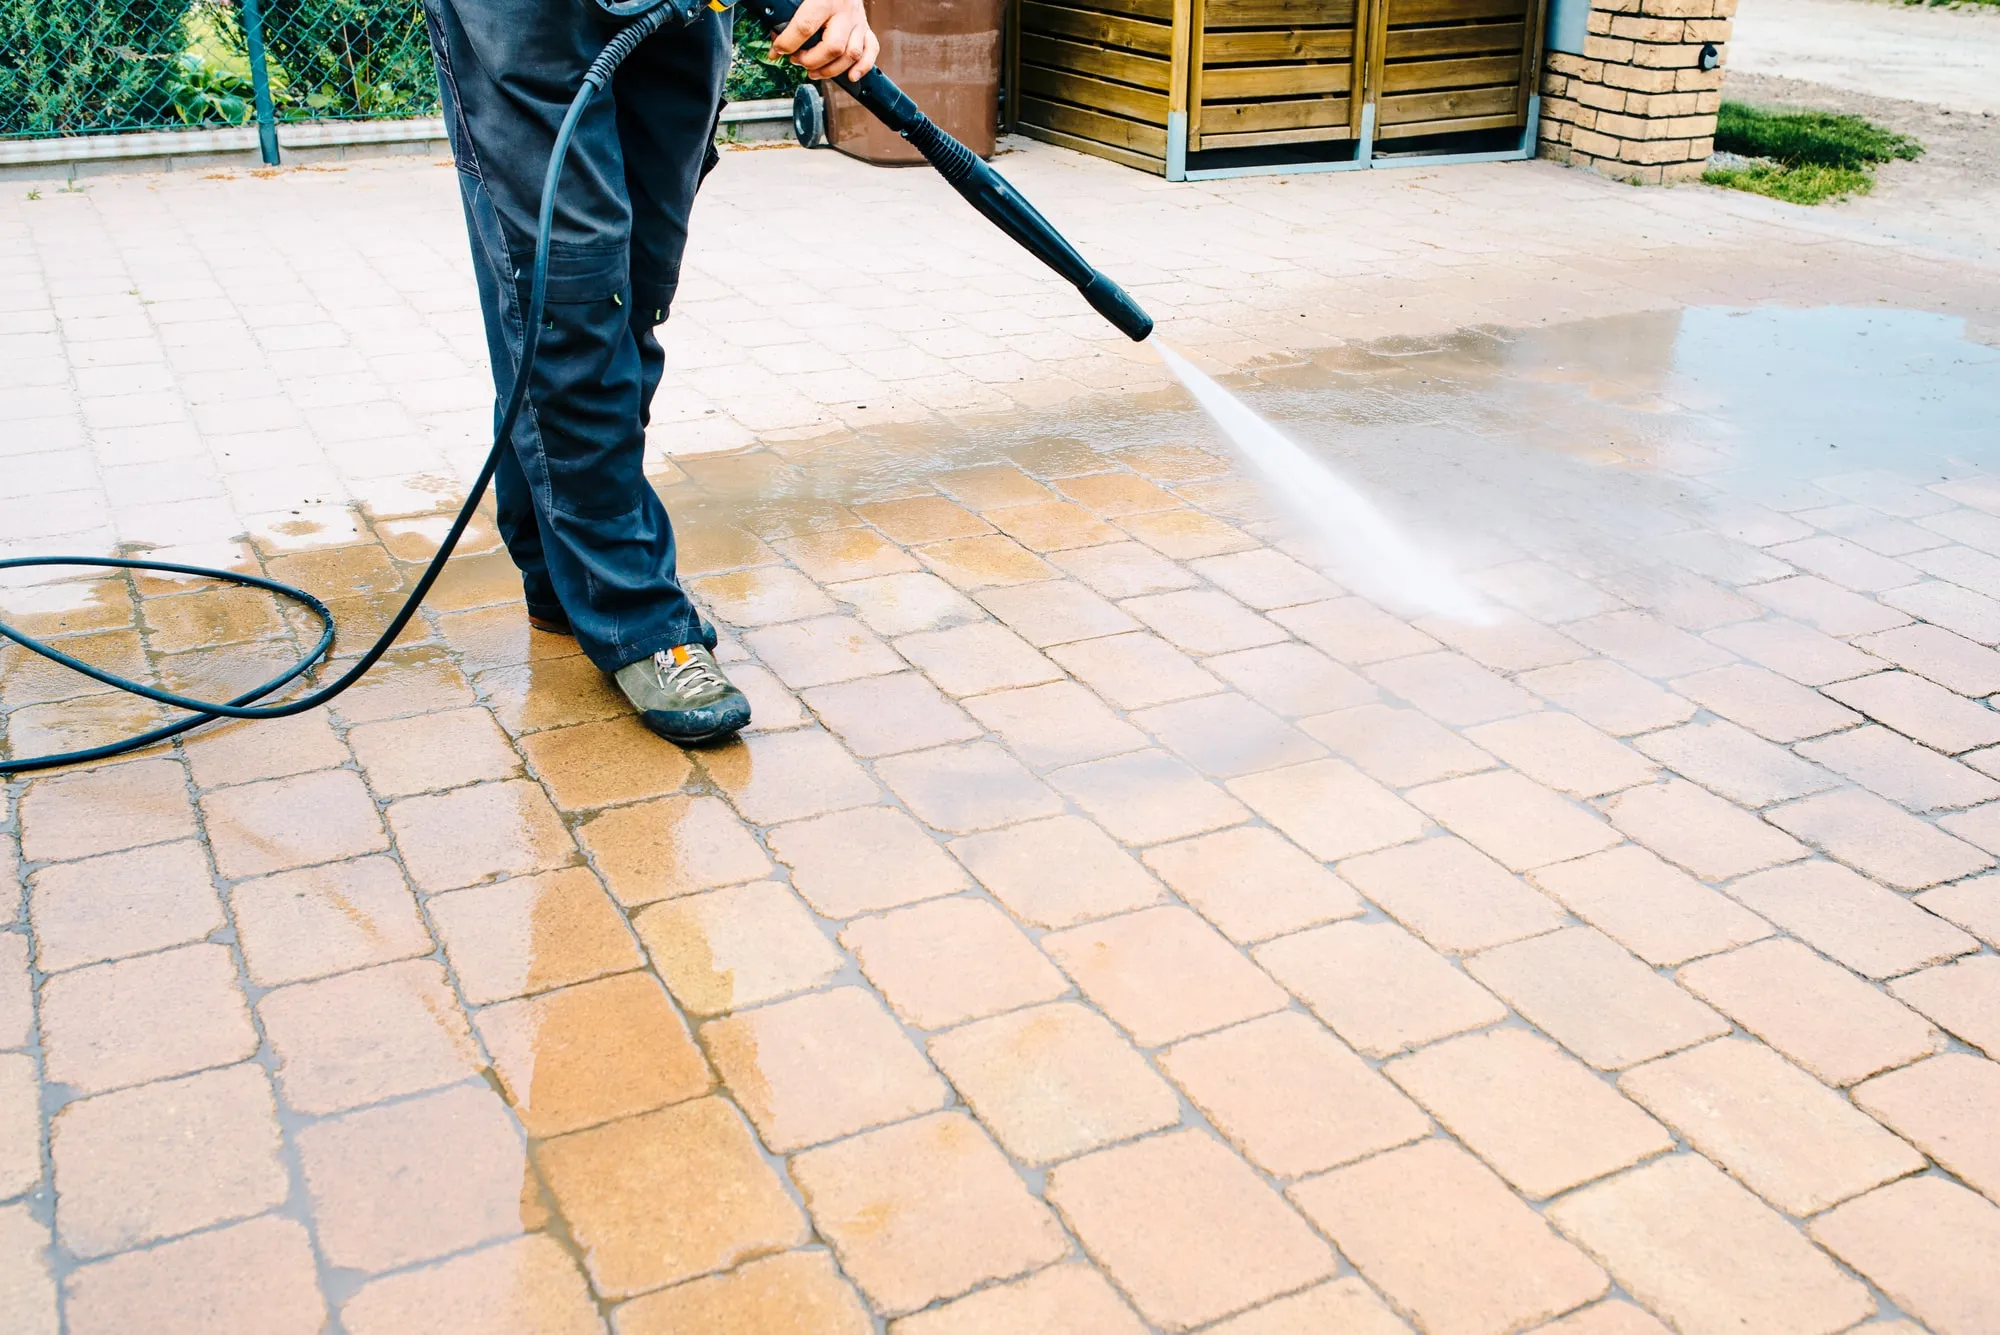
Painted siding needs a cleaning method that respects both the substrate and the coating’s condition. Inspect for loose paint, cracks, vulnerable joints, and older finishes before selecting equipment. A dirty wall should not automatically receive the strongest available pressure.
Identify where water could enter behind cladding or through windows and vents. Protect electrical equipment, plants, and neighboring property according to the actual method and products. Assess uncertain coatings before any process that could release chips or contaminated debris.
Use a discreet test area and inspect it after drying for lifting, damage, and remaining residue. If repainting follows, allow the surface to meet the coating system’s moisture requirements. Record any deterioration revealed by cleaning so it becomes part of the repair plan. A successful wash leaves sound siding suitable for its next use rather than a temporarily clean appearance with hidden water or coating damage.
Choose pressure-cleaning methods by substrate
Pressure cleaning is a method, not a guarantee that more force will improve the result. Identify the surface, coating condition, joints, and nearby materials before selecting equipment settings or attachments. Concrete, wood, siding, and delicate painted details should not be treated as interchangeable. Follow the equipment and surface manufacturers’ guidance.
Test in an inconspicuous area and keep the work controlled. Avoid directing water into electrical equipment, openings, vulnerable joints, or behind cladding. Do not use a pressure washer from an unstable position or improvised elevated access. Older coatings and unknown contamination need assessment before a process that could release debris.
Use compatible cleaners only as instructed, with appropriate protection and runoff management. Inspect the dry result for remaining soil and any damage. Lines, gouges, or raised fibers may indicate an unsuitable method rather than a need for another stronger pass. If coating follows cleaning, allow the substrate to reach the required moisture condition. A successful wash leaves a sound surface ready for its next use, not merely a temporarily brighter wet appearance.
Use exterior washing as preparation, not demolition
Exterior cleaning should remove the soil that interferes with the planned finish without damaging the substrate. Identify siding, trim, joints, windows, and nearby materials before choosing equipment or cleaner. High pressure is not a universal preparation method, and increasing force can turn a dirty surface into a damaged one.
Test the proposed method in a discreet area. Protect electrical equipment, openings, plants, and neighboring property as appropriate. Keep water from being driven behind siding, into vents, or through vulnerable joints. Follow cleaner and equipment directions, including requirements for protective equipment and runoff handling. Assess older coatings before any process that could release paint chips or dust.
After cleaning, inspect the surface again. Dirt can conceal peeling coatings, cracks, or soft areas that need a separate repair plan. Allow the material to reach the moisture condition required by the coating manufacturer rather than assuming a fixed number of hours is sufficient. A clean-looking exterior is only ready for paint when the surface is sound, suitably prepared, and dry enough for the selected system.
Respect the material and layout of siding
Identify the siding rather than treating every wall as the same substrate. Wood, fiber cement, vinyl, metal, and manufactured panels have different preparation and coating requirements. Look for manufacturer information and previous product records. If the material is uncertain, verify it before selecting a finish or applying an aggressive cleaner.
Inspect the joints, lower edges, fasteners, and areas around penetrations. Damaged or loose components may need repair before painting. Preserve drainage details and movement gaps; a visually continuous coating is not a reason to seal every opening. Plan how each board or panel will be coated without leaving arbitrary stopping marks in the middle of a prominent surface.
Follow the manufacturer’s guidance for coating compatibility, color restrictions, and preparation. A finish that works on one siding material may be inappropriate for another. Use a test area when adhesion or appearance is uncertain. During the final inspection, look along the siding from both directions to check coverage on exposed edges and profiles, while confirming that functional joints and openings remain clear.
Inspect both the failed paint and the material beneath it
Before loose coating is removed, photograph the pattern and note which edges or areas failed first. Look for links to water, sun exposure, handling, or an earlier repair. The visible flake is evidence of a weak layer, but its appearance alone does not prove why that layer failed.
Identify the remaining coating and substrate as far as possible, and assess older finishes before disturbance. Correct active moisture, contamination, or unsound material through an appropriate repair plan. Preparation should establish a suitable base rather than leave loose edges buried beneath a fresh coat.
Test uncertain product combinations through the complete proposed system and inspect after the required interval. Record the successful preparation and monitor the original failure locations after completion. If peeling returns in the same pattern, revisit the cause instead of assuming that a higher-priced paint or thicker application will solve it. A useful repair combines the right surface condition with compatible coatings and a realistic plan for the exposure the area continues to receive.
Check older finishes before disturbing them
The age and history of a surface matter before sanding, scraping, or demolition. An attractive top layer does not tell you what is underneath it. If the building or finish history is uncertain, pause before turning a cosmetic project into dust-producing work. Identification and assessment should come before the choice of tools.
For older painted surfaces, consult the EPA’s lead-safe renovation guidance and use an appropriately qualified professional where needed. Do not treat this general painting guide as a hazardous-material assessment. Similarly, do not disturb suspect ceiling or other materials simply to see how easily they come off.
Keep the distinction between ordinary preparation and specialized work clear in the estimate. Ask who will assess the material, what findings could change the scope, and when finishing can safely resume. The fact that a company offers painting or cleaning does not by itself establish qualifications for hazardous-material work. Taking time to resolve uncertainty protects the project from an inappropriate preparation method and helps everyone understand what is actually included.
Make exterior access and boundaries clear
Work near a property boundary can affect more than the surface being finished. Identify adjoining vehicles, outdoor furniture, paths, windows, and planting before setting up. Discuss access arrangements with the relevant owner or manager when another property’s space is needed. Do not assume that a narrow gap or shared driveway will remain available throughout the job.
Choose the application and cleaning methods with the surrounding area in mind. Overspray, dust, runoff, and equipment movement require suitable controls. Weather and wind can change the risk during the day, so protection should be reviewed as conditions change. A method that works on an isolated wall may not suit a boundary beside parked cars or open windows.
Record agreed working areas and storage locations in the project plan. Keep shared routes clear and provide notice when temporary restrictions are needed. Inspect surrounding surfaces before removing protection, then tidy the working area as each stage ends. Clear boundaries make it easier to complete the finishing work without avoidable damage or misunderstandings about who is responsible for adjacent property.
Coordinate exterior work with planting and outdoor belongings
An exterior project needs working room beyond the wall itself. Walk the perimeter and identify planters, furniture, hoses, lighting, and branches that restrict access. Decide what can be moved and what needs protection before the crew arrives. Avoid making last-minute changes that damage landscaping or leave tools balanced in a narrow space.
Discuss plant protection in relation to the cleaning products and work method. Follow product directions and applicable runoff requirements. Coverings should not be left in place in a way that overheats or damages plants, and they should not create slippery routes. Delicate items may need temporary relocation rather than a loosely draped sheet.
Plan where equipment and removed components will be stored. Keep access to utilities, doors, and emergency routes clear. After work, inspect the area before returning furniture against newly finished surfaces. Remove masking and debris carefully, and follow the coating’s return-to-use guidance. This coordination helps preserve both the new finish and the outdoor space that frames it, while making the working area more predictable.
Make a daily exterior go-or-wait decision
Before each exterior stage, compare the actual conditions with the selected product’s technical requirements. Check the substrate, the planned elevation, and the drying period ahead. Shade, sun, dew, and overnight changes can make today’s suitable working area different from yesterday’s even when the general forecast sounds similar.
Agree in advance on who decides to postpone or move to another section. A weather delay should not lead to shortened preparation or an application outside the product’s limits. Keep complete boards, panels, or elevations in mind when choosing stopping points, so an interruption does not create an awkward visual boundary.
Review recently washed or previously wet areas separately. Their readiness should be established through the relevant material and coating guidance, not inferred from a dry-looking face. Record unusual conditions if they may help explain later performance. The purpose of a daily check is to connect the schedule to the real surface and finish system. It avoids treating a seasonal label, a warm afternoon, or a promised completion date as proof that all conditions are acceptable.
Planning your next step
Use the inspection notes and sample decisions from this guide to describe the work you want completed. Bring photographs of uncertain areas and list the surfaces that should be included before comparing estimates. For broader background, read our The Ultimate Guide to Power washing Your House 2022, or review AK Painters Pro Corp.’s services.
When you are ready to discuss the scope, request a free estimate. Related reading: