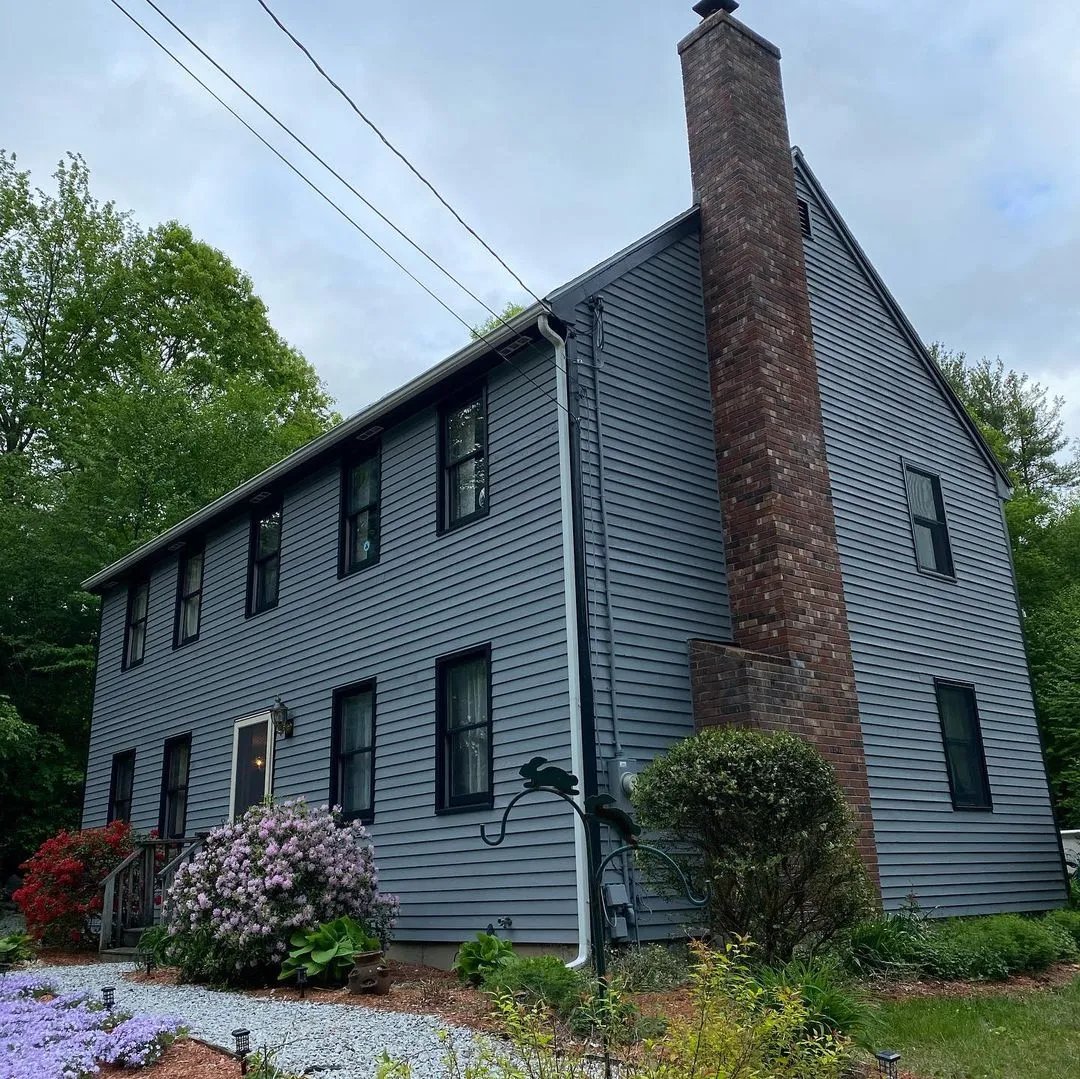
A visible foundation band can make the lower edge of a house look unfinished, but coating it requires a material and moisture assessment. Identify the masonry, any existing sealer or paint, and signs of persistent dampness or deterioration. Decorative finishing should not be presented as waterproofing or a repair to structural problems.
Discuss whether a coating is appropriate for the assembly and exposure. The product system should follow the substrate and manufacturer’s requirements, including preparation and compatibility with previous treatments. Preserve drainage, ventilation, and access details that need to remain open.
Sample the color beside the siding, landscaping, and paving from normal viewing distances. Clarify the exact upper and lower boundaries of the work and any inaccessible areas. At handover, inspect the dry surface and keep product records along with observations about moisture. If deposits or damp patterns return, investigate the underlying condition instead of repeatedly covering the same evidence.
Check masonry moisture and coating compatibility
Brick, concrete, and other masonry surfaces need a different assessment from painted drywall. Identify whether the surface is bare, previously coated, sealed, damp, or showing deposits. The source and movement of moisture matter. A new coating can be inappropriate if it traps moisture or is applied over an unresolved building condition.
Have persistent dampness, crumbling material, or recurring deposits evaluated before choosing a cosmetic solution. Follow the substrate and coating manufacturers’ requirements for cleaning, curing, surface condition, and compatible primers. Do not assume an all-purpose wall paint or sealer is suitable simply because the desired color is available in it.
Use a representative sample to assess appearance and preparation. Porous or textured surfaces may consume and distribute material differently from a smooth painted wall. Work the finish according to its application instructions and inspect recesses without flooding joints. Preserve drainage and movement details. Keep records of any previous coating or sealer you can identify, since future work will depend on compatibility with the complete system rather than the top color alone.
Resolve moisture causes before covering the evidence
A stain, blister, or peeling edge can be a symptom rather than the main problem. Look at the location and pattern. Damage below a window, along a ceiling joint, or near plumbing deserves a different investigation from a scuff caused by a chair. Repainting may conceal a mark temporarily without correcting the condition that produced it.
Have leaks, recurring condensation, or other suspected moisture sources assessed and corrected before finishing. Let affected materials reach the condition required by the repair and coating products. Surface appearance alone is not a reliable way to decide that a previously wet assembly is ready. Where necessary, the appropriate trade should verify the repair and drying plan.
Once the cause is addressed, evaluate whether the substrate remains sound. Soft, swollen, crumbling, or persistently contaminated materials may need work beyond cosmetic painting. A suitable stain-blocking system can address a residual mark on a sound surface, but it is not a substitute for correcting active moisture. Keep photographs and watch the area after the project so a returning pattern is recognized early.
Define exactly what will be finished
A useful project description names the surfaces instead of relying on the name of the room. Walls, ceilings, baseboards, window casings, doors, and built-in shelves may need different preparation and different coatings. Walk through the space and list each item that belongs in the job. Identify both faces of doors, closet interiors, and the edges that are visible only when something is opened.
Separate appearance changes from repairs. A color change on sound paint is different from work on peeling layers, damaged drywall, or water-stained trim. Mark uncertain areas for inspection before deciding how much finishing work is reasonable. Photographs taken in normal daylight can help you remember the condition and discuss it consistently.
Keep a second list of exclusions. Furniture refinishing, electrical work, leak repairs, and moving large appliances should never become assumed tasks simply because they are near a painted surface. With clear boundaries, you can compare estimates and evaluate the finished result against the same expectations. It also becomes easier to divide a larger improvement into manageable stages.
Make the approval sample answer a specific question
Decide what you need to learn from a sample before making it. Color, adhesion, stain blocking, texture matching, and cleaning response are separate questions. A tiny decorative swatch may answer the first while providing little evidence about the others. Choose a location or material that represents the uncertainty you actually face.
Document the trial in a short sequence: existing condition, cleaning, repair or preparation, primer if specified, finish, and evaluation time. Use the same tools and products planned for the wider job. If a stage changes, repeat the sample so approval still refers to the real system.
Inspect after the manufacturer’s required interval and under the lighting that matters to the space. Record whether the result was accepted and what limitations remain. For example, a successful color trial on smooth scrap does not prove that an old textured wall will look identical. Keep the approved reference available until handover. This makes the sample a practical decision tool and avoids treating an attractive wet patch as proof that every preparation question has been resolved.
Use exterior washing as preparation, not demolition
Exterior cleaning should remove the soil that interferes with the planned finish without damaging the substrate. Identify siding, trim, joints, windows, and nearby materials before choosing equipment or cleaner. High pressure is not a universal preparation method, and increasing force can turn a dirty surface into a damaged one.
Test the proposed method in a discreet area. Protect electrical equipment, openings, plants, and neighboring property as appropriate. Keep water from being driven behind siding, into vents, or through vulnerable joints. Follow cleaner and equipment directions, including requirements for protective equipment and runoff handling. Assess older coatings before any process that could release paint chips or dust.
After cleaning, inspect the surface again. Dirt can conceal peeling coatings, cracks, or soft areas that need a separate repair plan. Allow the material to reach the moisture condition required by the coating manufacturer rather than assuming a fixed number of hours is sufficient. A clean-looking exterior is only ready for paint when the surface is sound, suitably prepared, and dry enough for the selected system.
Select primer for the problem it needs to solve
Primer is not one universal product. Bare porous material, glossy existing paint, residual staining, and exposed metal present different requirements. Start by identifying the substrate and the condition of the existing coating. Then choose a primer and finish that are explicitly compatible with that situation and with each other.
Avoid relying on a marketing phrase alone. A combined paint-and-primer product does not remove every need for separate preparation or a specialized primer. Read the technical information for the intended surface and discuss uncertain combinations with the manufacturer or supplier. A trial area is especially useful where the existing finish is unknown or where staining has returned through earlier paint.
Apply the primer at the recommended coverage and allow the stated interval before the next coat. A heavy layer is not a reliable substitute for choosing the correct system. Inspect for bleed-through, lifting, roughness, or uneven absorption before proceeding. The purpose of the primer stage is to establish a suitable base; if that stage fails, more topcoat usually makes the eventual correction larger.
Create a practical exterior maintenance inspection
Inspect from safe ground-level positions before planning any work at height. Walk the property with a notebook or camera and compare exposed edges, sheltered areas, and places where water collects. Look for new peeling, open joints, damaged boards, staining, and vegetation touching the finish. Mark locations clearly rather than relying on general descriptions such as “the back wall.”
Distinguish changes in appearance from active deterioration. Surface dirt may need cleaning, while recurring dampness or soft material needs assessment. Avoid scraping suspicious areas during a preliminary walk, particularly where coating age is unknown. The inspection should gather information without creating dust or damage.
Prioritize repairs that address causes of failure before optional appearance changes. A leaking gutter or rubbing gate can affect the next finish just as it affected the last one. Share the observations when requesting an estimate, and ask which areas require closer professional inspection. Repeat the walk after the work and during later maintenance so developing patterns can be compared with a useful baseline.
Ask each proposal to describe the same finished result
Give every estimator the same surface list and condition notes. Include photographs of uncertain details and identify access restrictions that affect the work. Ask how preparation, repair, protection, application, and cleanup are represented so a lower price is not simply an estimate for fewer tasks.
Review the proposed products and the intended appearance together. A color change on a sound surface differs from a smoothness upgrade, extensive grain filling, or repair of a damaged substrate. A representative sample can make those differences easier to understand before the main work begins.
Clarify exclusions and the process for additional findings. Unexpected damage should lead to a documented scope decision with cost and timing implications, not an informal assumption. Include handover information and care instructions in the discussion. When comparing proposals, focus on the concrete work and its limits rather than unsupported lifespan or savings claims. This creates a fairer comparison and leaves an agreed reference for deciding whether the completed project matches what was actually purchased.
Planning your next step
Use the inspection notes and sample decisions from this guide to describe the work you want completed. Bring photographs of uncertain areas and list the surfaces that should be included before comparing estimates. For broader background, read our The Ultimate Guide to Exterior House Painting in 2022, or review AK Painters Pro Corp.’s services.
When you are ready to discuss the scope, request a free estimate. Related reading: