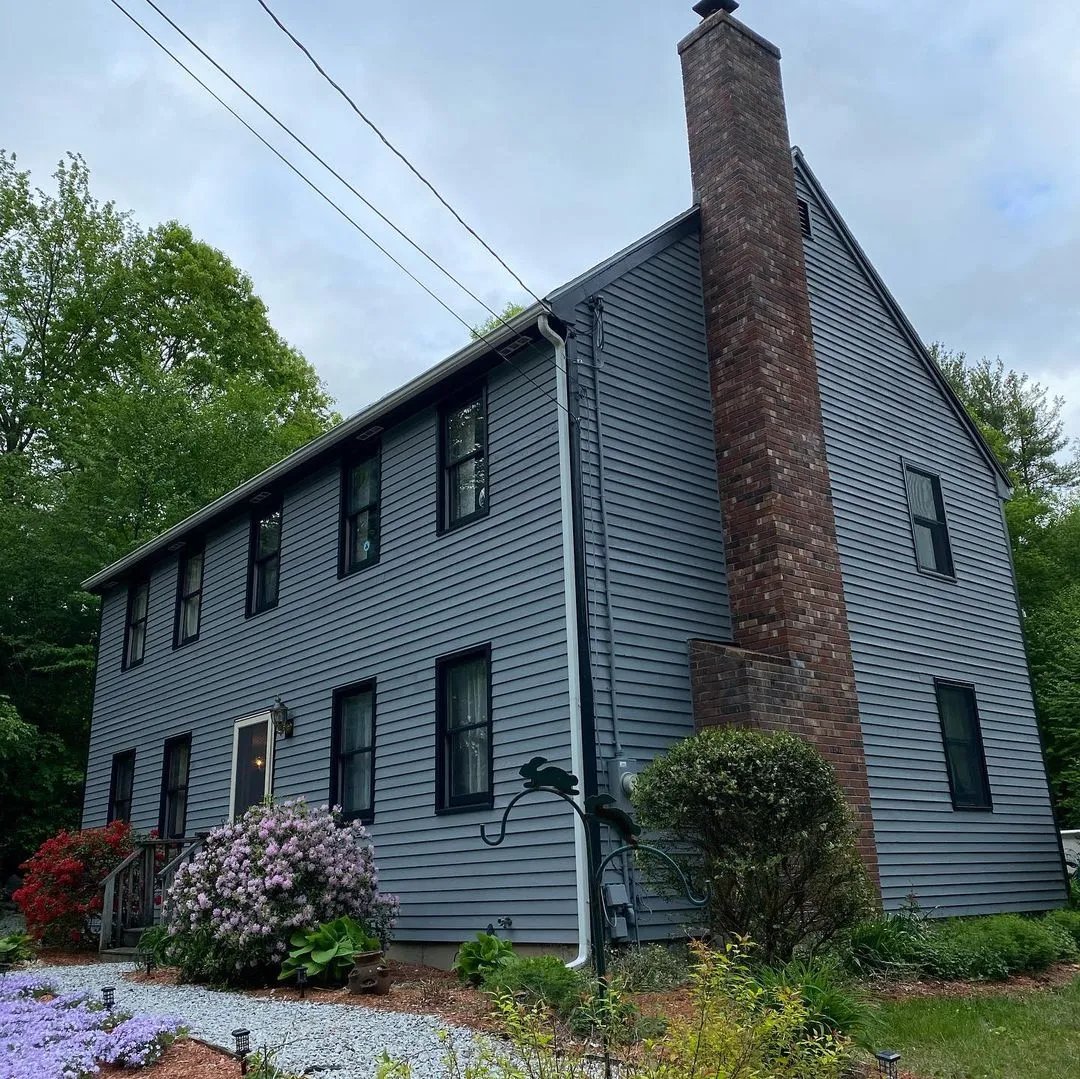
An exterior masonry wall needs a moisture and material assessment before it needs a color decision. Identify the masonry, any existing paint or sealer, and visible deposits or deterioration. Persistent dampness or crumbling areas should be investigated before a coating is selected.
Discuss whether painting is appropriate for the particular assembly and exposure. The chosen system must be compatible with the substrate and previous treatments, and it should not be presented as a universal solution to water entry. Necessary building repairs belong ahead of the decorative finish.
Use a representative sample that includes the actual cleaning and preparation sequence. Texture and porosity can change both appearance and application needs. Plan manageable sections and preserve movement and drainage details. At handover, inspect recesses, edges, and transitions without assuming every visual variation is a missed coat. Keep the product history for future work, since compatibility depends on the system already present beneath the new color.
Check masonry moisture and coating compatibility
Brick, concrete, and other masonry surfaces need a different assessment from painted drywall. Identify whether the surface is bare, previously coated, sealed, damp, or showing deposits. The source and movement of moisture matter. A new coating can be inappropriate if it traps moisture or is applied over an unresolved building condition.
Have persistent dampness, crumbling material, or recurring deposits evaluated before choosing a cosmetic solution. Follow the substrate and coating manufacturers’ requirements for cleaning, curing, surface condition, and compatible primers. Do not assume an all-purpose wall paint or sealer is suitable simply because the desired color is available in it.
Use a representative sample to assess appearance and preparation. Porous or textured surfaces may consume and distribute material differently from a smooth painted wall. Work the finish according to its application instructions and inspect recesses without flooding joints. Preserve drainage and movement details. Keep records of any previous coating or sealer you can identify, since future work will depend on compatibility with the complete system rather than the top color alone.
Keep the moisture investigation separate from cosmetic repair
Map the damaged area before cleaning or coating removes the evidence. Note its position relative to windows, plumbing, roof edges, ground level, and regularly wet objects. Compare whether the pattern changes after weather or normal use. These observations help the appropriate professional investigate the source.
Resolve the cause and establish that the material is suitable for repair before choosing paint or stain. Surface dryness alone may not describe the condition inside an assembly. Softened, swollen, crumbling, or persistently contaminated material needs assessment beyond a cosmetic finish.
Once the repair and drying requirements are met, select a compatible preparation and coating system for the sound substrate. A residual stain may need a specialized primer, but that step should follow the investigation rather than replace it. Retain photographs and the repair history, then check the location later. If the same pattern returns, use that evidence to reassess the cause instead of automatically adding another layer that temporarily hides the warning sign.
Use exterior washing as preparation, not demolition
Exterior cleaning should remove the soil that interferes with the planned finish without damaging the substrate. Identify siding, trim, joints, windows, and nearby materials before choosing equipment or cleaner. High pressure is not a universal preparation method, and increasing force can turn a dirty surface into a damaged one.
Test the proposed method in a discreet area. Protect electrical equipment, openings, plants, and neighboring property as appropriate. Keep water from being driven behind siding, into vents, or through vulnerable joints. Follow cleaner and equipment directions, including requirements for protective equipment and runoff handling. Assess older coatings before any process that could release paint chips or dust.
After cleaning, inspect the surface again. Dirt can conceal peeling coatings, cracks, or soft areas that need a separate repair plan. Allow the material to reach the moisture condition required by the coating manufacturer rather than assuming a fixed number of hours is sufficient. A clean-looking exterior is only ready for paint when the surface is sound, suitably prepared, and dry enough for the selected system.
Make the approval sample answer a specific question
Decide what you need to learn from a sample before making it. Color, adhesion, stain blocking, texture matching, and cleaning response are separate questions. A tiny decorative swatch may answer the first while providing little evidence about the others. Choose a location or material that represents the uncertainty you actually face.
Document the trial in a short sequence: existing condition, cleaning, repair or preparation, primer if specified, finish, and evaluation time. Use the same tools and products planned for the wider job. If a stage changes, repeat the sample so approval still refers to the real system.
Inspect after the manufacturer’s required interval and under the lighting that matters to the space. Record whether the result was accepted and what limitations remain. For example, a successful color trial on smooth scrap does not prove that an old textured wall will look identical. Keep the approved reference available until handover. This makes the sample a practical decision tool and avoids treating an attractive wet patch as proof that every preparation question has been resolved.
Ask what condition the primer is intended to address
Begin the primer decision with a short description of the surface: bare or coated, porous or sealed, stained or clean, sound or failing. This description helps identify the problem the primer needs to solve. It also reveals conditions, such as active moisture or loose material, that require correction before any primer is appropriate.
Check the proposed primer’s compatibility with the substrate, existing finish, and topcoat. Where the history is uncertain, consult technical guidance and make a full-system trial. Do not treat the phrase “paint and primer” as permission to skip every separate bonding or stain-blocking requirement.
Apply at the specified rate and respect the next-coat interval. Inspect after drying for discoloration, lifting, roughness, or uneven appearance that indicates more investigation is needed. Keep the selected system in the project record, including any changes made after testing. Primer is a functional part of preparation; choosing it through the actual surface condition is more useful than adding an arbitrary extra layer and assuming that thickness will solve an unidentified problem.
Schedule exterior work around surface conditions
A clear forecast is only one part of an exterior painting decision. The surface itself must meet the coating’s requirements, and conditions need to remain suitable for the specified drying period. Morning dew, a shaded wall, direct sun, and an approaching temperature change can make different sides of the same building behave differently.
Use the technical data for the selected product to establish acceptable temperature, moisture, and weather limits. Do not apply a universal rule based on the season or the calendar. A warm afternoon does not cancel a cold night, and a surface can remain damp after the surrounding air feels comfortable.
Build flexibility into the schedule. Plan which elevation can be worked on safely and effectively at each stage, and identify where work can stop at a natural boundary. Keep a clear arrangement for postponements rather than treating a weather delay as a reason to rush preparation or recoating. Record unusual conditions if a problem develops later. The best schedule is one that supports the coating system and the actual building, not just a promised start date.
Compare estimates by the work they include
Two prices are difficult to compare if they describe different work. Ask for a written scope that identifies surfaces, preparation, repairs, coating products, and the areas excluded from the job. Clarify whether hardware removal, furniture moving, and final cleanup are included. A short description such as “paint room” leaves too much room for different assumptions.
Discuss how unexpected conditions will be handled. Hidden damage, loose existing coatings, or additional repair needs may not be clear until preparation begins. Agree that changes should be explained and approved before extra work proceeds. Ask how those changes affect both cost and schedule, rather than focusing on price alone.
Review the handover as part of the estimate. Product records, leftover materials where appropriate, care instructions, and a final walkthrough help you maintain the finish afterward. Avoid comparing proposals through an unsupported promise about how many years a finish will last. Exposure, use, preparation, and maintenance all matter. A specific, understandable plan gives you a stronger basis for choosing work than a vague assurance attached to a low total.
Create a practical exterior maintenance inspection
Inspect from safe ground-level positions before planning any work at height. Walk the property with a notebook or camera and compare exposed edges, sheltered areas, and places where water collects. Look for new peeling, open joints, damaged boards, staining, and vegetation touching the finish. Mark locations clearly rather than relying on general descriptions such as “the back wall.”
Distinguish changes in appearance from active deterioration. Surface dirt may need cleaning, while recurring dampness or soft material needs assessment. Avoid scraping suspicious areas during a preliminary walk, particularly where coating age is unknown. The inspection should gather information without creating dust or damage.
Prioritize repairs that address causes of failure before optional appearance changes. A leaking gutter or rubbing gate can affect the next finish just as it affected the last one. Share the observations when requesting an estimate, and ask which areas require closer professional inspection. Repeat the walk after the work and during later maintenance so developing patterns can be compared with a useful baseline.
Planning your next step
Use the inspection notes and sample decisions from this guide to describe the work you want completed. Bring photographs of uncertain areas and list the surfaces that should be included before comparing estimates. For broader background, read our The Ultimate Guide to Exterior House Painting in 2022, or review AK Painters Pro Corp.’s services.
When you are ready to discuss the scope, request a free estimate. Related reading: