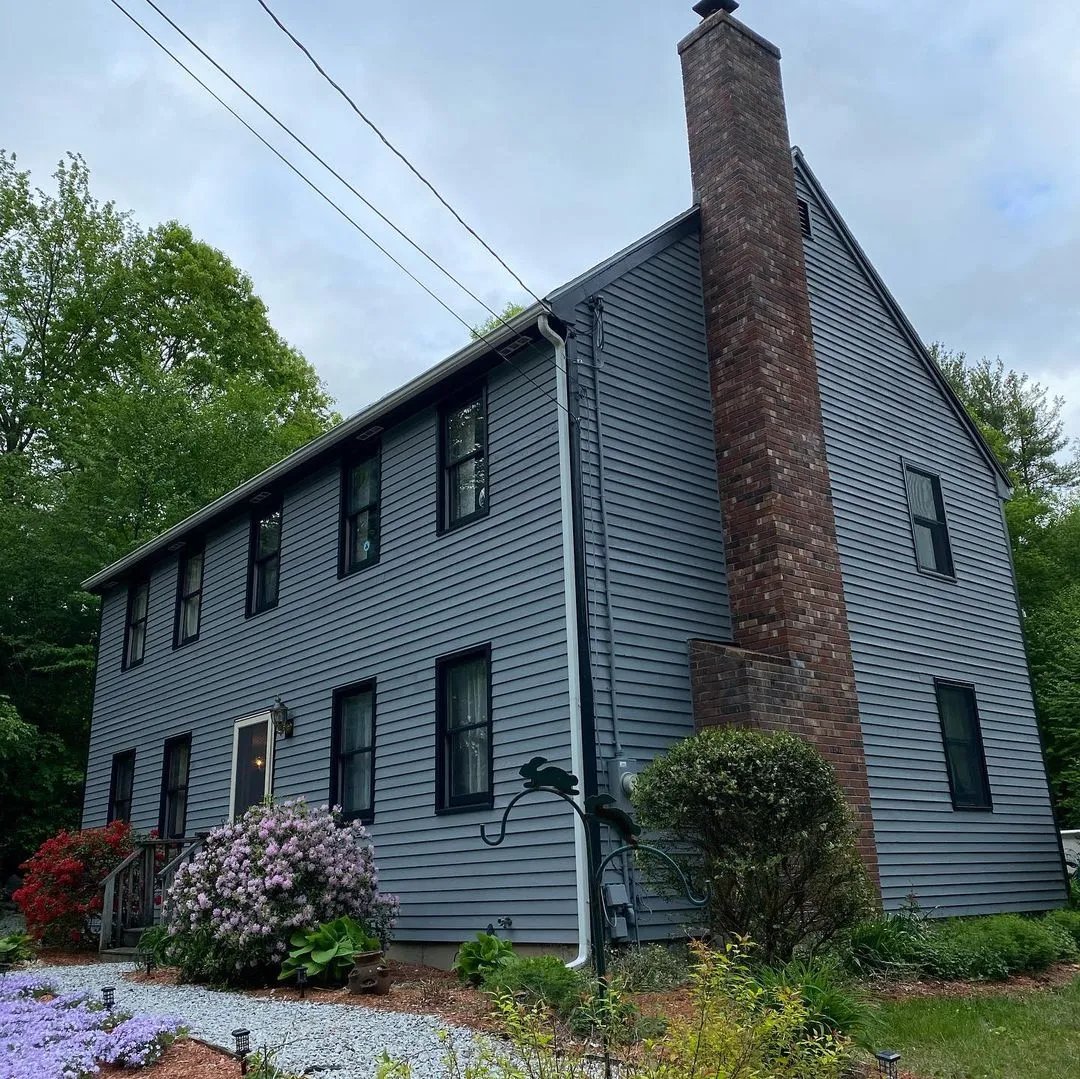
Exterior window trim is a small area with an important relationship to water. Inspect the head, sill, lower corners, and joints for staining, softness, and peeling before selecting paint. If the same locations fail repeatedly, investigate water entry or drainage rather than treating the pattern as ordinary cosmetic wear.
Identify the trim and window materials separately. Their coating requirements may differ, and seals, drainage openings, and moving components must remain functional. Discuss repair and sealant needs with the appropriate professional before filling every visible gap.
Use a sample to review the trim color beside the frame, siding, and glazing. Plan access and protection so application can reach edges without contaminating glass or hardware. At the final walkthrough, inspect from ground-level viewing positions and wherever safe close access is available. Keep the paint system and any observed water-management concerns recorded so later maintenance follows the condition of the assembly, not just the visible color.
Keep window drainage and movement working
Window finishing requires more than a neat line beside the glass. Identify the frame material, moving parts, weatherstripping, drainage openings, and manufacturer’s restrictions before preparing the surface. Paint must not block channels that manage water or bond components that need to move. If the window’s condition is uncertain, assessment comes before cosmetic work.
Clean accessible surfaces with a method appropriate to both the frame and glass. Avoid flooding joints or introducing cleaner into hardware. On older windows, investigate coating hazards before scraping or sanding. Repair needs such as soft material, failed glazing, or water entry should be distinguished from the painting scope.
Use the specified system for the actual substrate, and protect seals and operating surfaces. Allow adequate drying before moving or closing parts, following the relevant instructions. Check the window’s operation after the work and inspect the finish with daylight behind it, which can reveal missed edges. Keep a record of what was painted and what was deliberately left clear. Function and drainage are as important as the visible result.
Give exposed trim edges and joints special attention
Exterior trim often fails first at details rather than across its broad face. Inspect lower edges, end grain, horizontal ledges, joints, and places where water can linger. Note whether nearby gutters, roofing, or flashing direct water toward the area. Coating the face alone cannot correct a source of repeated wetting.
Have unsound material and water-entry problems assessed before painting. Cosmetic filler is not a substitute for a sound component. Once the substrate is suitable, follow the selected system’s instructions for preparation, priming, and coating exposed edges. Different trim materials may require different products even when they will share the same visible color.
Keep drainage openings and intentional movement joints functional. Use appropriate sealant only where the assembly calls for it, and respect the paint-ready time. Inspect the finished trim from below and from ordinary approach routes, since ledges and undersides can be easy to miss. Record areas that need ongoing observation, especially where exposure is heavier. Maintenance should include checking the building details that affect the trim, not just the paint film.
Keep the moisture investigation separate from cosmetic repair
Map the damaged area before cleaning or coating removes the evidence. Note its position relative to windows, plumbing, roof edges, ground level, and regularly wet objects. Compare whether the pattern changes after weather or normal use. These observations help the appropriate professional investigate the source.
Resolve the cause and establish that the material is suitable for repair before choosing paint or stain. Surface dryness alone may not describe the condition inside an assembly. Softened, swollen, crumbling, or persistently contaminated material needs assessment beyond a cosmetic finish.
Once the repair and drying requirements are met, select a compatible preparation and coating system for the sound substrate. A residual stain may need a specialized primer, but that step should follow the investigation rather than replace it. Retain photographs and the repair history, then check the location later. If the same pattern returns, use that evidence to reassess the cause instead of automatically adding another layer that temporarily hides the warning sign.
Treat gaps according to their purpose
Not every visible gap should be filled. Some joints allow movement, drainage, or ventilation, and sealing them can create problems. Identify whether the gap is a cosmetic trim joint, a moving connection, or part of the assembly’s intended function. If that purpose is uncertain, ask before closing it with caulk or paint.
For a suitable paintable joint, select a sealant compatible with both surfaces and the planned coating. Remove failed material using a method appropriate to the substrate, and follow the product’s requirements for clean, dry contact surfaces and joint dimensions. A bead spread over loose paint does not create a sound repair beneath it.
Shape the joint neatly without smearing unnecessary material across surrounding details. Allow the specified cure or paint-ready interval before finishing. Painting too early can create cracking or other appearance problems, and a product described as paintable may still have timing restrictions. Review the dried result before moving on. Good caulking should resolve the appropriate joint while preserving crisp profiles, moving parts, and any openings that must remain functional.
Select primer for the problem it needs to solve
Primer is not one universal product. Bare porous material, glossy existing paint, residual staining, and exposed metal present different requirements. Start by identifying the substrate and the condition of the existing coating. Then choose a primer and finish that are explicitly compatible with that situation and with each other.
Avoid relying on a marketing phrase alone. A combined paint-and-primer product does not remove every need for separate preparation or a specialized primer. Read the technical information for the intended surface and discuss uncertain combinations with the manufacturer or supplier. A trial area is especially useful where the existing finish is unknown or where staining has returned through earlier paint.
Apply the primer at the recommended coverage and allow the stated interval before the next coat. A heavy layer is not a reliable substitute for choosing the correct system. Inspect for bleed-through, lifting, roughness, or uneven absorption before proceeding. The purpose of the primer stage is to establish a suitable base; if that stage fails, more topcoat usually makes the eventual correction larger.
Keep brushed edges controlled and consistent
Use a brush suited to the coating and the size of the detail. A large brush that is efficient on broad trim may be awkward around a narrow profile, while a very small brush can make a long edge slow and uneven. Check the manufacturer’s tool recommendations and practice on the approved sample before working in a prominent location.
Load enough material to keep the stroke flowing without flooding corners. Follow the shape of the component and watch for accumulations on lower edges, inside profiles, and around joints. Work systematically so that adjoining wet areas meet cleanly. Repeatedly brushing a finish as it starts to set can leave more marks than it removes.
Protect neighboring materials using an appropriate combination of careful technique and compatible masking. Review edges after the required drying time rather than trying to correct every reflection in wet paint. If sanding or other preparation is needed between coats, follow the coating instructions and the surface’s safety requirements. A neat brushed edge comes from preparation, suitable tools, and timing, rather than pressure or speed alone.
Make a daily exterior go-or-wait decision
Before each exterior stage, compare the actual conditions with the selected product’s technical requirements. Check the substrate, the planned elevation, and the drying period ahead. Shade, sun, dew, and overnight changes can make today’s suitable working area different from yesterday’s even when the general forecast sounds similar.
Agree in advance on who decides to postpone or move to another section. A weather delay should not lead to shortened preparation or an application outside the product’s limits. Keep complete boards, panels, or elevations in mind when choosing stopping points, so an interruption does not create an awkward visual boundary.
Review recently washed or previously wet areas separately. Their readiness should be established through the relevant material and coating guidance, not inferred from a dry-looking face. Record unusual conditions if they may help explain later performance. The purpose of a daily check is to connect the schedule to the real surface and finish system. It avoids treating a seasonal label, a warm afternoon, or a promised completion date as proof that all conditions are acceptable.
Create a practical exterior maintenance inspection
Inspect from safe ground-level positions before planning any work at height. Walk the property with a notebook or camera and compare exposed edges, sheltered areas, and places where water collects. Look for new peeling, open joints, damaged boards, staining, and vegetation touching the finish. Mark locations clearly rather than relying on general descriptions such as “the back wall.”
Distinguish changes in appearance from active deterioration. Surface dirt may need cleaning, while recurring dampness or soft material needs assessment. Avoid scraping suspicious areas during a preliminary walk, particularly where coating age is unknown. The inspection should gather information without creating dust or damage.
Prioritize repairs that address causes of failure before optional appearance changes. A leaking gutter or rubbing gate can affect the next finish just as it affected the last one. Share the observations when requesting an estimate, and ask which areas require closer professional inspection. Repeat the walk after the work and during later maintenance so developing patterns can be compared with a useful baseline.
Planning your next step
Use the inspection notes and sample decisions from this guide to describe the work you want completed. Bring photographs of uncertain areas and list the surfaces that should be included before comparing estimates. For broader background, read our The Ultimate Guide to Exterior House Painting in 2022, or review AK Painters Pro Corp.’s services.
When you are ready to discuss the scope, request a free estimate. Related reading: