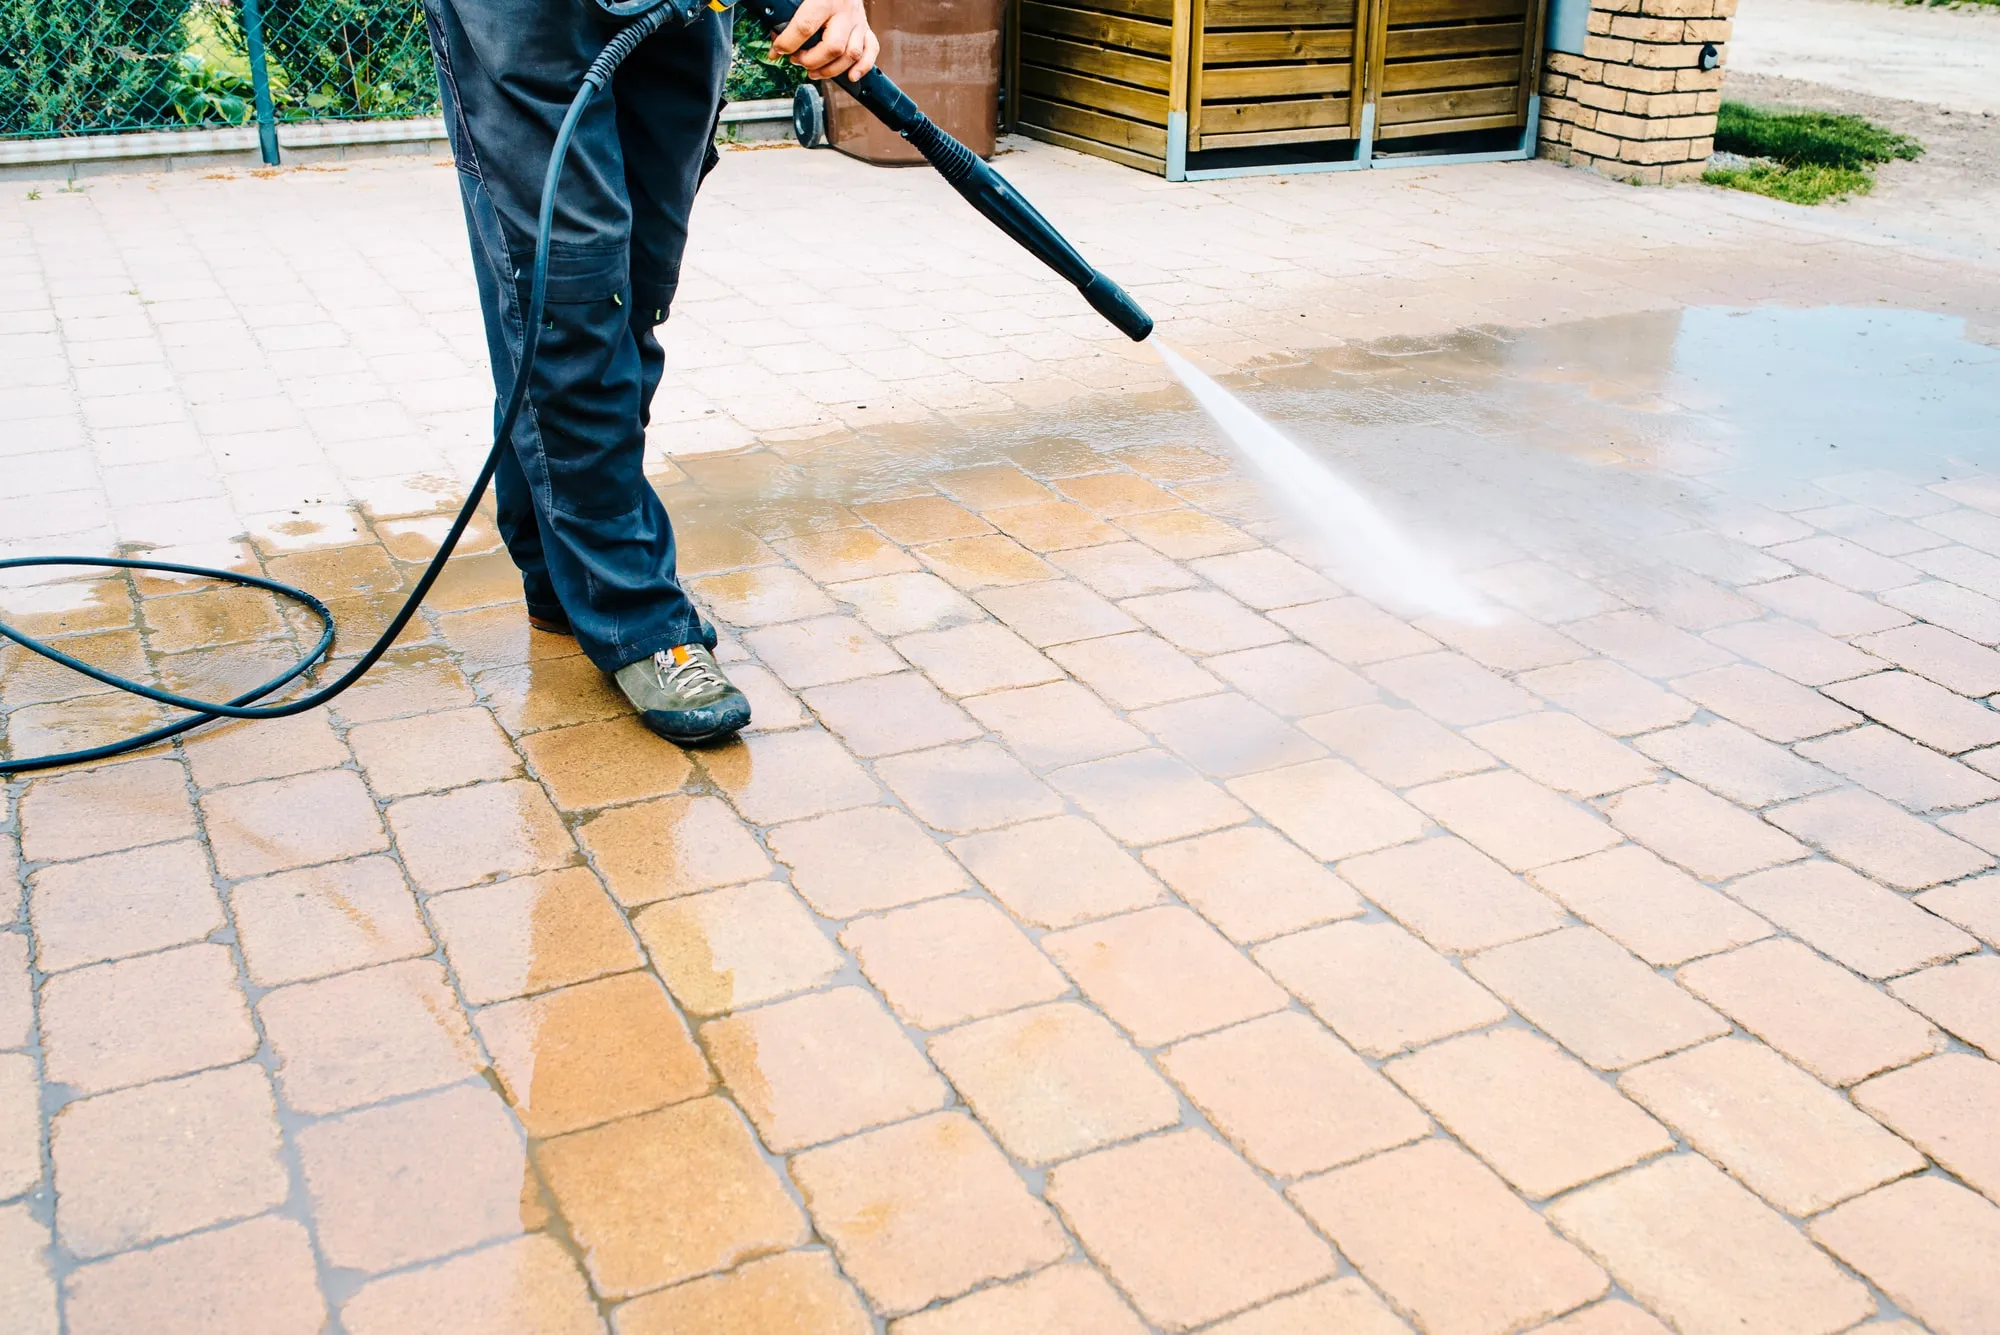
Preparing for a power wash begins with identifying what will be cleaned and what needs protection. Walk the property with the service provider and note windows, doors, vents, electrical equipment, outdoor furniture, and delicate planting. The plan should reflect the actual substrates and cleaning products.
Move portable belongings to an agreed location and arrange vehicle or pedestrian access. Clarify any use of neighboring space and identify surfaces excluded from the task. Older or failing coatings need assessment before a method that could release chips or debris is used.
Discuss how runoff and changing weather will be managed under applicable requirements. Keep people and pets outside the work zone until it is suitable for return. After the surfaces dry, review the result and any newly visible damage or repair needs. This preparation makes the visit more predictable and prevents an ordinary cleaning scope from expanding through assumptions about access, protection, or materials.
Choose pressure-cleaning methods by substrate
Pressure cleaning is a method, not a guarantee that more force will improve the result. Identify the surface, coating condition, joints, and nearby materials before selecting equipment settings or attachments. Concrete, wood, siding, and delicate painted details should not be treated as interchangeable. Follow the equipment and surface manufacturers’ guidance.
Test in an inconspicuous area and keep the work controlled. Avoid directing water into electrical equipment, openings, vulnerable joints, or behind cladding. Do not use a pressure washer from an unstable position or improvised elevated access. Older coatings and unknown contamination need assessment before a process that could release debris.
Use compatible cleaners only as instructed, with appropriate protection and runoff management. Inspect the dry result for remaining soil and any damage. Lines, gouges, or raised fibers may indicate an unsuitable method rather than a need for another stronger pass. If coating follows cleaning, allow the substrate to reach the required moisture condition. A successful wash leaves a sound surface ready for its next use, not merely a temporarily brighter wet appearance.
Coordinate exterior work with planting and outdoor belongings
An exterior project needs working room beyond the wall itself. Walk the perimeter and identify planters, furniture, hoses, lighting, and branches that restrict access. Decide what can be moved and what needs protection before the crew arrives. Avoid making last-minute changes that damage landscaping or leave tools balanced in a narrow space.
Discuss plant protection in relation to the cleaning products and work method. Follow product directions and applicable runoff requirements. Coverings should not be left in place in a way that overheats or damages plants, and they should not create slippery routes. Delicate items may need temporary relocation rather than a loosely draped sheet.
Plan where equipment and removed components will be stored. Keep access to utilities, doors, and emergency routes clear. After work, inspect the area before returning furniture against newly finished surfaces. Remove masking and debris carefully, and follow the coating’s return-to-use guidance. This coordination helps preserve both the new finish and the outdoor space that frames it, while making the working area more predictable.
Make exterior access and boundaries clear
Work near a property boundary can affect more than the surface being finished. Identify adjoining vehicles, outdoor furniture, paths, windows, and planting before setting up. Discuss access arrangements with the relevant owner or manager when another property’s space is needed. Do not assume that a narrow gap or shared driveway will remain available throughout the job.
Choose the application and cleaning methods with the surrounding area in mind. Overspray, dust, runoff, and equipment movement require suitable controls. Weather and wind can change the risk during the day, so protection should be reviewed as conditions change. A method that works on an isolated wall may not suit a boundary beside parked cars or open windows.
Record agreed working areas and storage locations in the project plan. Keep shared routes clear and provide notice when temporary restrictions are needed. Inspect surrounding surfaces before removing protection, then tidy the working area as each stage ends. Clear boundaries make it easier to complete the finishing work without avoidable damage or misunderstandings about who is responsible for adjacent property.
Plan movement through the work area
A project can interrupt daily routines even when it affects only one room. Decide where people will walk, where supplies will be stored, and which doors need to remain usable. Keep the route to essential rooms clear. If a surface lies beside the only entrance or stairway, the access plan deserves attention before any materials are opened.
Choose a staging area that does not block equipment, utilities, or emergency access. Tools and containers should not migrate into circulation paths as work continues. Plan where removed hardware, doors, or shelves will be kept so that they are protected and can be matched to their original locations later.
For an occupied home or workplace, communicate the schedule in simple terms: which area is unavailable, when the next update will be given, and who should answer questions. A drying surface may look finished before it is ready for contact. Use a clear temporary boundary rather than expecting everyone to recognize fresh paint. Review the arrangement each day, especially when the project moves from one room or elevation to another.
Set up protection around the way work will move
Trace the route from the entrance to the work area before laying coverings. Identify where tools turn corners, where parts will be stored, and where people need to pass. Protection should remain stable under those movements instead of becoming a loose obstacle that shifts each time something is carried through.
Match coverings to the risk. Dust containment, spill protection, and support for removed components are different needs. Test any adhesive product on a discreet compatible area and follow its removal timing. Delicate flooring, fresh coatings, wallpaper, and aged finishes may need another approach.
Check protection at each change of stage. Preparation debris should not remain where it can be dragged across finished surfaces during reassembly. Keep fittings, controls, labels, and moving parts free from coating as appropriate, and label hardware that is removed. Before normal use resumes, inspect the protected surfaces and remove coverings carefully. A good setup does more than catch the first drip; it remains useful through repairs, application, drying, cleanup, and the movement of belongings back into place.
Respect the material and layout of siding
Identify the siding rather than treating every wall as the same substrate. Wood, fiber cement, vinyl, metal, and manufactured panels have different preparation and coating requirements. Look for manufacturer information and previous product records. If the material is uncertain, verify it before selecting a finish or applying an aggressive cleaner.
Inspect the joints, lower edges, fasteners, and areas around penetrations. Damaged or loose components may need repair before painting. Preserve drainage details and movement gaps; a visually continuous coating is not a reason to seal every opening. Plan how each board or panel will be coated without leaving arbitrary stopping marks in the middle of a prominent surface.
Follow the manufacturer’s guidance for coating compatibility, color restrictions, and preparation. A finish that works on one siding material may be inappropriate for another. Use a test area when adhesion or appearance is uncertain. During the final inspection, look along the siding from both directions to check coverage on exposed edges and profiles, while confirming that functional joints and openings remain clear.
Turn a broad project request into a surface checklist
Stand in the space with a notebook and name each surface you expect to change. Include the details that are easy to overlook: inside returns, exposed ends, shelf backs, door edges, and accessible undersides. Mark items that stay as they are. This checklist becomes the common reference for the estimate, preparation, and final inspection.
For each included item, record the current condition and the intended result. “Change color on sound paint” is a different task from “repair damaged substrate and restore a uniform finish.” Identify uncertain areas for assessment rather than hiding them inside a general allowance.
Assign responsibilities for moving contents, disconnecting equipment, repairs by other trades, and disposal where relevant. Agree on how newly discovered work will be approved before it proceeds. Keep the list concise enough to use on site, with photographs for complicated locations. A clear scope gives routine decisions a reliable boundary and makes it easier to explain any change in time or cost without relying on assumptions about what the original room or service name included.
Inspect the result before putting everything back
Inspect the finished work under normal room lighting and from ordinary viewing positions. Look for missed edges, drips, uneven coverage, debris in the finish, and damage to neighboring surfaces. Check corners, the backs of accessible edges, and areas revealed when a door or drawer opens. Give the coating its appropriate drying time before judging the final appearance.
Separate workmanship concerns from underlying surface limitations that were discussed before work began. An old wall with a modest preparation scope will not necessarily resemble newly installed drywall. Comparing the result with the approved sample and written scope keeps the conversation specific and useful.
Make one clear list of items to review. Photographs and location notes are better than a vague statement that something “does not look right.” Discuss whether a spot repair will blend or whether a complete plane needs another coat. Finish by confirming that hardware functions, coverings are removed, and the care instructions are understood. A careful walkthrough is an opportunity to resolve details while the work and materials are still easy to identify.
Planning your next step
Use the inspection notes and sample decisions from this guide to describe the work you want completed. Bring photographs of uncertain areas and list the surfaces that should be included before comparing estimates. For broader background, read our The Ultimate Guide to Power washing Your House 2022, or review AK Painters Pro Corp.’s services.
When you are ready to discuss the scope, request a free estimate. Related reading: