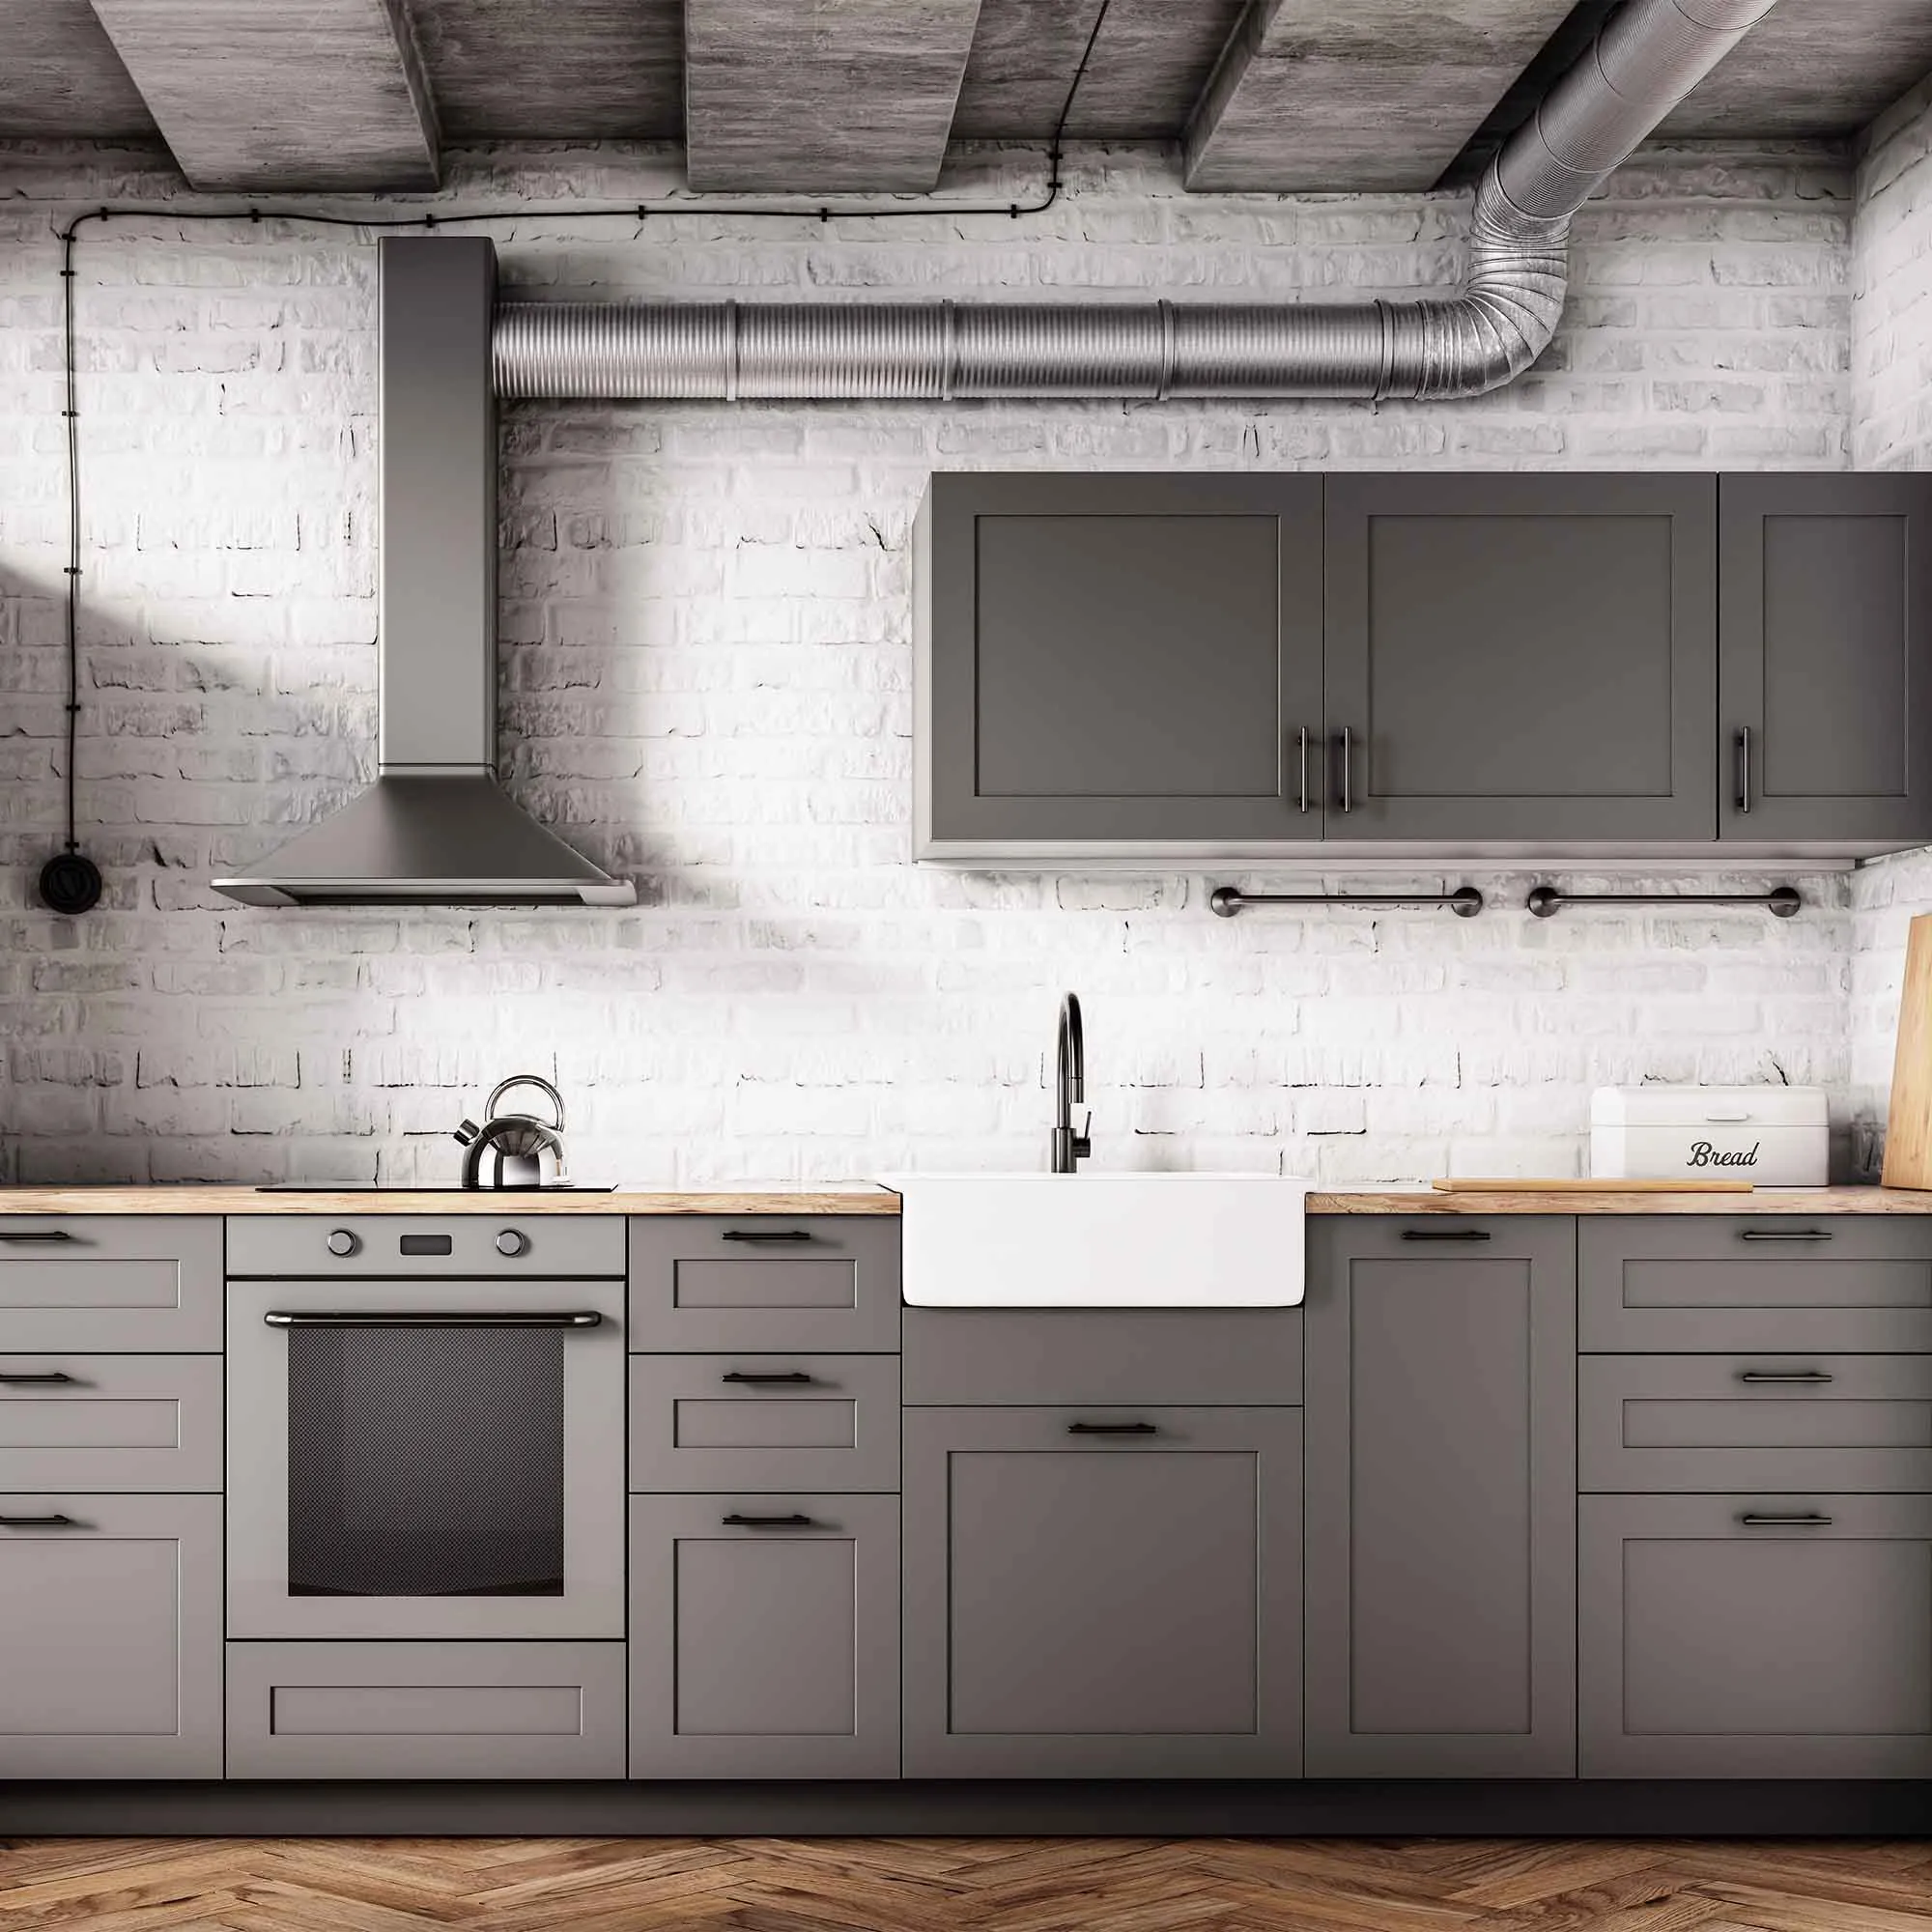
Painted cabinets need a care routine that begins with the coating’s curing requirements. Ask when normal wiping, deeper cleaning, and loading can resume, and keep those instructions with the product record. A familiar cleaner from the old kitchen may not be appropriate for the new finish.
Focus on areas near handles, cooking residue, and spills before soil becomes difficult to remove. Use compatible products and clean, soft tools, avoiding saturation of joints and edges. Test an inconspicuous location if the product history is uncertain, and inspect the dry result before repeating a stronger treatment.
Watch for rubbing doors, wet items left against panels, and abrasive contact from stored objects. Correcting those habits can prevent damage that cleaning cannot repair. If a mark remains, determine whether it is residue or worn finish before scrubbing harder. Keep leftover materials labeled, but evaluate any touch-up carefully because aging and sheen can make a small repair visible.
Protect cabinet finishes during reassembly and early use
Cabinet parts experience contact immediately when doors close and drawers slide. That makes drying and curing arrangements especially important. Follow the exact coating system’s guidance before handling, installing hardware, closing parts against stops, or returning stored objects. A surface that feels dry can still be vulnerable to pressure and abrasion.
Plan the kitchen’s temporary use around those restrictions. Keep frequently needed items accessible elsewhere and avoid rushing reassembly because storage has become inconvenient. When parts are ready, handle them with clean hands and use protected surfaces that will not imprint or scratch the finish. Check alignment so doors and drawers do not rub.
Ask when routine cleaning and normal loading can resume. Avoid adhesive accessories, shelf liners, bumpers, or pads until their compatibility and timing are clear. Record any care limitations alongside the product details. During the first period of use, correct mechanical rubbing promptly rather than trying to cover the resulting damage with more paint. Good reassembly preserves the work that went into preparation and application.
Test cleaning on a painted surface before treating the mark
Check the coating record and its curing requirements first. If that information is missing, treat the surface cautiously and choose a discreet area for testing. A painted finish may tolerate ordinary wiping while remaining vulnerable to strong chemicals, abrasives, or concentrated pressure.
Collect loose dust and grit with a suitable tool before introducing a compatible cleaner. Use controlled moisture and keep liquid away from damaged areas and electrical fittings. Follow the cleaner and coating guidance for residue removal, then wait until the test area dries before judging the appearance.
Compare sheen as well as color. A mark can disappear while leaving a polished-looking patch caused by rubbing. If the remaining defect appears to be wear, embedded staining, or missing paint, stop cleaning and consider the appropriate repair. Record what products were used so a painter can account for them later. This deliberate trial protects a broad visible surface from becoming a larger problem through repeated treatment of a small area that was never ordinary dirt.
Clean cabinet faces, handles, and profiles as separate details
Start by checking the cabinet material and finish, including any recent repainting. Use the manufacturer’s care instructions and observe the coating’s curing restrictions before washing. Inspect around pulls, near cooking areas, and along exposed edges so the cleaning plan follows where residue actually collects.
Remove loose dust with a suitable clean tool, then test a compatible cleaner discreetly. Work in controlled sections without saturating joints, veneer edges, or damaged panels. Clean narrow profiles gently rather than forcing an abrasive pad across their raised details. Follow the product’s instructions for dilution and residue removal, keeping the countertop and hardware protected from incompatible chemicals.
Let the surface dry before deciding whether a mark needs more treatment. A shiny area, worn edge, or swollen panel may be damage rather than remaining dirt. Stop before repeated rubbing enlarges it and record any repair concern separately. For ongoing care, address spills and hand marks with the approved method and keep wet objects away from vulnerable edges. This preserves the finish while making recurring leaks, abrasion, or material problems easier to recognize.
Clean a kitchen without overlooking contact points
A kitchen cleaning plan should distinguish food-contact surfaces, appliance exteriors, cabinets, and floors. Identify each material and use compatible products. Clear counters before beginning, store food appropriately, and avoid spraying cleaners toward exposed food, utensils, outlets, or appliance controls. Follow label instructions for surfaces that contact food.
Pay attention to handles, cabinet edges, backsplash joints, and accessible areas beside appliances. These locations can retain residue even when the broad counter looks clean. Use separate tools where appropriate and avoid flooding seams or unfinished panel edges. Wipe cleaner away as directed so the result is not left sticky or streaked.
Coordinate appliance movement and interior cleaning explicitly. Heavy appliances, gas connections, water lines, and electrical equipment should not be moved casually as part of an assumed cleaning task. After cleaning, inspect under ordinary lighting and let surfaces dry before returning items. A useful kitchen scope names the details included, so a tidy counter does not become a substitute for the more time-consuming work the household actually expected.
Organize cleaning tools by the job they will do
Lay out the tools before cleaning and assign them to separate tasks. Keep a cloth for delicate finished surfaces apart from one used for gritty lower edges or heavily soiled fixtures. A simple grouping system prevents cross-use when the work becomes busy. Check each tool for trapped particles and dried product before it touches a visible finish.
Use these checkpoints as the work progresses:
- Change to a clean cloth face when the current one is visibly soiled.
- Replace dirty water or pads instead of extending them across another room.
- Set aside a tool immediately if it collects sharp debris or an unknown substance.
- Follow the tool manufacturer’s washing and drying instructions before reuse.
Choose attachments and brushes for the actual material rather than using pressure to overcome a poor fit. A narrow soft tool may reach a profile more effectively than a large pad that rubs only its high points. When a mark remains, reassess it before escalating abrasion. Tool cleanliness and suitability protect the surface throughout the job, not just during the first pass.
Use the label as a working sequence
Before applying a cleaning product, read its complete directions for the intended surface. Note dilution, application, contact time if specified, removal, and any rinse or drying step. Arrange the tools so those stages can be completed without leaving the product on a vulnerable surface longer than directed.
Treat a small area first and observe both the soil and the finish. If the cleaner begins to dry unexpectedly or reaches a material it is not approved for, stop and follow appropriate product guidance. Do not add another chemical to the same area in an attempt to accelerate the result.
Once the instructed sequence is complete, inspect the dry surface. A remaining film can be product residue rather than dirt, while a lasting mark may be wear or staining. Use that distinction to choose the next step. Repeated treatment is only useful when the material and label support it. Keeping the process controlled produces a more dependable result than leaving a stronger mixture in place and hoping extra time will overcome an unidentified problem.
Build care into the finishing plan
Ask how the surface should be cared for before it returns to regular use. Cleaning that is harmless to a mature finish may damage a newly applied coating. Follow the product’s curing and maintenance directions, and keep a record of any special restrictions. Waiting appropriately before the first wash is part of the project, not an optional extra.
Use the least aggressive method that is suitable for the material and soil. Remove loose grit before wiping, test a discreet spot, and use clean tools. Repeated hard rubbing can change sheen or wear through a finish even when the color itself remains. Pay special attention to edges, corners, and places where water could collect.
Inspect high-contact and weather-exposed areas periodically. Deal with small sources of abrasion or moisture, such as a rubbing door or a planter that traps water, before they create a larger repair. Keep maintenance expectations realistic: a finish does not eliminate the need to clean, adjust hardware, or correct building problems. Consistent care is easier when the original product and surface records are available.
Keep a useful record for future maintenance
Save more than the color name. Record the manufacturer, product line, sheen, color formula or code, and the surface where each product was used. Note the primer and any special preparation that mattered. A photograph of the label can be useful, but keep a readable written copy as well so the information is not lost among unrelated pictures.
Create a simple room or surface map. Similar whites on a ceiling, wall, and baseboard can become difficult to distinguish months later. Label leftover containers clearly and store them according to their instructions, away from children and unsuitable temperatures. Do not combine unidentified leftovers in an effort to save space.
Add the completion date, agreed care instructions, and any areas that need monitoring. A recurring stain or peeling patch may point to a condition beyond the coating itself. Records help a future contractor understand what has already been tried. They also make small repairs more efficient, although stored paint and a matching formula cannot guarantee an invisible touch-up after the surrounding finish has aged.
Planning your next step
Use the inspection notes and sample decisions from this guide to describe the work you want completed. Bring photographs of uncertain areas and list the surfaces that should be included before comparing estimates. For broader background, read our How To Paint Kitchen Cabinets A 2022 Step By Step Guide, or review AK Painters Pro Corp.’s services.
When you are ready to discuss the scope, request a free estimate. Related reading: